


Joe Bainbridge explains to woodworking tutor Geoff Bowker how his Contessa 26 was refitted ready for an Atlantic circuit
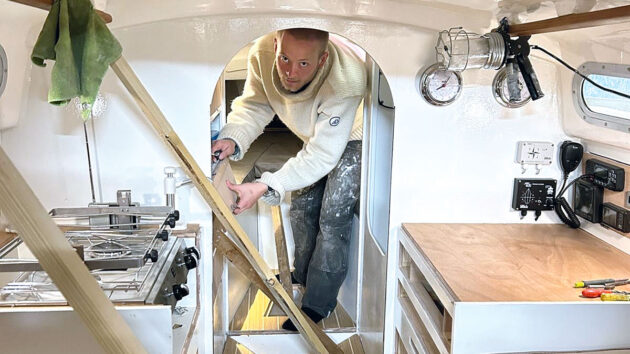
Joe Bainbridge has just finished preparing his Contessa 26 for offshore cruising, taking him a step closer to his eventual twin goals of a solo Atlantic circuit and a full solo circumnavigation.
What makes this even more impressive is that Joe, 23, plans to make these journeys in a 1977 Jeremy Rogers-designed Contessa 26, Tarka, which he bought with a bare hull and the ambition to completely refit her, learning as he went along the way.
Tarka has a chequered history; she was sailed for a few years after being built but was then sold to an owner who inexplicably kept her in a garden for 30 years. The next owner refitted her interior but not very well. Tarka was then bought back by her designer, Jeremy Rogers, as a family project, but despite having a new Beta 14 engine fitted and the interior stripped out again, she went back on the market. This is where Joe steps into Tarka’s story.
Sights set on the Contessa 26
Joe chose the Contessa 26 due to its modest size and exceptional reputation as a seaworthy boat.
The ambitious fit-out consisted of structural reinforcement of the hull, rebuilding the interior, painting, oiling, and insulating, adding electrics, water storage, a gas cooker, bilge pumps, and a wind vane. He’s also been replacing or rebedding all the deck fittings, replacing the standing and running rigging, and fitting new sails before outfitting her with supplies and safety equipment for offshore sailing.
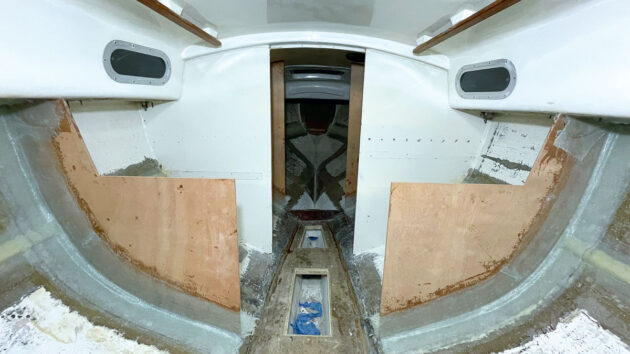
Half-bulkheads for galley and chart table bonded in on the Contessa 26. Credit: Joe Bainbridge
Planning to do all the renovation work himself, Joe moved Tarka to Lowestoft with the intention of enrolling as a student at the International Boatbuilding Training College (IBTC) so he could study and work on the boat simultaneously when he finished his music degree.
Joe had mapped out a career as a professional jazz musician, but younger years spent sailing – beginning in dinghies before qualifying as an RYA dinghy instructor and Offshore Yachtmaster – coupled with a growing fascination with long-distance single-handed sailing was about to take him on a different and very challenging path.
He completed the one-week IBTC GRP course, which was very useful, but IBTC suddenly and unexpectedly closed before he could join as a full-time student.
This prompted him to move the boat to a family barn in Somerset where he continued to work on interior and exterior gel coat repairs and fitting/rebedding new deck fittings.
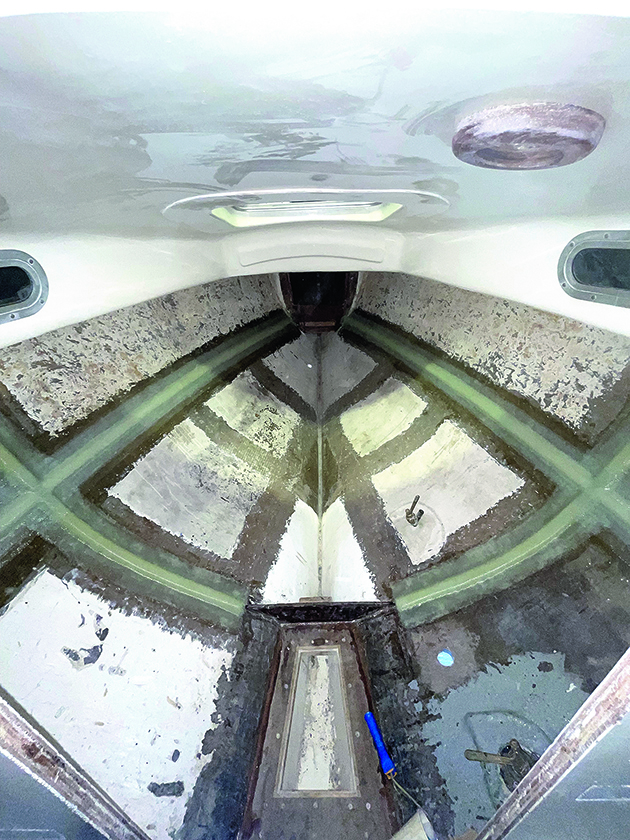
Forward stringers bonded in for extra strength. Credit: Joe Bainbridge
Joe quickly realised that he’d need to build on his woodworking skills, so he enrolled on the intensive 12-week furniture making course at the Boat Building Academy (BBA) in Lyme Regis in May 2025.
He then spent 11 hard months fitting out the boat using the skills he’d acquired at IBTC, the BBA and those he taught himself. Here, he was very fortunate to have support and guidance from friends in the boatbuilding and civil engineering industries as well as advice from an ex-IBTC instructor.
Hard work on the Contessa 26 begins
As the yacht’s interior had been removed and replaced several times over the years, Joe recognised that the hull lacked longitudinal reinforcements for rigidity and strength along its length, but he was uncertain about just how critical this potential lack of strength would be. Some concerns were allayed as the boat is relatively short and the hull was heavily laid-up when built in the 1970s. Joe spent a lot of time looking at other Contessas and, to be doubly sure, decided to add some stringers anyway.
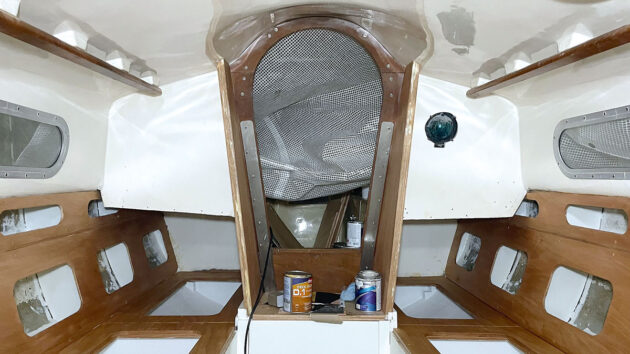
Hempel primer and gloss topcoat was used for the interior, with Deks Olje D1 wood oil used to protect the wood. Credit: Joe Bainbridge
Reinforcing the hull involved bonding glassfibre stringers along the length of the hull at the waterline. This started by cutting polyurethane foam into long lengths and shaping it with coarse sandpaper. The foam was then sealed with epoxy before being bonded to the hull. Three layers of glass were used to make up the stringers: the first layer was 300g powder-bound chop strand mat (CSM) which conformed to the hull shape better, followed by two successively wider strips of 600g biaxial. The stringers were specifically positioned to distribute the load of the berth tops on the hull.
This work done, Joe was confident that he had returned Tarka’s hull to at least her original level of strength and rigidity, particularly as he was able to utilise more modern materials and lay-up techniques than wouldn’t have been available to her original builders, including the strength/weight ratio of West System epoxy and multiple layers of biaxial instead of chopped strand mat glassfibre.
He said: “I remember carrying metres of folded, dripping biaxial glass up the ladder and carefully through the companionway before unrolling it against the hull and rolling out the air bubbles. It was a sticky nightmare!”
With the hull complete, it was time to sort out the internal structure. Contessa 26’s often had DIY refits so there were lots of examples to take inspiration from, though every Contessa is very slightly different, so there are no standard dimensions or drawings to work from.
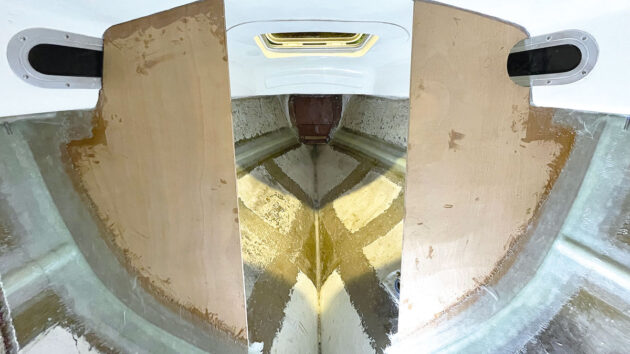
Robbin’s Elite 12mm marine ply was used for all interior bulkheads. Credit: Joe Bainbridge
Joe applied a similar approach to structural strength of the fore and aft bulkheads and used Robbins Elite 12mm marine ply for all bulkheads and berths, and 9mm for the wet locker and cupboard fronts. The structures were all glued and screwed together with 30x30mm joinery-grade pine cleat stock.
Replacement of the interior took place from the middle of September 2025 through to the New Year. Installation of interior bulkheads was done very carefully and with precision to ensure that hard spots were not created where the hull skin can pivot or articulate around a closely fitted bulkhead and where high stresses might cause structural damage at the fault line. The bulkheads were bonded into the hull with tapered layers of glass to spread the load on the hull.
To ensure items were fitted accurately (and because the boat was sitting on its trailer at an angle), Joe used a laser level and points out that he cut and planed almost everything by hand.
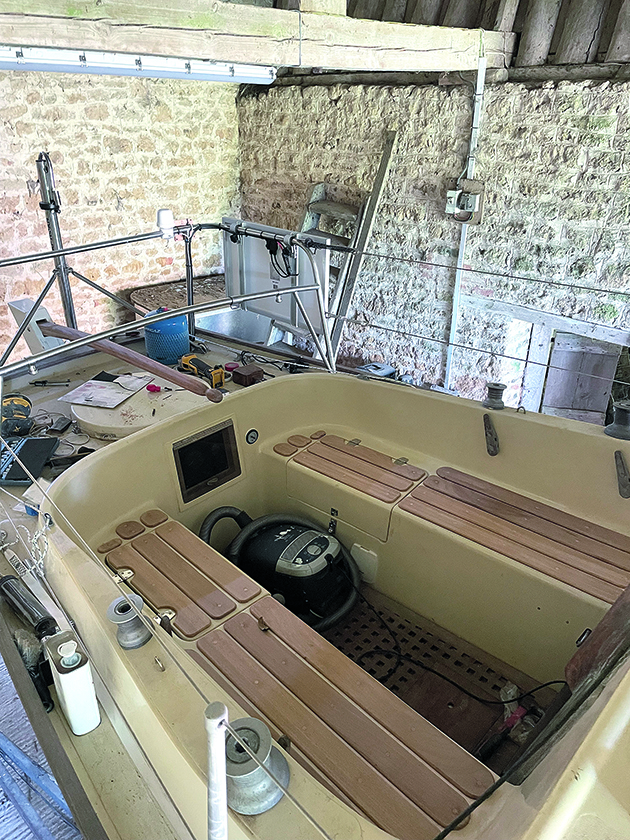
Deck fittings were rebedded or replaced to make the cockpit suitable for offshore sailing. Credit: Joe Bainbridge
An important note on lone working – which can clearly be hazardous – is that it’s critical to always let someone know where you are working and stay in regular contact. Joe kept in close contact with family and would update them frequently when he was working on particularly hazardous or dangerous jobs on board. He also recruited extra pairs of hands when he needed to be in many places at once – like when testing gas or electrical systems.
“It was often hard to know when I had done enough for one day,” he recalls. “It’s all too easy to start making mistakes and hurting yourself when you’re tired and there’s no one to tell you to stop.”
Taking shape
The layout Joe chose was two pilot berths aft, galley to port and navigation station to starboard. Also, he wanted a wet locker, lots of stowage, but opted for no heads.
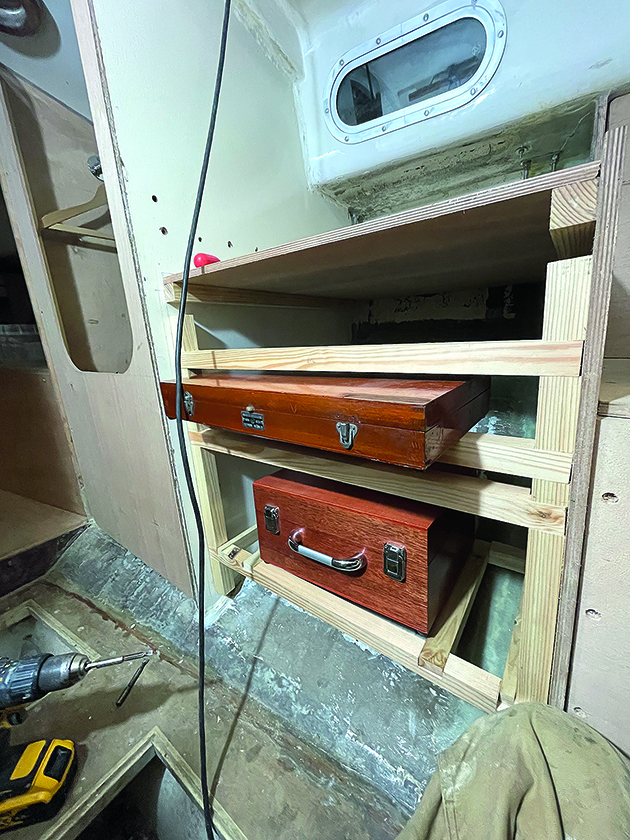
Locker space on the port side midships was based on the dimensions of a set of plastic boxes Joe used to store tools, clothes and spares, and the desire to have a drawer exclusively for charts, which is his preferred primary method of navigation: old school.
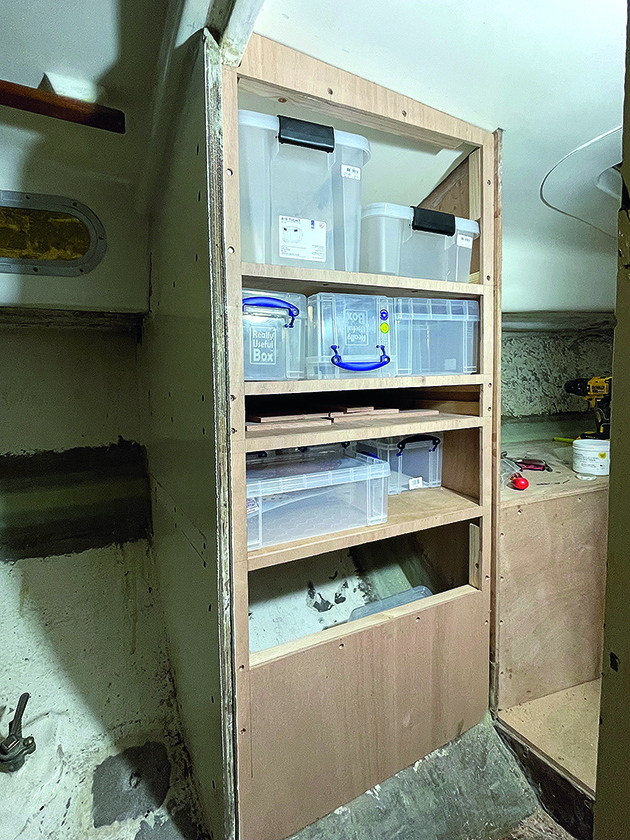
Stowage units on the Contessa 26 were designed around the dimensions of plastic storage boxes. Credit: Joe Bainbridge
The chart table was a big challenge as he wanted a drawer for a sextant and station pointer, as well as a mount for a metalworking vice, and other drawers for stationery and kitchen utensils.
The galley was fairly straightforward to design and was based around the dimensions of the Tasman 4500 hob and grill, considering the necessary swinging room and the armoured fuel hose.
The chart table was built to accommodate Joe’s sextant and station pointer – his preferred way to navigate. Credit: Joe Bainbridge
As Joe would be using hank-on foresails, he knew he’d be going through the forward hatch frequently, which influenced the design of the V-berth, such that he needed enough standing room. He also wanted to keep the anchor chain as low and central to the boat as possible, so he ran a hose down the centreline at the bow into the forward end of the bilge where the anchor chain is now stowed.
Insulating the Contessa 26
With the internal structures in place 1in-thick Plastazote foam was added for insulation with white water/fireproof fabric stapled around it. Templates were made by spiling with scrap offcuts and hot glue for the areas above the waterline, behind seat backs, the instrument panel, wet locker, galley locker, and V-berth. Foam was then bonded to the hull with standard adhesive spray so it would stick well enough, but could also be removed without much trouble later if necessary.
Areas of the internal hull were painted starting with Hempel light primer and then off-white gloss topcoat for the bulkheads and Hempel’s locker paint for below the waterline. Deks Olje D1 oil was used for the berth tops, working surfaces and trim. At one point Joe ran out of masking tape, so ended up using duct tape which the grain on the ply did not appreciate – another learning experience!
Next came the electrics and this was by far Joe’s biggest challenge. In the previous work he could apply at least some of his prior experience to the new material or technique, but this was all new.
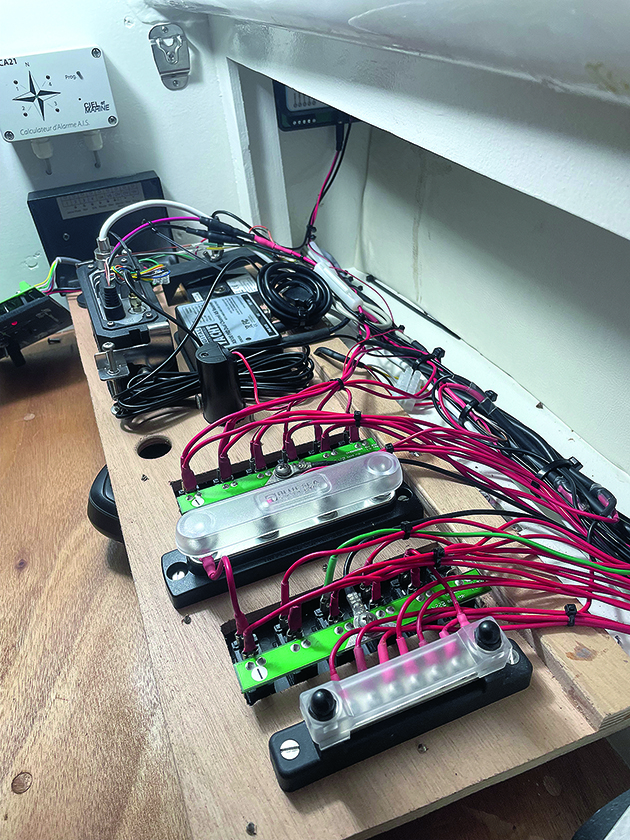
Busbars helped keep Tarka’s electric cables neat and tidy, improving safety. Credit: Joe Bainbridge
Preparation had started a few months earlier with evenings spent with his head buried in Nigel Calder’s Boatowner’s Mechanical and Electrical Manual. Joe decided that if he could make head or tail of that, he was getting somewhere.
Looking back, he says: “It makes complete sense now, but it was really like learning a whole new language: crimping, soldering, heat shrink, shunts, busbars, NMEA cables, overcurrent protection. There was a lot to get my head around.”
Other books that Joe relied on included Ference Máté’s From A Bare Hull and Mike Saunders’ Yacht Joinery and Fitting.
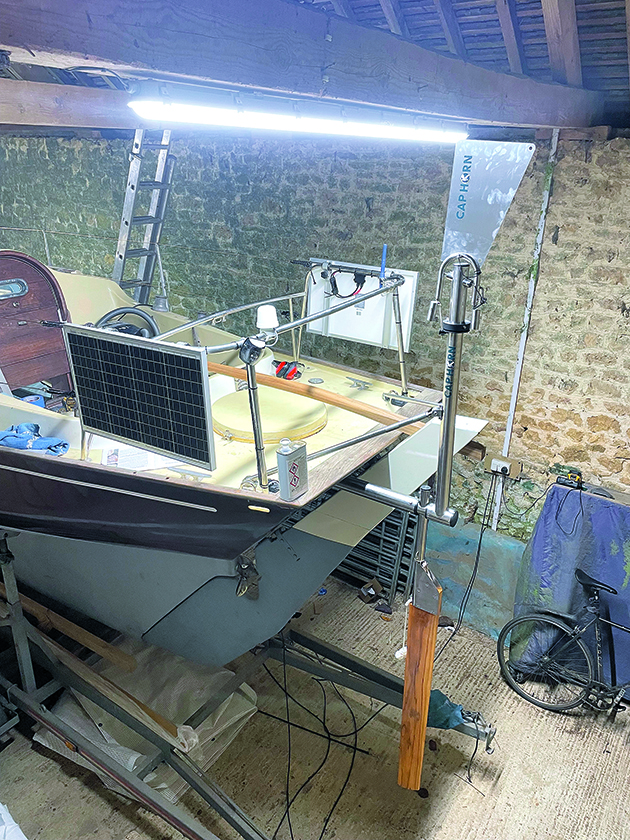
Joe decided to install a CapHorn wind vane; the range is designed to fit any stern shape. Credit: Joe Bainbridge
He continues: “I thought I’d get her ready to be launched and then have the remaining time to finish the woodwork.”
In reality, readying for the launch meant a month of antifouling, wet fitting the rudder, servicing and closing the unused seacocks, fitting bilge pumps, water storage, a gas system and a CapHorn wind vane, which was bonded through the transom and cockpit coaming to reduce weight without reducing strength.
Teething problems
Funding a complete yacht rebuild as well as courses has been challenging and Joe has worked as a freelance jazz musician, private music teacher, delivery driver, handyman and kitchen porter throughout the project to make ends meet.
But all the effort was rewarded when Tarka was formally launched at Portland.
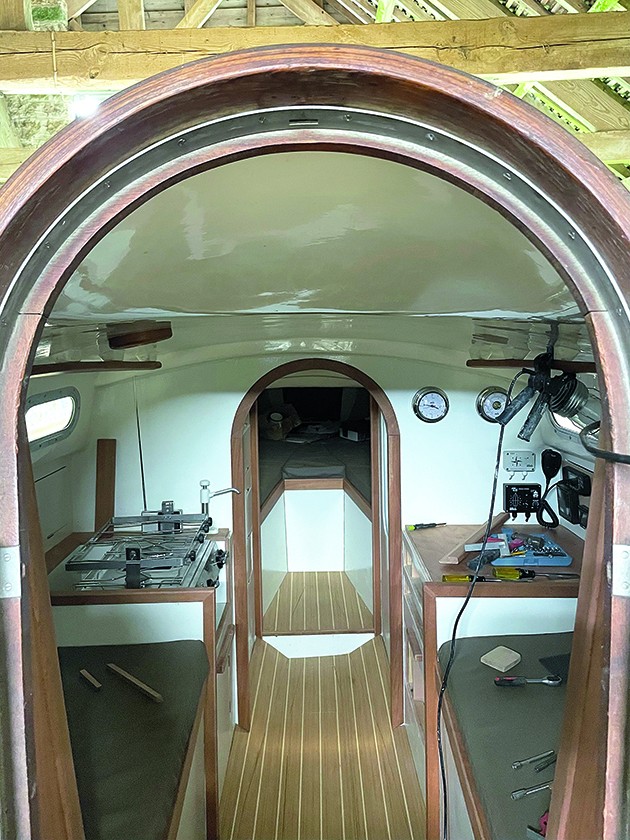
The finished galley and saloon. Credit: Joe Bainbridge
The launch itself went without a hitch. However, the standing rigging didn’t fit properly, despite it being remade; Joe had sent the whole rig assembly away for remaking, but he’d included a jumbled box of rigging screws and lots of other bits that came with the boat, so the measurements were out.
With the advice of a local rigger Joe shortened the lower shrouds and back stays and fitted Sta-Lok swageless fittings where necessary, a safe and sensible choice, especially considering the distances and oceans the boat is expecting to sail. For complete ‘belt and braces’ peace of mind all of the running rigging was changed, with the double braid polyester splices also done by Joe himself.
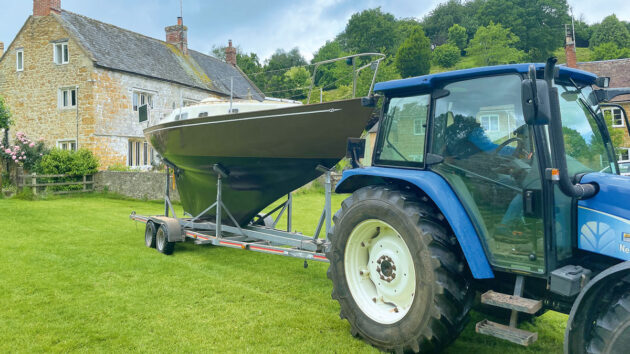
Towed out of the barn and ready to be taken to Portland for launch. Credit: Joe Bainbridge
Unfortunately, the rig issues didn’t stop there. The only sail that came with the boat was a battered working jib, so Joe had to invest in a new suit of Sanders sails. He opted for a mainsail with a deep-set third reef, a genoa, and a working jib and a storm jib utilising hanks and a slab reefing system.
The original Proctor mast was luckily assessed as serviceable by the surveyor, but Joe re-rivetted all the fittings to confirm they were secure; he also removed the old roller-boom system, fitted a new Seldén gooseneck, removed the original bolt rope track and replaced it with a Tides Marine low friction track; the latter was not easy as the original was spot welded at the masthead and might as well have been welded the whole way down as it wasn’t keen to come out.
With the fit-out complete, the rig sorted out and new sails, Tarka was finally readied for Joe’s first major passage: a clockwise solo one stop circumnavigation of Great Britain and Ireland.
Joe has blogged about the yacht refit, producing a brutally honest account of the highs – and many lows – of the project through words and hundreds of photographs.
The blog proved to be very helpful when it came to motivation as he found it was very easy to forget the months of head-scratching, painstaking, back-breaking work when he was struggling to make progress; looking back at the jobs he had already done helped combat those feelings and having many photographs of the refit to hand became a great reference.
Unwavering support
He also feels that he had been incredibly lucky and privileged to have had such unwavering support throughout from his family, who provided him and Tarka with a roof over their heads and were a constant source of support and enthusiasm.
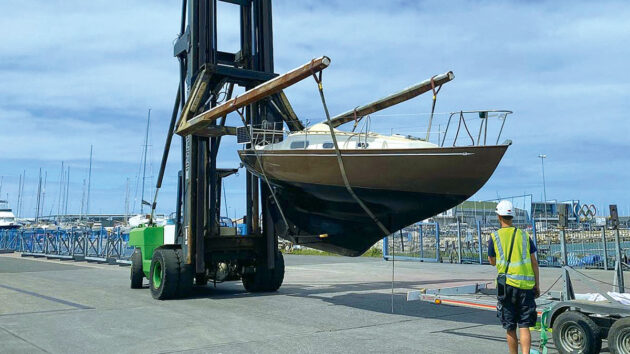
After nearly two years of work, Tarka is finally launched. Credit: Joe Bainbridge
Building from a bare hull has enabled him to set the boat up exactly how he likes. That means hanked-on sails, slab-reefing, traditional celestial and coastal navigation, paper charts and definitely no wifi. He is keen to point out that the boat does have a comprehensive safety system, with back-up GPS and electronic charts, a yellow brick tracker and AIS and radar alarms.
Asked how he feels at the prospect of taking Tarka around the world, he says: “I’m excited for the sense of space, the freedom, the birds, dolphins, and big swells. Of course, there will also be extreme tiredness, being wet, and cold…but I hope they will be outweighed by the peace, sense of autonomy and real achievement from years of preparation, application, and hard work.”

How to become a boat builder in 40 weeks
Inspired by a stunning homebuilt yacht, Ali Wood visits the Boat Building Academy to learn how any of us can…
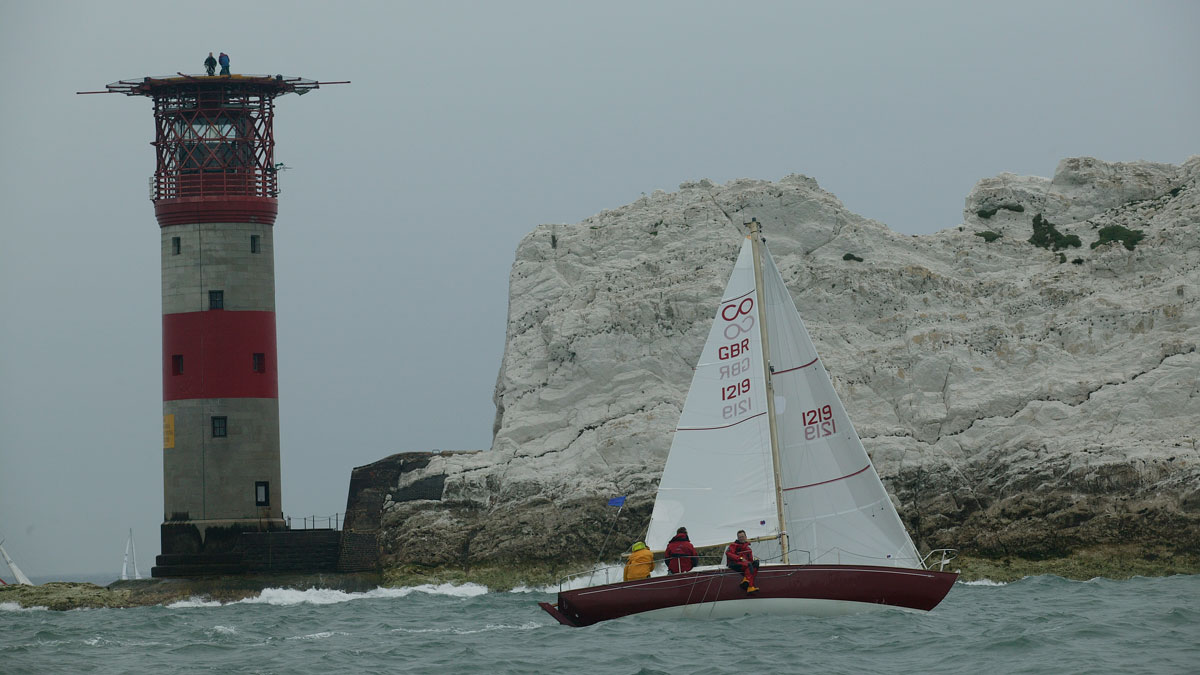
Contessa 26: a true legend
Peter Poland recounts the story of the Contessa 26, one of the most able, famous and popular compact long-keeled cruiser-racers

Clinker-built boat repair: step-by-step
Richard Johnstone-Bryden explains the basic principles of clinker construction and the method of replacing damaged hull planking
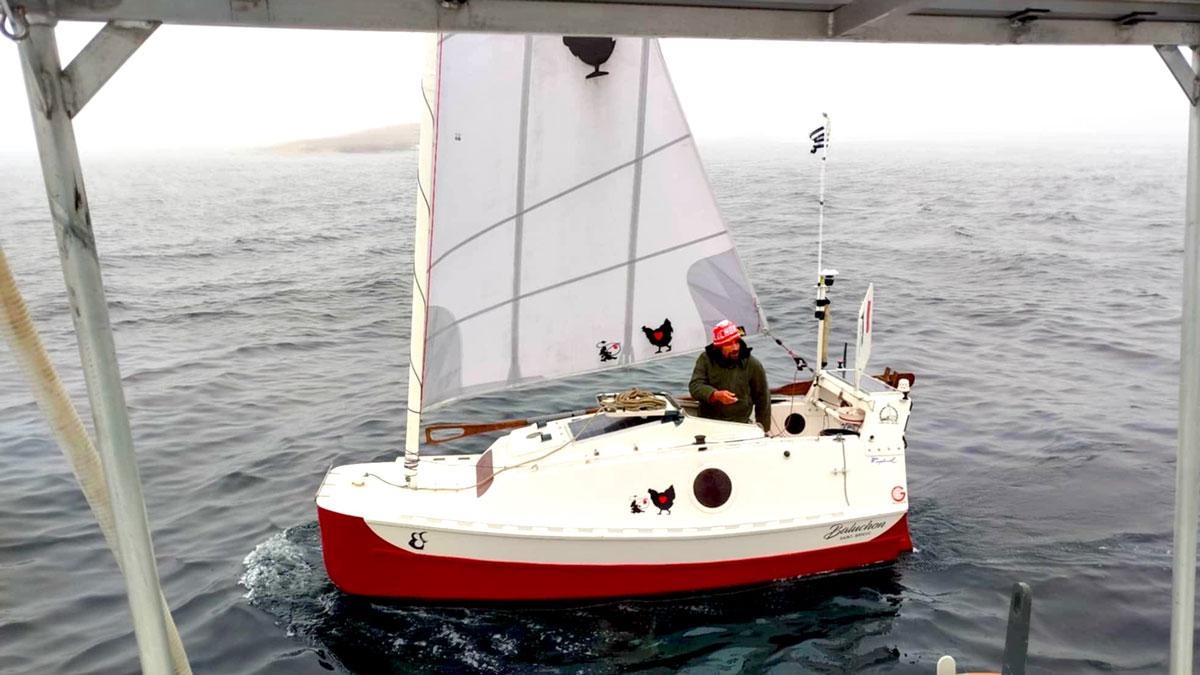
Yann Quenet: Why this solo French sailor refitted his micro-yacht to sail the globe again
Yann Quenet stands out as much for the philosophies behind his self-designed and built 13ft Baluchon as for his sailing…
Want to read more articles like Restoring a Contessa 26 for a solo circumnavigation?
A subscription to Practical Boat Owner magazine costs around 40% less than the cover price.
Print and digital editions are available through Magazines Direct – where you can also find the latest deals.
PBO is packed with information to help you get the most from boat ownership – whether sail or power.
-
-
-
- Take your DIY skills to the next level with trusted advice on boat maintenance and repairs
- Impartial, in-depth gear reviews
- Practical cruising tips for making the most of your time afloat
-
-
Follow us on Facebook, Instagram, TikTok and Twitter
PBO web categories