
Replacing old, tired lines is a critical job for any sailboat owner. Follow this step-by-step process for a full running rigging overhaul
Like a lot of boats, John Roden’s Sadler 29, Eroica, still had her original running rigging more than 20 years after her launch. After buying her, John had started to work his way through a number of jobs.
But he admits that replacing the running rigging hadn’t been on his ‘must do’ list.
A representative from Harken arrived in Plymouth with new lines in Sirius 500, a pre-stretched polyester.
The old ropes on John Roden’s Sadler 29. Credit: David Harding
Most were from the ready-made range: customers simply order, say, a main halyard suitable for a 29ft (9m) cruising yacht, and it comes ready finished and complete with the appropriate shackle. Lines are made for boats within certain length limits, rather than for a specific class of boat or to suit the rig measurements.
So if your 29-footer has an unusually tall mast, the halyard tail will be a bit shorter, and if it has a dumpy rig, there will be plenty to spare.
Fitting isn’t normally included: you buy the lines and either fit them yourself or call on the services of a rigger.
Replacing running rigging: mousy, mousy
The first job when replacing a halyard is to attach a mousing line: a thin temporary line tied to the tail of the old halyard so that, as you pull the old halyard out, the mouse is pulled into the mast, up inside, around the masthead sheaves and down to the deck.
A mousing line (green) attached via a loop of thin line stitched through the tail of the old halyard that’s about to disappear inside the mast. That’s moss on the deck: growing inside the mast, it was dislodged by the movement of the halyards. Credit: David Harding
Where lines pass through blocks or sheaves but don’t have shackles or bulky splices on the end, you might be able to get away without using a mousing line: just attach the new line to the end of the old one with a needle and some whipping twine and pull it through.
With a main halyard that has a shackle, though, the mousing stage means you can attach the tail of the new halyard to the mouse and pull it up the outside of the mast to the sheave, down inside, out of the bottom sheave and through any organisers to the coachroof clutch.
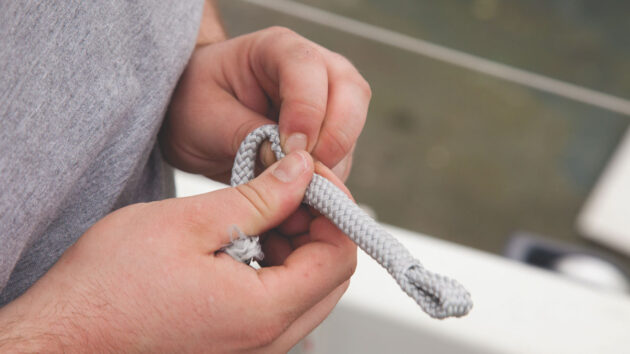
A loop was put in the end of new lines that needed feeding through on the end of a mouse, such as the main and genoa halyards, topping lift, spinnaker pole uphaul and reefing pennants. This involved cutting the core back a little way from the end to leave a few inches of empty sheath, stitching through the whole rope at the end of the core to secure the core to the sheath, whipping over the stitching to hide it, and then tucking the end of the sheath back into itself.
The main sheet was in need of replacement. Credit: David Harding
The result is a low-volume loop to which the end of the mousing line can be attached. Because the loop is soft, formed from just the sheath, it will pass easily around any sheaves.
It doesn’t need to take any great load. With a loop in the end, you will find it much easier to attach a mousing line when (as you might having read this) you make a habit of removing your halyards periodically for washing or winter storage.
Loops don’t come as standard with FSE’s ready-made halyards; you will either need to make them or get a rigger to make them for you.
Leave the length when replacing running rigging
Once you’ve pulled the old halyard out of the mast, you will probably compare it for length with the new one. If the original was the right length, with no surplus, you might be tempted to cut any excess off the new one – but think carefully before you do.
If a line starts to wear after a few years, typically where it passes over a sheave, you can extend its life by end-for-ending it – running it through in reverse.
To do that, you will need to cut off the old splices and put new ones in the other end, a process that will shorten the line by 10-13ft (3-4m) or so. For long-term economy, then, you will have to live with some extra tail length.
It makes a bigger difference with Dyneema than with polyester ropes, Dyneema typically costing around four times as much.
Running rigging replacement: Rope-By-Rope
Spinnaker halyard
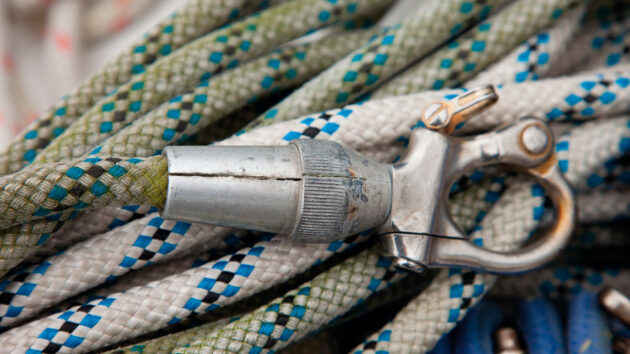
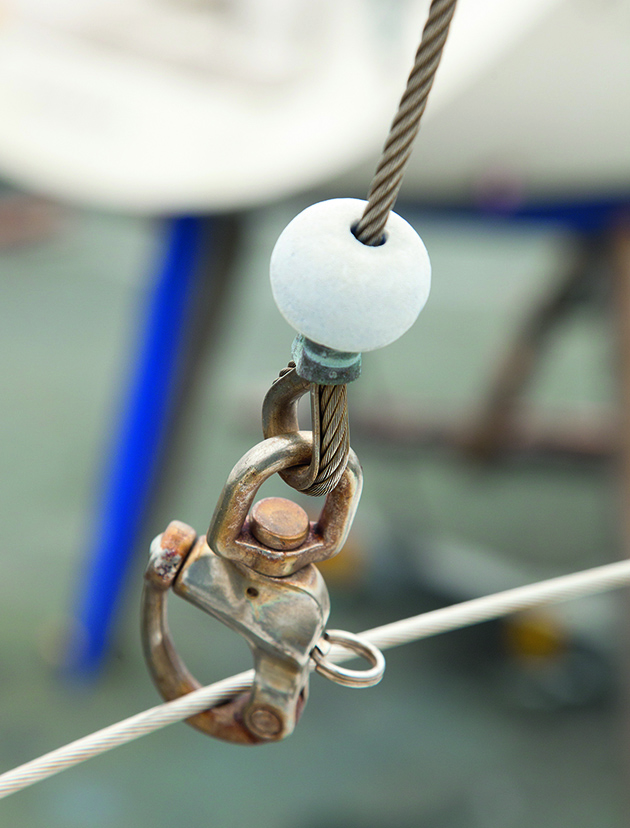
Before: Inside and out: the halyard is dirty and weathered where it has lived outside the mast, and closer to its original appearance where it has been protected from the elements inside. This old style of swivel shackle is rarely found these days. Credit: David Harding
This was in 10mm and replaced with the same diameter, though 8mm would have been fine because the spinnaker isn’t hoisted under load.
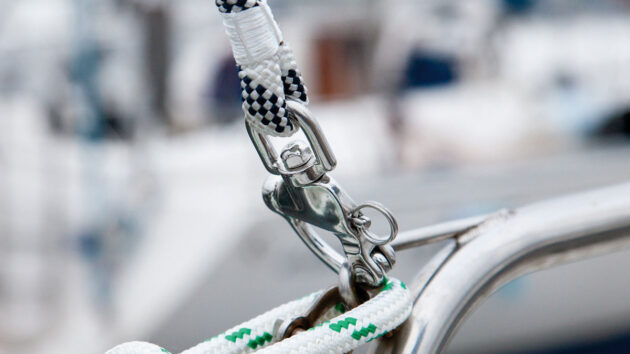
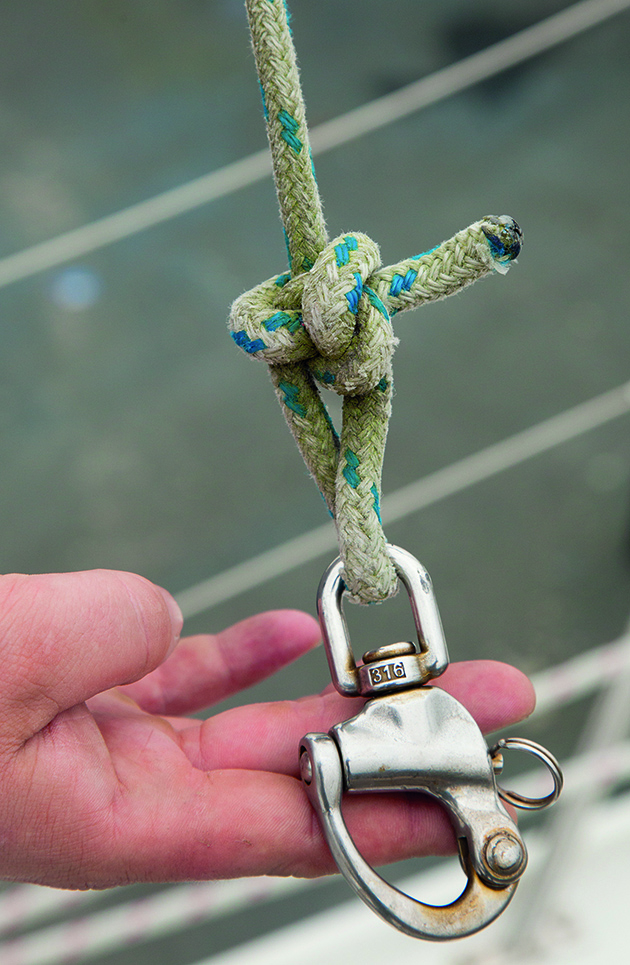
After: A conventional swivelling snap-shackle is on the end of the new spinnaker halyard. Credit: David Harding
On the end of the old one was a swivel shackle of a type no longer in common use on boats, joined to the halyard by means of an internal cone mechanism similar in principle to that in a Sta-Lok terminal.
As with the main halyard, there was an enormous difference in appearance between sections of the halyard that had lived inside the mast and those that had been outside.
Main halyard
The old halyard (right) and bowlined topping lift. Credit: David Harding
The old main halyard on Eroica was 10mm braid-on-braid polyester and showed typical signs of ageing, including wear on the sheath. It had become hard and uncomfortable to the hands where it had been under regular tension (between the shackle and where it passed through the clutch), and was much softer elsewhere.
The difference in colour between the sections that had lived inside and outside the mast was also striking. Replacing like for like, 10mm was used for the new halyard.
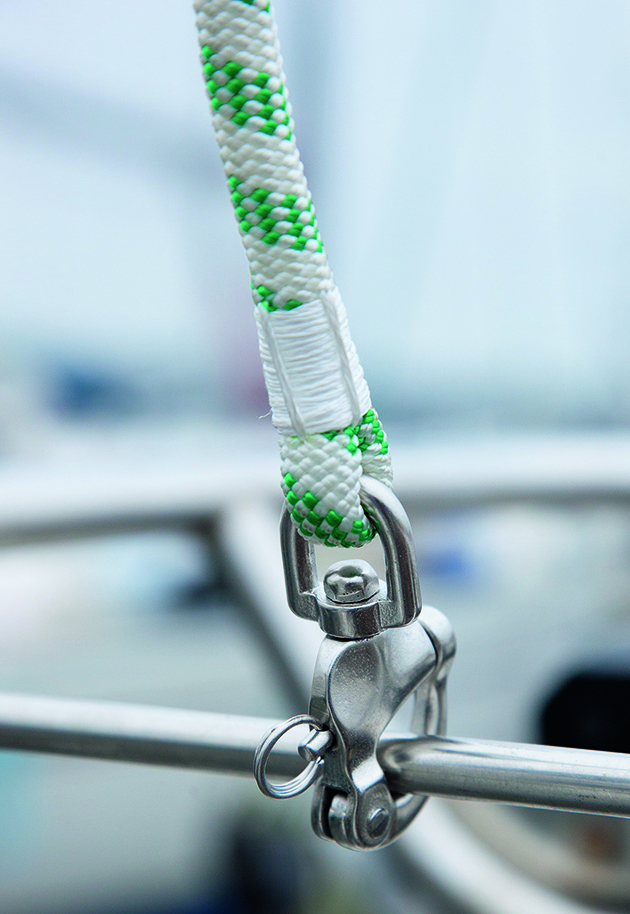
That looks smarter. The new main halyard and topping lift (now spliced) on the end of the boom. Credit: David Harding
The most obvious difference, apart from the new look and colour, was how much softer the new Sirius 500 felt to the touch. On the end was a shackle with a keeper bar and 180°-twist captive pin to make sure that neither the pin nor the shackle itself could be lost.
The 10mm topping lift was replaced in the same way, dark blue being chosen to contrast with the silver-grey of the main halyard.
Genoa halyard
Before: The genoa halyard was wire with a rope tail…Credit: David Harding
Eroica’s genoa halyard, as originally fitted by Sadler Yachts, was a wire/rope combination, but this was replaced with 10mm braid.
Many older boats have wire halyards joined to rope tails. This is because 7 x 19 wire is less stretchy than ropes were in those days.
After…but the new one is all rope. The white with green fleck is one of the new genoa sheets. Credit: David Harding
Now, however, even pre-stretched polyester is much better than it used to be, so wire/rope halyards are rarely fitted. The principal reason for replacing wire with wire would be if the boat has a winch specifically made to handle wire.
Wire can’t be used over sheaves designed for rope, but in most instances, rope will be fine on sheaves designed for wire. If in doubt, check with a rigger.
Main sheet
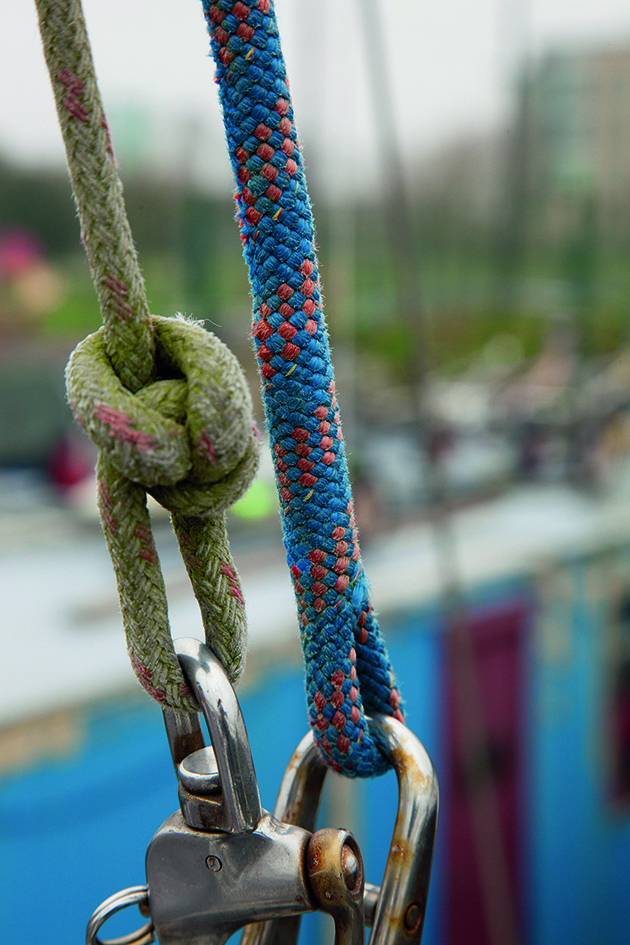
Before: The old green-and-white main sheet, with added mossy green.Credit: David Harding
The bowline on the old 12mm main sheet needed the encouragement of a spike to come undone.
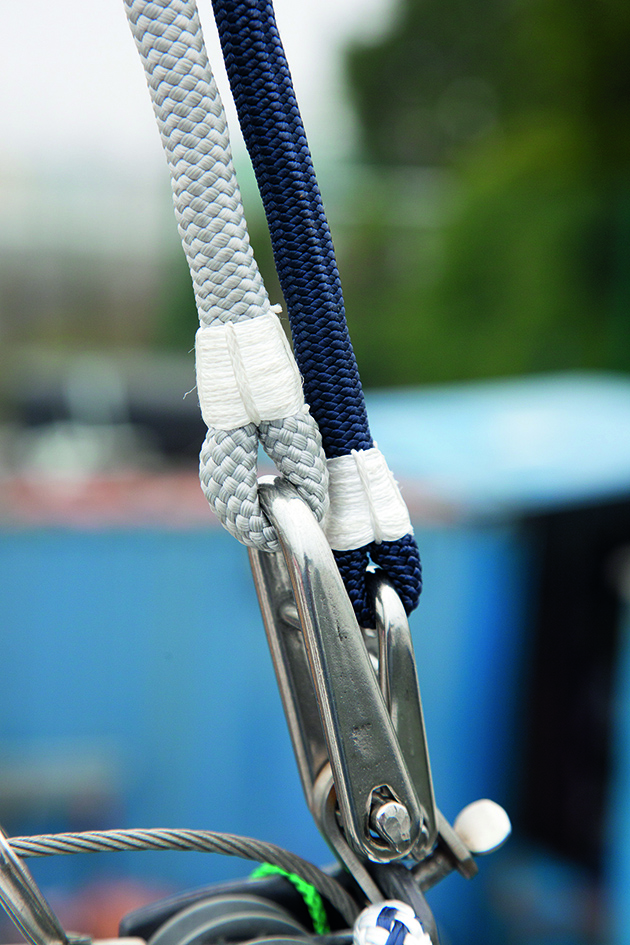
After: New main sheet in smart dark blue. Credit: David Harding
When it did, yet again the contrast between the surfaces that had been exposed to the elements and those that had been hidden was dramatic.
Headsail furling line

Worn sheaves would wear the new furling line: this block needs replacing. Credit: David Harding
A continuous-line Hood Seafurl system is fitted to Eroica, as it was to various Sadlers for a short time. While running the new line, we noticed that the nylon sheaves in the double block at the aft end had worn about the spindle, so they were no longer running true, and they had also become rough around the edges.
Since they would cause premature wear on the new line, the ends of the line were not spliced together, but left until the block was replaced.
Spinnaker pole uphaul (topping lift)
The old spinnaker pole uphaul, well worn and tied to the shackle. Credit: David Harding
As a line that’s relatively lightly loaded, the pole uphaul could be in 6mm, but in this instance, we chose to use 8mm.
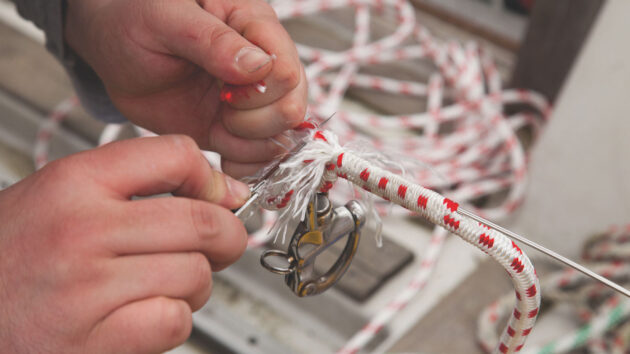
The shackle being spliced onto the new uphaul. Credit: David Harding
Whereas the shackle was knotted on to the original with a bowline, the new one was spliced.
And the rest of the running rigging..
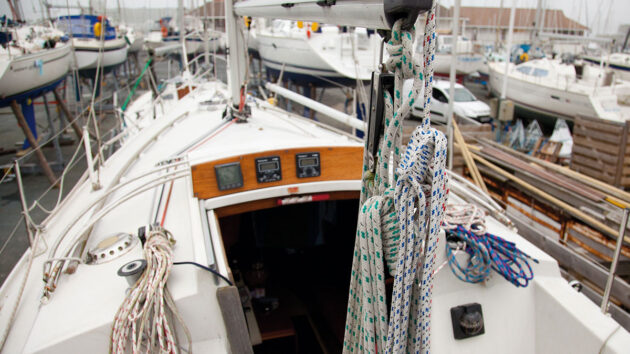
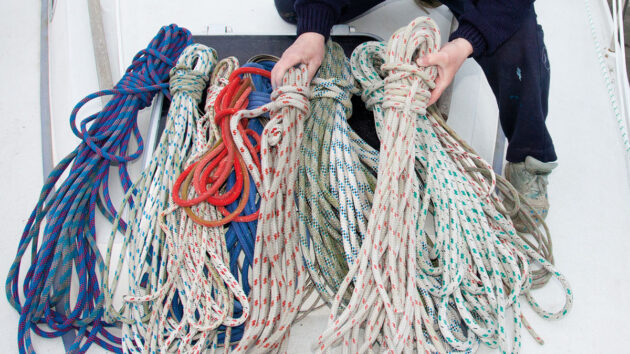
Eroica equipped with her new ropes. Credit: David Harding
With the kicking strap, reefing pennants and genoa sheets replaced as well, the job was done, and Eroica was ready to go.
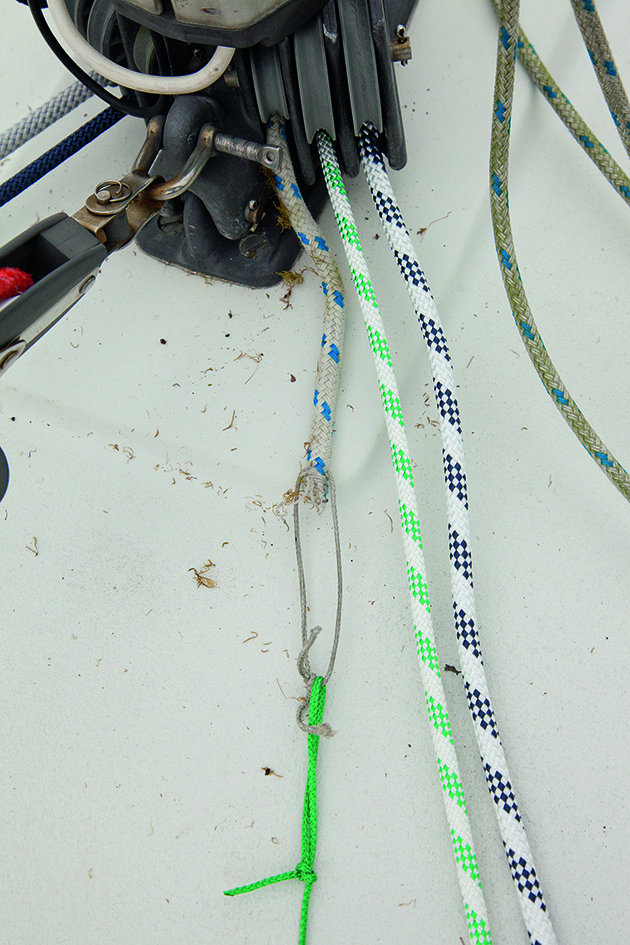
As often happens with new ropes, one or two of them initially slipped through the clutches because of their shiny surface, but a little rubbing soon roughened them up enough to grip.

Rigging setup: Turning round a yacht’s performance
Little old boats can offer enormous fun for your money, but they often require some tweaking in order to be…

How to check your rigging
Maintenance of your rigging can save expensive failures and could be a lifesaver - here's how to check your boat's…

How to get more life out of sailboat lines: step-by-step
Dena Hankins shares how to make your running rigging last that little bit longer

Best boat rope – the right rope for mooring lines, halyards and sheets
At this time of year we often start to put into place plans for upgrading our boats for the new…
Want to read more articles about running rigging?
A subscription to Practical Boat Owner magazine costs around 40% less than the cover price.
Print and digital editions are available through Magazines Direct – where you can also find the latest deals.
PBO is packed with information to help you get the most from boat ownership – whether sail or power.
-
-
-
- Take your DIY skills to the next level with trusted advice on boat maintenance and repairs
- Impartial, in-depth gear reviews
- Practical cruising tips for making the most of your time afloat
-
-
Follow us on Facebook, Instagram, TikTok and Twitter