
Michael Wright makes life more comfortable by creating an extra ‘room’ on board with a smart new cockpit cover for his Nicholson 31

Back in 2010 my wife, Mary, and I bought our first yacht to fulfil my ambition to sail around the UK, writes Michael Wright.
We wanted a bulletproof, seaworthy craft which could be sailed single-handed.
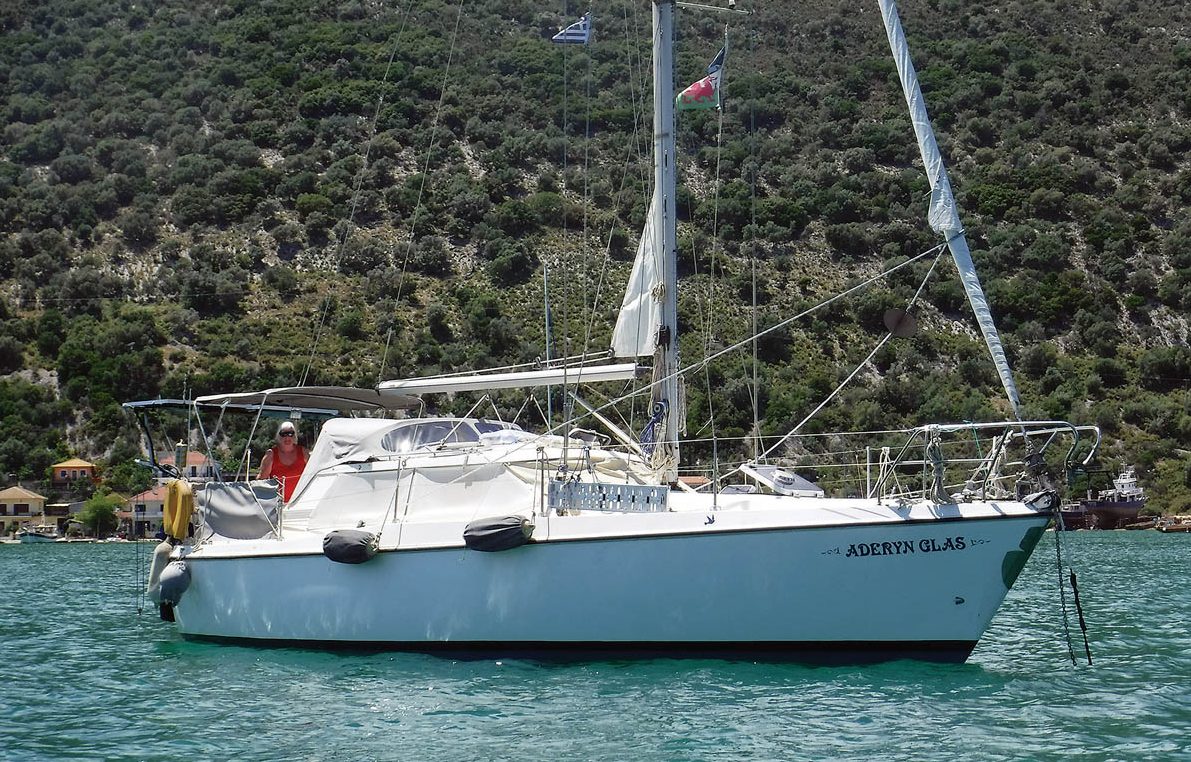
Mary comes aboard when circumstances and conditions are favourable. With not much effort and a good dose of luck, we found ourselves a Nicholson 31 called Liberty Jane.
We’d previously done all our sailing on other people’s boats, or charter holidays, but ownership gave us a new perspective.
Over the next seven years, for roughly 13 weeks of the season, I sailed Liberty Jane from our home port of Falmouth, Cornwall, around the UK, Ireland, up and down the English Channel and along the Brittany coast.

The cockpit tent is easy to assemble and dismantle, even when Michael is on his own. Credit: Michael Wright
On each adventure family members and friends came along for short or longer periods.
By 2017, it was clear to me that life aboard would be greatly improved by having an extra room; namely the cockpit being enclosed.
This was especially tempting with the prospect of the next cruise being to the Shetlands and back.
The Nicholson 31 is a small family cruiser built from the late 1970s to the early 1980s.
The interior layout is of its time: forecabin, heads and basin (just forward of the mast) and main cabin/saloon with four bunks, chart table and galley.
Continues below…
How to make your own sprayhood or bimini as a DIY project
Sun, sea and general weathering had degraded the stitching, attachment points and external canvas work on Aderyn Glas, our Moody…

Cheap and easy pushpit seat
Consider canvas...

How to make your own canvas bucket
Lin and Larry Pardey's step-by-step guide to producing a durable canvas bucket: from the January 1995 issue of Practical Boat…

Basic sewing skills for boat owners to protect sails from chafe
Chafe damage has always been a problem on yachts, and owners are generally advised to preserve their sails by adding…
One of its features, which particularly attracted me, is the deep and secure cockpit, which is brilliant for having inexperienced sailors and children aboard.
Our idea was to create a third room, which was completely stowable,high enough for me to stand up in (1.75m), to have raisable side doors and back panel and for the panels to be transparent.
I sought out designs from three local firms that made cockpit covers.
Two failed to meet the ‘completely stowable’ requirement and one did – which made selection easy!
The cockpit cover was created by myself and Neal Brenton at Kernow Covers of Penryn, Cornwall.
Without drawings but with lots of testing of ideas, we came up with a practical cockpit cover that both encloses the whole of the cockpit and can be assembled and dismantled easily by one person, but more quickly with two.
The mainsheet is secured on the transom, so it is well out of the way. However, on Liberty Jane there is ‘clutter’ on the top of the transom; as well as the pushpit there are wind generator and radar assemblies.
With these and other aspects in mind, my design requirements were that the cockpit cover should:
- Be easy to erect and dismantle – even single-handed
- Provide up to 1.75m headroom without spoiling alignment with the sprayhood
- Be completely stowable (no extra metalwork left on the stern)
- Use low profile deck fittings
For aesthetics, Neal was adamant that the cover be symmetrical.
This meant the existing stern clutter determined the overall shape of the cover.
I’d also need to move the boom to one side – something easily achieved with a snap shackle on the bottom block of the main sheet.
The whole assembly packs down into three storage bags: one for each L-shape and one for the two central sections.

Liberty Jane’s cockpit cover fully erected creates a large ‘spare room’. Credit: Michael Wright
My observations are that, after four year’s use in both dry and wet weather, it’s now an essential part of my cruising.
It’s easy to put up and take down and provides a good breakfast or dining room.
Warm air from the cabin flows into the cockpit to give a comfortable gathering place at dusk and keep it cosy into the late evening.
The cost in 2018 was £1,450 which, in relation to other boating costs, was extremely good value.
Assembling the cockpit cover: a step by step guide

1. The snap shackled main sheet is moved out of the way and then assembly of the tubing frame can begin

2. The Y-shaped frame splits into four pieces for storing – two L-shaped sides with both arms of the ‘Y’ and two central sections.

3. The frame is connected to the low-profile deck fittings. I have to take care here that the screws don’t fall overboard.

4. The roof is placed over the Y-shaped stainless steel frame, with the forward element zipped in.

5. The central sections of the roof zip around the Y-frame cross pieces.

6. This shows how the roof section is zipped around the frame.

7. The two ‘corner panels’ extend down to the transom.

8. Poppers hold the corner panels in place on the coamings and around the poles that mount the wind generator and radar.

9. The two side panels have ‘vision panels’ with side zips to a door opening on either side. There is also a zipped connection to the sprayhood.

10. Ties are placed to hold open the door when rolled up; these were additions after the first season.

11. The aft panel is a vision panel. A clever toggle retains the tiller in the vertical position so it’s out of the way.

12. As desired when originally conceived, the new cockpit cover provides plenty of headroom.
Enjoyed reading this article?
A subscription to Practical Boat Owner magazine costs around 40% less than the cover price.
Print and digital editions are available through Magazines Direct – where you can also find the latest deals.
PBO is packed with information to help you get the most from boat ownership – whether sail or power.
-
-
-
- Take your DIY skills to the next level with trusted advice on boat maintenance and repairs
- Impartial in-depth gear reviews
- Practical cruising tips for making the most of your time afloat
-
-