


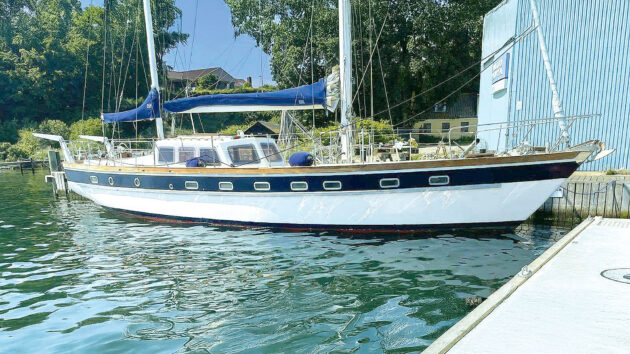
Beryl Chalmers spent six years building and fitting out a 48ft ferrocement ketch in the 1980s, which she then spent 13 happy years sailing
Adventurous dreams of travelling the world captivated my boyfriend and I when we were just 22.
But having just begun our careers, funds were limited, and we hadn’t yet got on the housing ladder – something our parents thought would be a more sensible thing to do!
Not to be put off, we asked lots of hardened, sailed-everywhere people what sort of boat we’d need to live aboard and go anywhere.
We didn’t really like the answer – 40ft plus – but we understood a 20-36-footer would not really cut it.
With minimal finances… well, actually none… we were still determined to follow our dream.
Cars and record players were sold. Every boating magazine was scoured – there was no world wide web in those days!
PBO inspiration
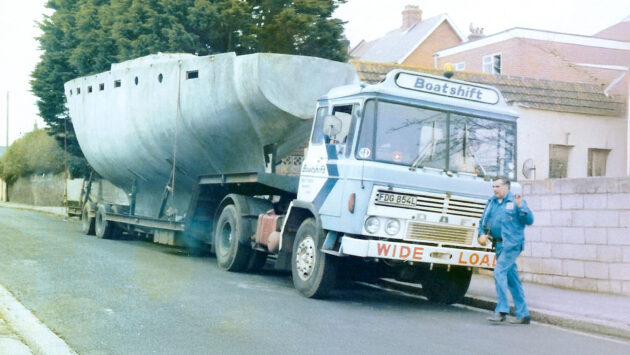
Project boat loaded in Weymouth and ready for the trip to Ipswich. Photo by Beryl Chalmers
We looked for doer-uppers – not worth it because so much would need replacing, before we discovered ferrocement.
It was the very late 1970s and there were many being built. As a young reporter I even covered a story about a family plastering their chicken wire and steel-rod hull near to where we lived.
To cut a long story short, we found a blank canvas project boat in an advert in Practical Boat Owner for £4,250.
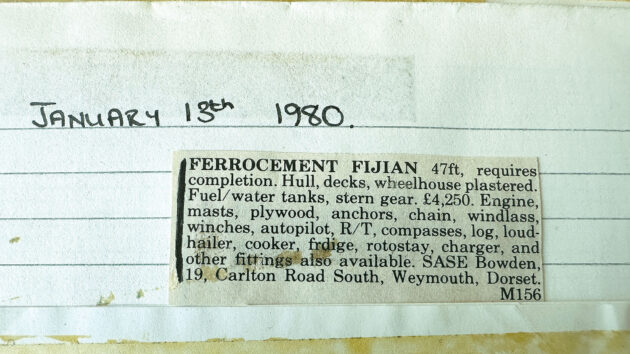
Where it all began – the advert spotted in PBO. Photo by Beryl Chalmers
The 48ft hull had been shaped, welded and wired by a man in Weymouth and the plastering had been carried out by a professional team.
The builder had bought much of the marine ply and fixings for us to begin but getting everything from Weymouth to the east coast was going to cost a lot of money, which we didn’t have.
A crane company was hired for Weymouth and low loader organised but, not knowing the area, we just had to go on the size of the adverts in the Yellow Pages.
Size challenge
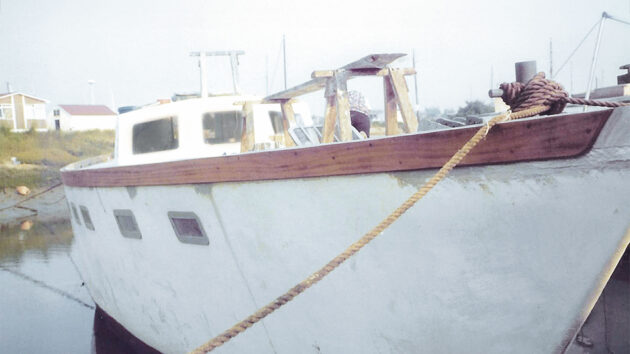
The finished bulwark. Photo by Beryl Chalmers
The cockpit sides would be too high to get under bridges through London (pre M25 days) and the deck had sagged. One weekend’s work saw us hiring a big angle grinder to sort it.
When the crane company arrived, their staff were surprised to find a boat. The original company had sub-contracted the job out.
We had to take down two garden walls to get the crane in but once in place, we were keen to get going.
On the first attempt at lifting, the strops parted and our worldly finances were heading to disaster
Fortunately, the crane driver managed to get it down to a couple of inches from the ground and then told us to prop it. Big learning curve.
The next obstacle was to get all the plywood home, plus other bits and pieces we bought from the owner – but we couldn’t afford the engine and masts he had also bought.
Hiring a van was very expensive given our financial status, but we found an old Commer van with a month’s MOT and tax for £100 so that would do.
When we drove up hills, the side doors would slide open, then shut again going downhill.
After use we thought we’d see if it could pass an MOT. It did on one tyre, so we sold it on for £70.
Launch
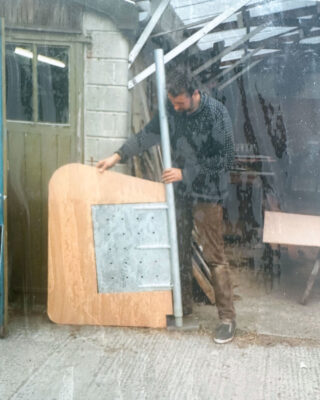
Finishing off the rudder after making a make-shift one to move into the mud-berth. Photo by Beryl Chalmerss
The boat was transported to Fox’s marina in Ipswich, not yet owned by Oyster Marine, where we painted the hull and built a temporary rudder.
She (by this time we felt it was looking more like a boat so became a she) was then launched and towed round to a mud berth opposite Walton and Frinton Yacht Club where she sat for six years while we fitted her out.
The first vertical post, from which everything else was measured, took three weeks to put in position.
Not being the most patient of people, reality started to dawn on me that the project might take longer than I thought so our travel dream might not happen for a while.
But I’m a determined person, so for six years we had no holidays, spent every weekend and time off work building and repairing anything required in the evenings to get the money to move forward.
Although it could have seemed like a chore when all our friends were going windsurfing in Thailand or skiing in the European Alps, I would say I really enjoyed the project, as did my boyfriend, Tim Goodwin.
I learned an enormous amount about boats – at that time I’d never sailed at all – and still today, 47 years on, I enjoy both woodwork and being on the water.
Start of fit-out
The first job was to cut most of the ferro deck off where it had sagged.
We hired the angle grinder again and persuaded friends and family to join in, so it didn’t take too long.
We left most of the ferro beams so that when we laminated a plywood deck, it was easy to fix.
Half-inch and quarter-inch plywood glued down, we then applied woven rovings glassfibre with epoxy to seal the wood.
While the weather was still warm we wanted to seal the deck completely so we welded 2in posts to the steel rods around the deck edge and then packed each side and top with iroko.
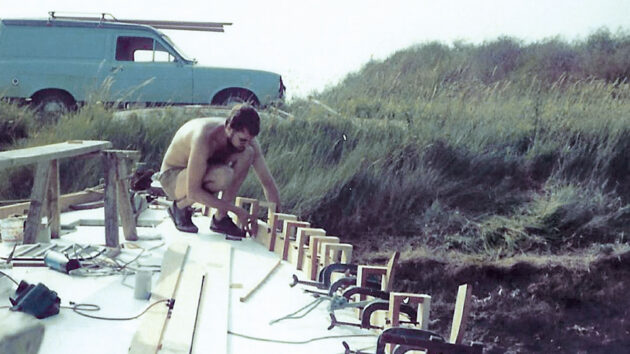
2in posts were welded to the steel rods in the hull with wood threaded over them and iroko screwed and clamped to it. Photo by Beryl Chalmers
Then came a new wheelhouse, again built of ply and GRP.
My father-in-law was an absolute craftsman with wood; he cut the upright corners with an immaculate fit and made the main hatch and doors while I tiled his bathroom. A good swap.
Then came floor bearers from the bow to the wheelhouse – again needing absolute measurements because you can’t use a spirit level on a boat – especially when the boat still goes up and down with the tide.
From there, I’d say it was fairly straightforward. Building bunks from the bow going astern to a double bunks cabin to starboard and a pull-out double to port and then the saloon, galley and first heads.
I tended to cut and plane the wood while Tim fitted it all.
BoatJumble bargains
Every Beaulieu Boat Jumble, auction and boating advert was visited to buy all the equipment.
It was lucky I was so naive about boats and how expensive everything was, as otherwise I might not have started.
But we sourced everything – a brand new gas boat cooker with hob, grill and oven from a second-hand shop for £50, main track and car from an auction, genoa track and cars from Beaulieu and even a second-hand main mast from a shed 150 yards from the mud berth.
It was complete with all stainless steel rigging, bottle screws, spreaders and wire rope winches. The owner had changed his boat from double spreaders to triple spreaders.
Woodwork continued for another five years, even building a spiral staircase (okay, only four steps) from the back of the wheelhouse to the stern cabin.
In all, there were nine berths plus the saloon and wheelhouse.
We called it a wheelhouse as we planned to install an inner helm, but that never happened as we discovered we could get a remote control from the Brookes and Gatehouse autohelm with a long wire. Wireless hadn’t happened by then.
Building locker or cabin doors would have proved to be too time-consuming and expensive as we wanted hardwood.
Up came a closing down sale in the local MFI furniture store where I bought a couple of dozen hardwood louvred doors of all shapes and sizes for a couple of pounds each.
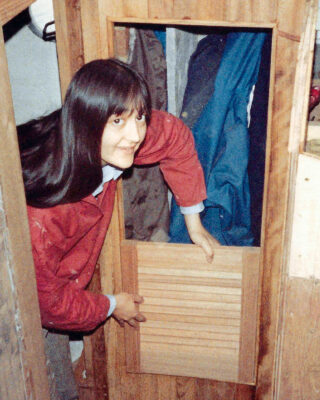
MFI came to the rescue with louvred hardwood doors for a couple of pounds each. Photo by Beryl Chalmers
So, the locker sizes were built according to the sizes of the doors.
Running wires throughout the boat was done through conduit as we went along, as was plumbing.
I found this task very frustrating as it took a long time but there was nothing to show for it – all was hidden behind bulkheads and cabin soles.
A couple of tasks which made the biggest difference to me was lining the hull and deckhead.
We cemented polystyrene tiles to the inside of the hull for warmth and covered the deckhead with white faced hardboard.
We knew this would not survive the test of time as it would soak up damp, but it was still there and looking good 13 years later.
Buying a very large roll of foam-backed vinyl from Beaulieu Boat Jumble, I then cut 6mm plywood between all the framing and around the hull ports. That job took 18 months.
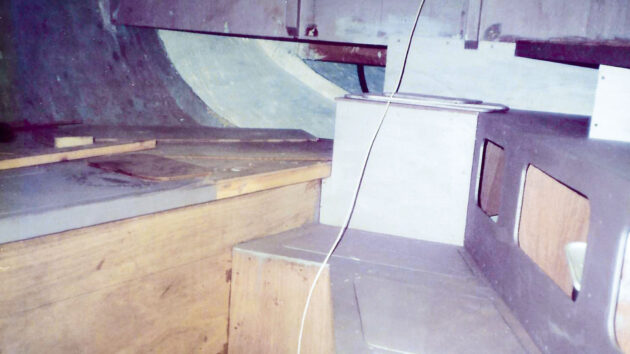
The stern cabin is almost finished. Hull lining and upholstery to come. Photo by Beryl Chalmers
Tim was then wiring everything inside and out – helming instrument pod, cabin lights, navigation lights, auto pilot, windlass (home made from an old starter motor) and batteries – thrown out by a shipping company who had to change every battery on the ship if just one went down.
We’d also planned to have a ketch rig so at this time, three to four years in, we found a new mast delivered from Japan to Ipswich but which had been dented.
It was longer than we needed so we cut the dent out and sleeved the join inside.
Good fortune
At times throughout the build, we were very lucky.
Doing Day Skipper and Yachtmaster courses locally, we heard about a suit of Terylene sails built in 1957 but never collected.
I called the sail loft and bought the beautiful sails with hand-stitched cringles for just £400. They lasted for 10 years.
Then came all the upholstery – an enormous task. I started with cutting all the foam with my mum’s electric carving knife, shaping all to suit the angle of the hull and piping all the covers around the framing in the hull. Another year.
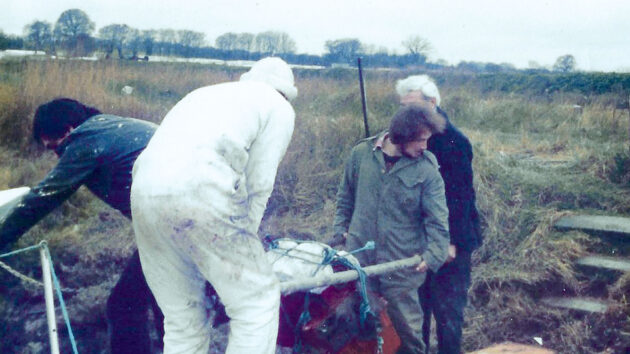
What would Health and Safety say to carrying a boat engine up a lightweight ramp. Photo by Beryl Chalmers
Earlier, we’d bought a nice condition old wooden 23ft motorboat. We part-swapped it for a Parsons 90hp engine.
Installing the engine was another story. With two scaffold poles and a home-made ramp up to the deck, we carried the almost 2-tonne engine between four of us and then, with a block and tackle, lowered it through the hatch and on to the engine bearers.
Many home-build boats show they are not professionally built by having straight edges and sharp corners.
We were very keen to avoid this so bought many teak extrusions and cappings which really made the difference. Again, without the internet, sourcing these was not easy.
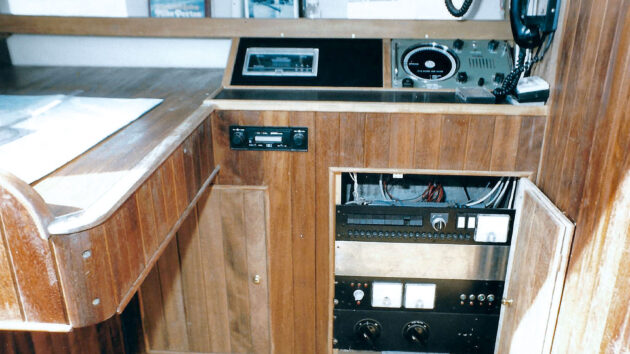
We tried to include as many curves in the woodwork as possible. Photo by Beryl Chalmers
It took us six years to complete Benjamin – so called because our cat, Benjamin, came to the boatyard with us.
Where Benjamin is now
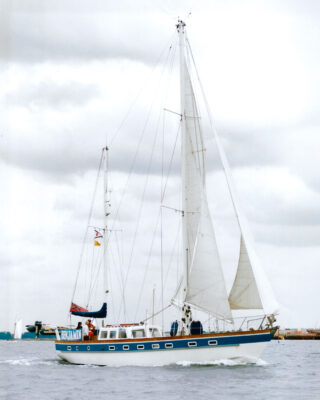
After six years of fitting out on a budget, Benjamin sails up Harwich Harbour. Photo by Beryl Chalmers
We sailed for 13 years but unfortunately then went our separate ways and the boat was sold.
That was in the year 2000.
Eighteen months ago I decided to try to track down the boat as it was an enormous part of my life – and my daughter’s.
I knew Benjamin had gone to the Baltic and now, at last with the help of the internet, the task was relatively easy.
I found her in Denmark and plan to go and see her this year.
She had swapped owners four years ago after lying with little attention for a few years, but the new owner had taken her on and brought her back to being a beautiful sailing boat once again.
Ferrocement Fit-Out Timeline
1980
- January – Advert spotted in PBO.
- February – Brought on a lorry to Fox’s marina, Ipswich – before Oyster Marine took it over.
- April – Painted and temporary rudder fitted to tow to Walton Backwaters.
- June – Motorboat part-exchanged for an engine.
1981
- April – Generator bought from Brightlingsea boat auction.
- May – Deck fitted and woven rovings GRP fitted.
1982
- May – Sails found at Gowen’s sail loft, West Mersea (£400)
- October – Mizzen mast bought and delivered (£228.75)
1984
- June – Hardwood edging bought.
1985
- February – Hardwood doors, £2 each.
- April – Foam bought to upholster.
- June – Stainless steel bought for bow roller fabrication.
- All electrics fitted.
1986
- First sea trials.
1987
- Yacht completed.
What happened to ferrocement?
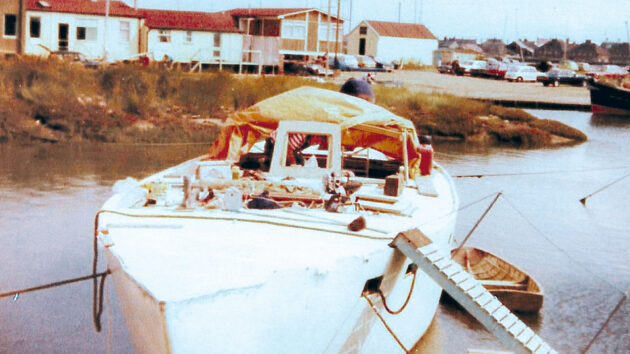
Stainless steel bought for bow roller fabrication. All electrics fitted. Photo by Beryl Chalmers
In the late 1960s through to the 1980s serious DIY enthusiasts chose the ferrocement route as a way to self-build a sailing boat not otherwise available to them.
There were more ferrocement boats built in the UK than elsewhere.
It needed higher than average DIY skills and a lot of hard grind – but there were hundreds of very successful craft launched to sail the world’s oceans.
Companies such as Seacrete based in Wroxham, Norfolk, went into commercial production in the 1960s and many yachts are still to be found with owners enjoying long-distance bluewater cruising today.
The Endurance range was most popular, which later went on to be built in steel and GRP too.
Ferrocement was also used as the strongest, most durable medium for things like children’s skateboard ramps, work boats and other projects looking for a long-term life.
Other craft built in ferrocement include a British-designed 120ft submarine.
A lot of ferrocement yachts were built on the east coast of England at Heybridge Basin near Maldon, as well as in Cornwall when one proven builder moved to the south west.
New Zealand was also another hub of ferrocement activity thanks to designer Richard Hartley of Hartley Boats.
Many Colin Archer wooden boat designs were turned into ferrocement too.
In simple terms, the shape of a ferrocement hull was made up of hundreds of steel rods welded together with at least seven layers of chicken mesh wire fixed with thousands of wire ties to the steel rods.
The hull was then plastered from the inside to the outside of the hull in one enormous non-stop job.
The finished shell was then ‘cured’ by spraying it with water to stop the hull from drying too quickly.
Fitting out was similar to any other construction method – bulkheads, cabin sole bearers and deck beams ‘glassed’ in.
But ferrocement boats were given a bad name by many poorly built amateur boats.
This led to insurance companies either refusing cover or insisting on staged survey inspections throughout the build, adding to the cost of what initially was a very cost-effective way to build your own cruising yacht.
Beryl Chalmers trained as a journalist and, over the course of her career, worked for a boat rigger, marine stainless steel fabricator, Oyster brokerage and finally as general manager of the Cruising Association. Health issues have meant her current boat, a Delphia 11 flylounge motorboat is for sale with the Norfolk Yacht Agency.
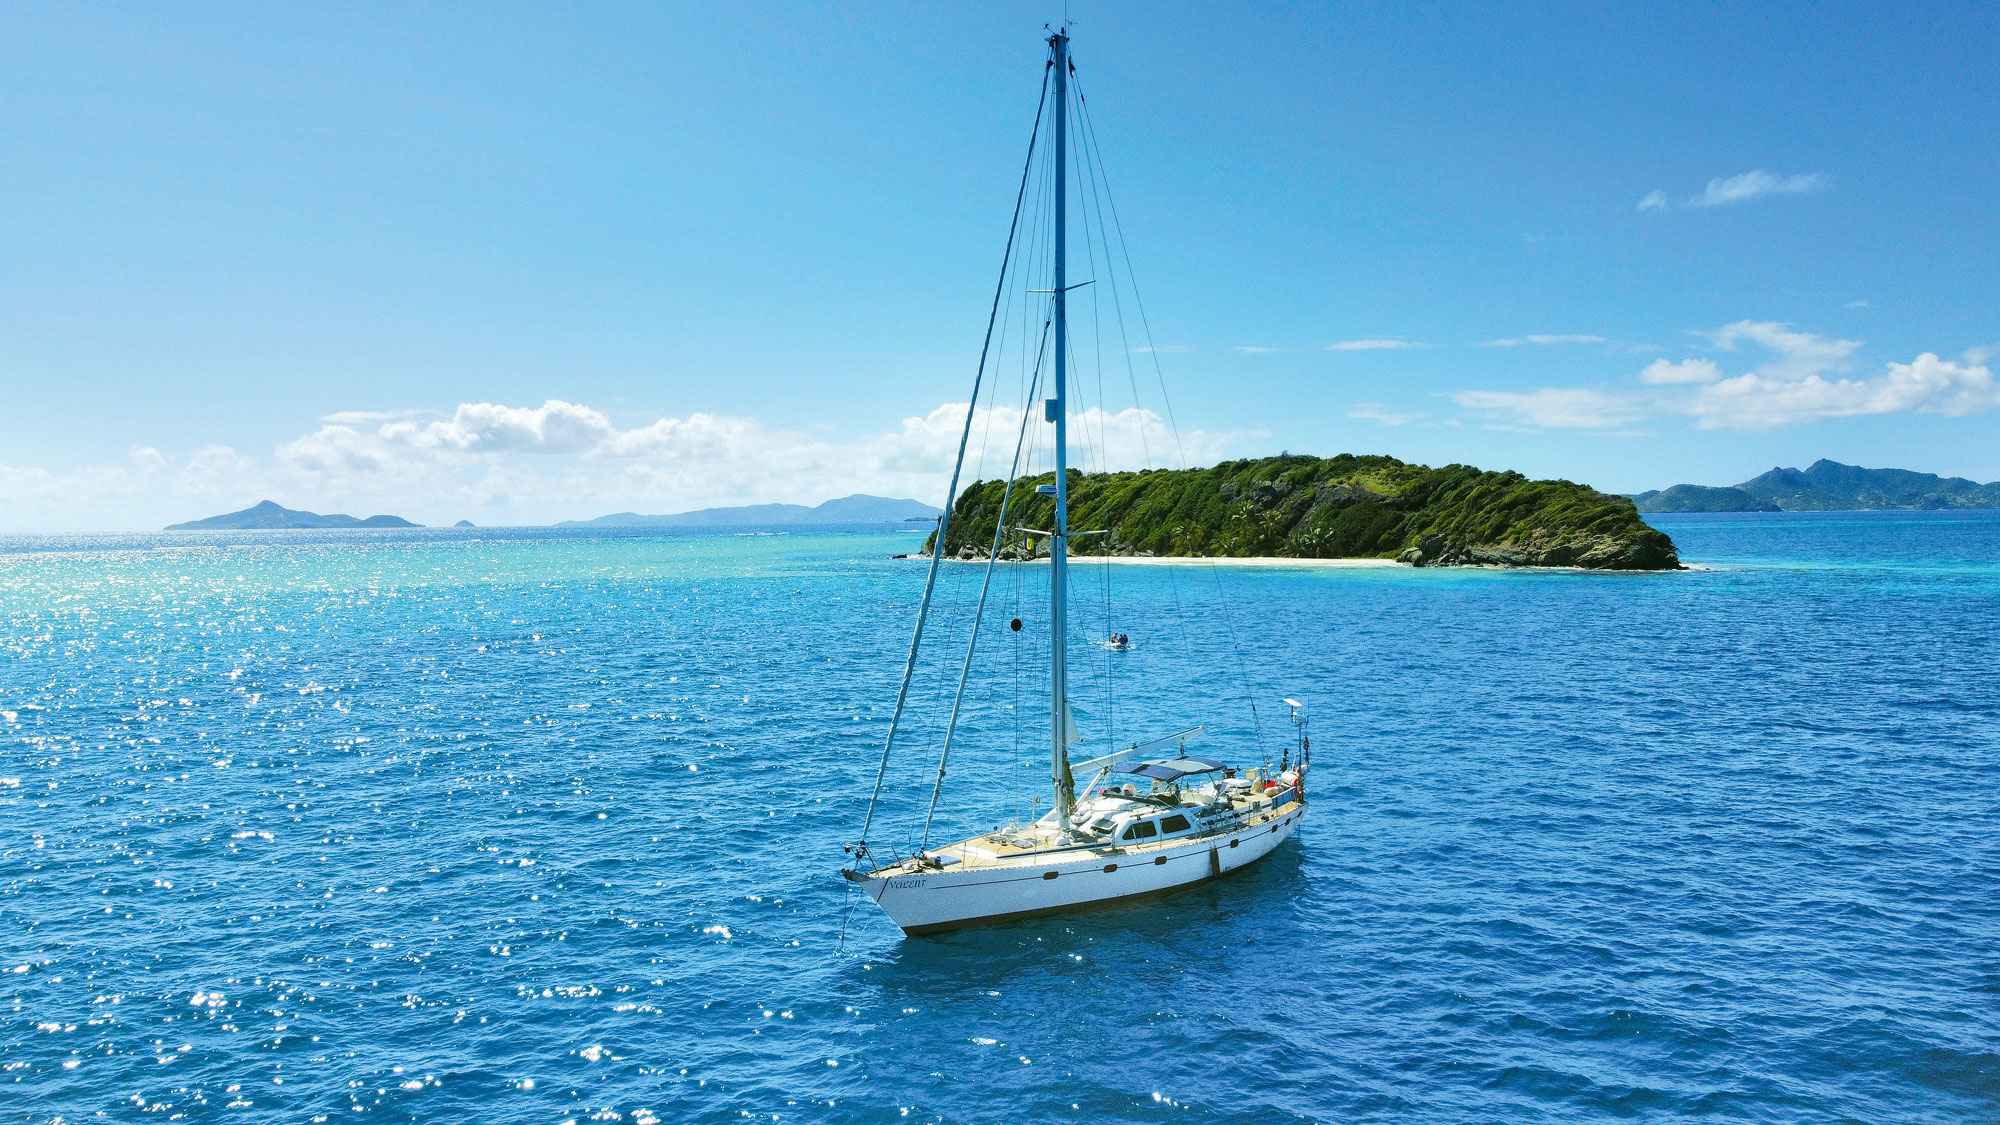
Sailing Valent: One cruising family’s tumultuous love affair with their 30-year-old Oyster bluewater cruiser
The minute you ring her doorbell it’s clear that Valent is a special boat. Yes, doorbell. Not your average ding-dong,…
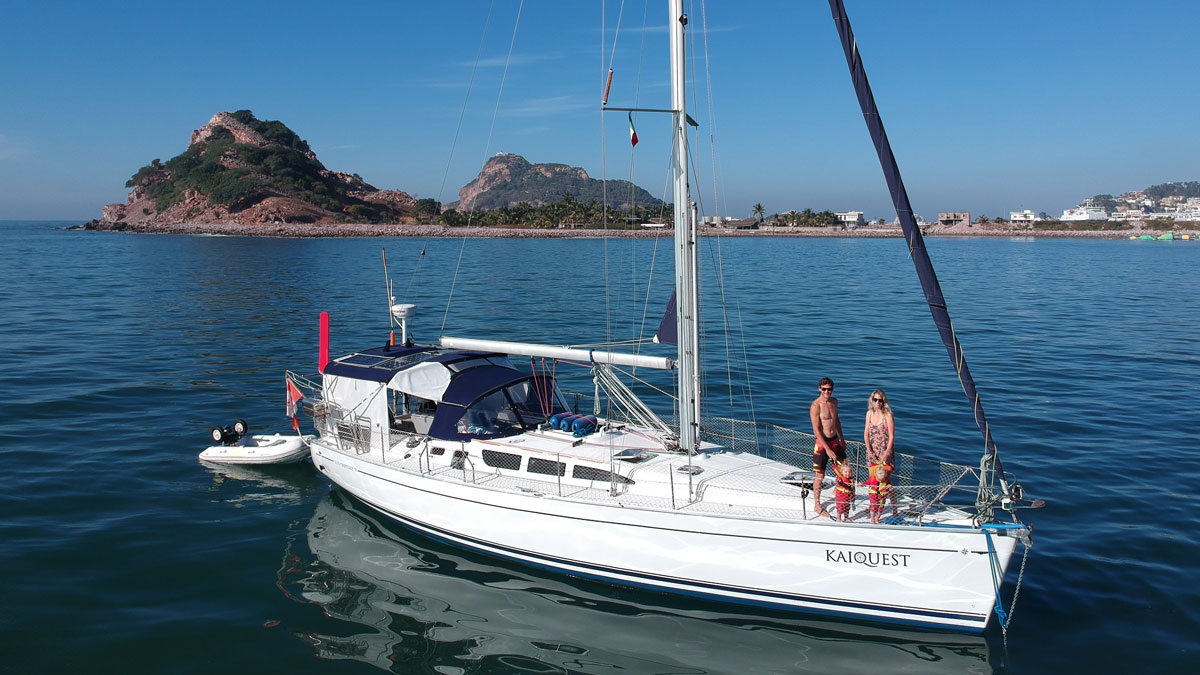
How we live the dream: sailors share their routes into bluewater sailing
There are many paths to bluewater cruising. Here boat owners share their stories with Ali Wood ahead of their transatlantic…

The VMG 40 – a 40ft kit boat for bluewater cruising
VMG Yacht Design's VMG 40 can be built from a modular kit and is aimed at the offshore cruising market

Equipping a boat for bluewater cruising
Factory boats are rarely ready for an ocean passage. Chet Chauhan explains the modifications he made to his Nautitech Open…
Want to read more articles about ferrocement home-builds?
A subscription to Practical Boat Owner magazine costs around 40% less than the cover price.
Print and digital editions are available through Magazines Direct – where you can also find the latest deals.
PBO is packed with information to help you get the most from boat ownership – whether sail or power.
-
-
-
- Take your DIY skills to the next level with trusted advice on boat maintenance and repairs
- Impartial, in-depth gear reviews
- Practical cruising tips for making the most of your time afloat
-
-
Follow us on Facebook, Instagram, TikTok and Twitter