
If you want to get the best from the British summer, a smart bathing platform can be a fabulous addition to your boat. Richard Johnstone-Bryden shows how it’s done
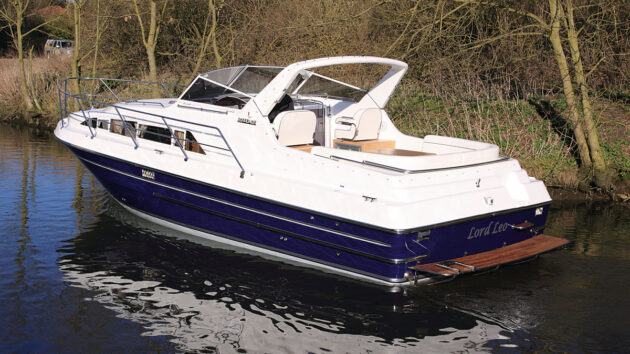
What better way to enjoy the heat of the summer than with a dip in the water from a boat swimming platform?
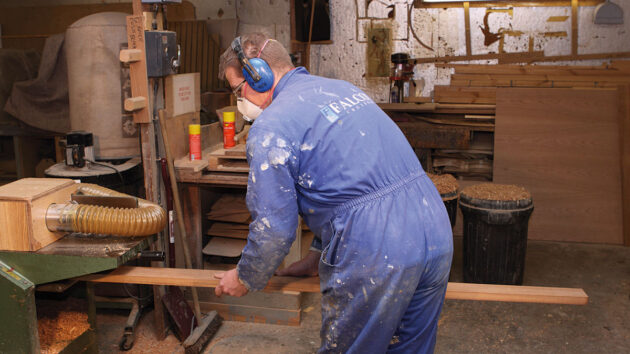
Building and installing a bathing platform can be a straightforward job, well within the capabilities of most practical boat owners. You’ll need a supply of suitable wood, competence with a jigsaw and router and the services of a skilled stainless steel fabricator.
In this example we show how a stainless steel/iroko bathing platform to one of their recently completed 9.45m (31ft) Sheerline 950 motorboat.
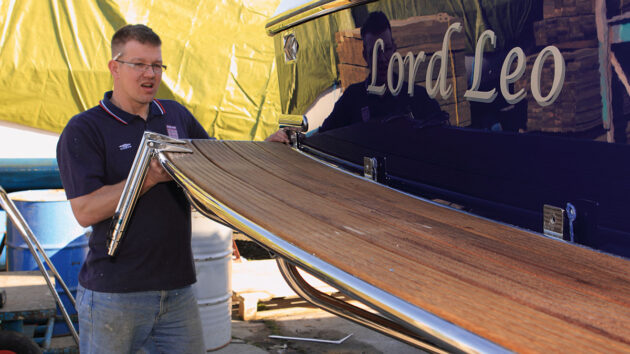
The boat swimming platform essentially consists of four curved iroko planks and a custom-made stainless steel frame. Iroko is used instead of the more customary teak because it has become increasingly difficult to source teak in the 14in wide, 12ft long boards that are needed for the platform’s curved planking.
Cutting the planks
Credit: Richard Johnstone-Bryden
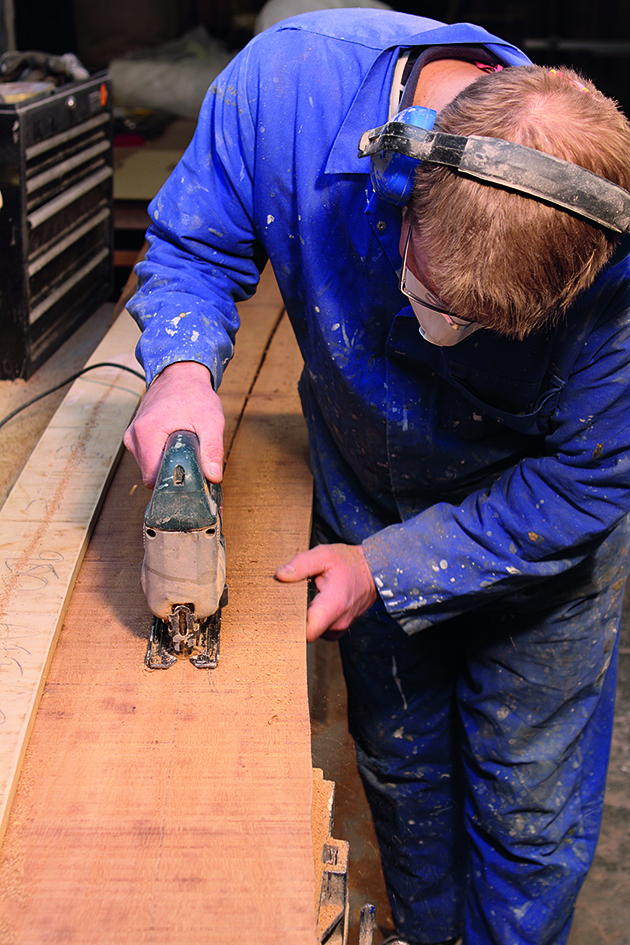
1. Begin making the planks by placing a pre-cut MDF template on top of the iroko board and tracing round the outer edge with a pencil, before cutting out the 3m (10ft) plank with a jigsaw. The template has been made to suit the already manufactured stainless steel frame.
Credit: Richard Johnstone-Bryden
2. Once each plank has been cut out from the iroko board, the MDF template is secured on top to act as a guide…
Credit: Richard Johnstone-Bryden
3..then run a router around the edge of the MDF guide, which trims the edges of the plank for an exact match.
Credit: Richard Johnstone-Bryden
4. Next, each plank is put through a planer to ensure it is 25mm (1in) thick.
Credit: Richard Johnstone-Bryden
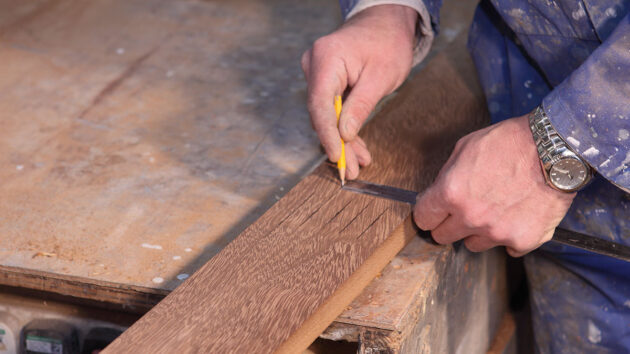
5. Now, carefully mark up the positions for grooves along the upper edge of the plank. These will improve grip when standing on the platform.
Credit: Richard Johnstone-Bryden
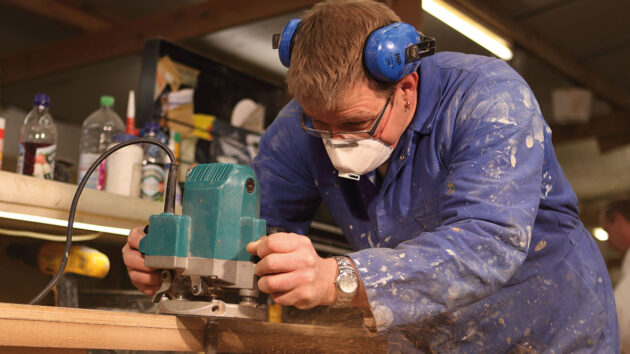
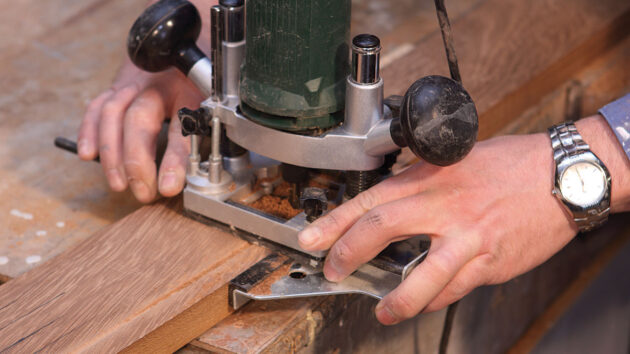
6. Using a router, cut five parallel grooves in the top of the plank.
Credit: Richard Johnstone-Bryden
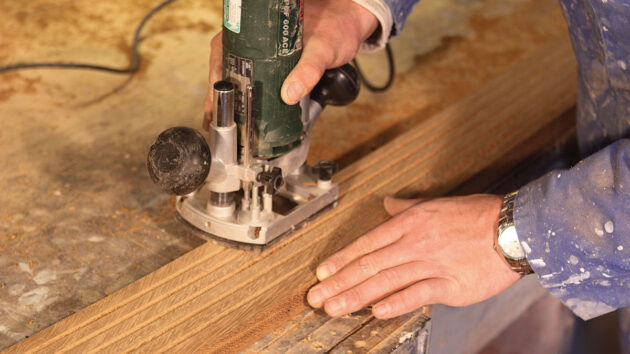
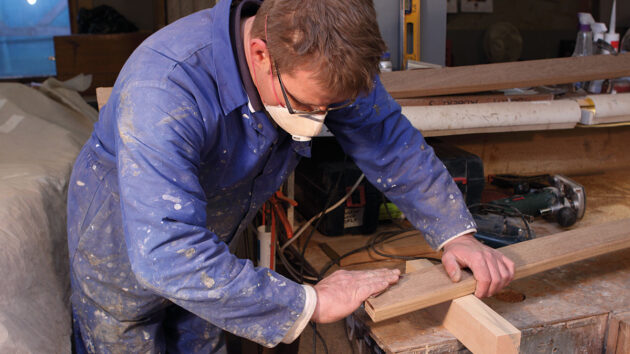
7. The router is then used to bevel the outer edges of the plank so there are no sharp corners to catch barefoot swimmers. The plank is then sanded, first by machine and then finished off by hand.
Credit: Richard Johnstone-Bryden
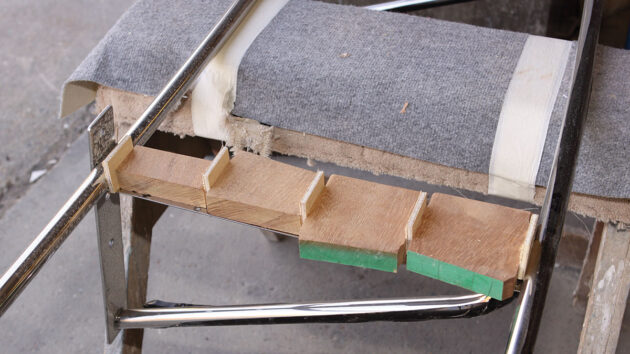
8. When fitting the planks to the frame, the objective is to have an even gap between the edges of the frame and each plank. To work out the spacing, place plank offcuts on the frame and try different thickness plywood spacers until the desired effect is achieved. In this case, 6mm (¼in) spacers proved the appropriate size.
Credit: Richard Johnstone-Bryden
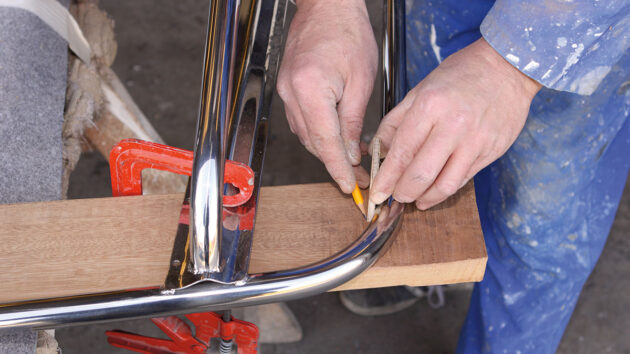
9. The first plank is provisionally clamped in position, so that the profile of the ends can be marked out by running a pencil along the inside edge of the stainless steel frame. A spacer between the inner edge of the frame and the pencil gives the appropriate gap. The plank is then removed from the frame, and the ends are cut with a jigsaw.
Credit: Richard Johnstone-Bryden
10. The upper edge of the newly-cut end is bevelled with a router before being sanded by hand to achieve a smart finish.
Fitting and finishing
Credit: Richard Johnstone-Bryden
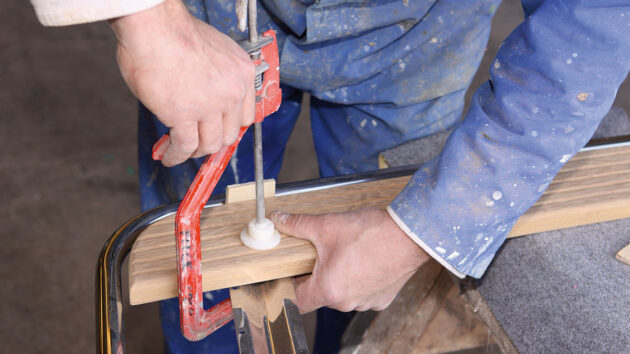
1. The plywood spacers are used to ensure the plank is clamped in the correct position…
Credit: Richard Johnstone-Bryden
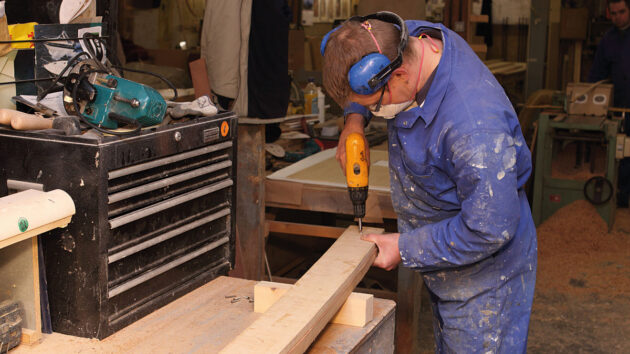
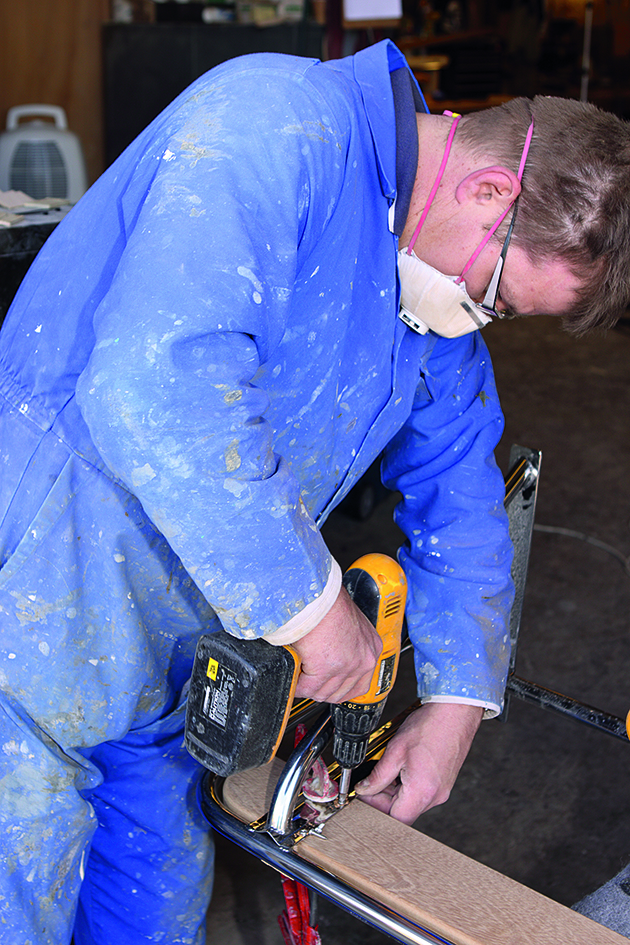
2…before it is drilled and screwed firmly in place from underneath.

Credit: Richard Johnstone-Bryden
3. The process is repeated for the second, third and fourth planks.
Credit: Richard Johnstone-Bryden
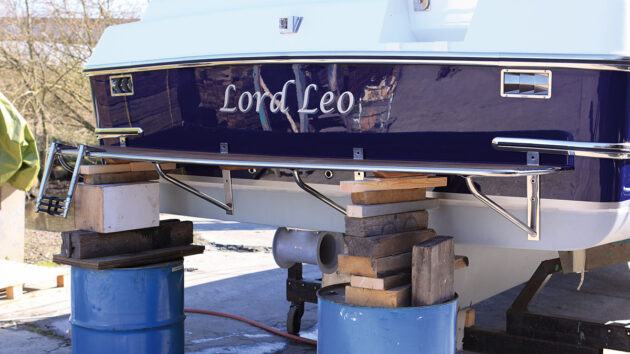
4. The next step is to determine the correct position for fixing the platform to the boat’s transom. Chock it up on wooden supports until it looks and measures right, then marks out the position for the holes on the hull using a chinagraph pencil (white shows up best on this blue hull).
Credit: Richard Johnstone-Bryden
5. No going back! Drill the holes for the stainless steel machine screws which will hold the frame in place.

Credit: Richard Johnstone-Bryden
6. The holes that are required for the platform will be above the waterline so silicone sealant is applied around each hole. If the holes been below the waterline a polyurethane-based sealant would have been used.
Credit: Richard Johnstone-Bryden
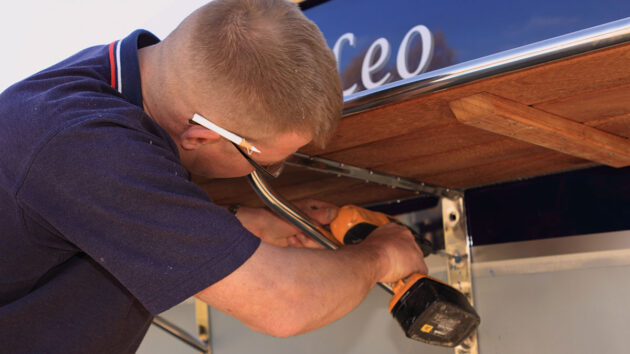
7. The platform is carefully lifted back into position.
Credit: Richard Johnstone-Bryden
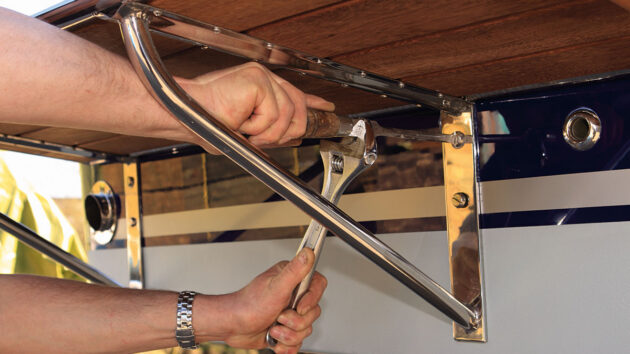
8. To ensure the pan head slotted machine screws don’t turn while a helper tightens up the nut inside the hull, use an adjustable spanner on his screwdriver to stop it twisting. The process is then repeated for all the other fastenings.
Credit: Richard Johnstone-Bryden
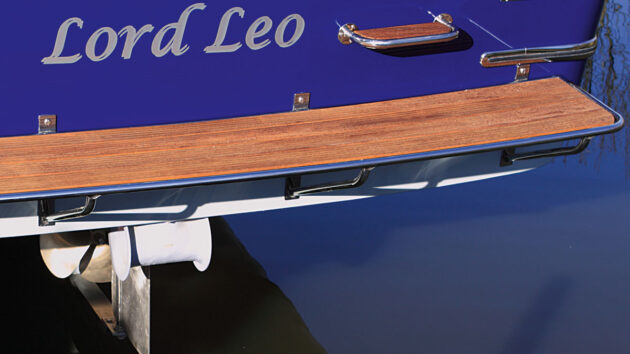
9. Excess sealant is removed as soon as the screws have been secured in place – a wooden or Perspex scraper is best to avoid damaging the gelcoat. To finish off, any remaining smears of sealant are removed using white spirit and a mutton cloth. The final result is a smart, professional accessory that will enhance the cruiser for years to come.

The art of veneering: step-by-step
Face up to the task of applying veneer with the help of boatbuilder Tony Davies

Boat wood: a complete guide for yacht owners
Boatbuilder and finisher Lyndon March explains which types of wood work best for different repairs and modifications on board
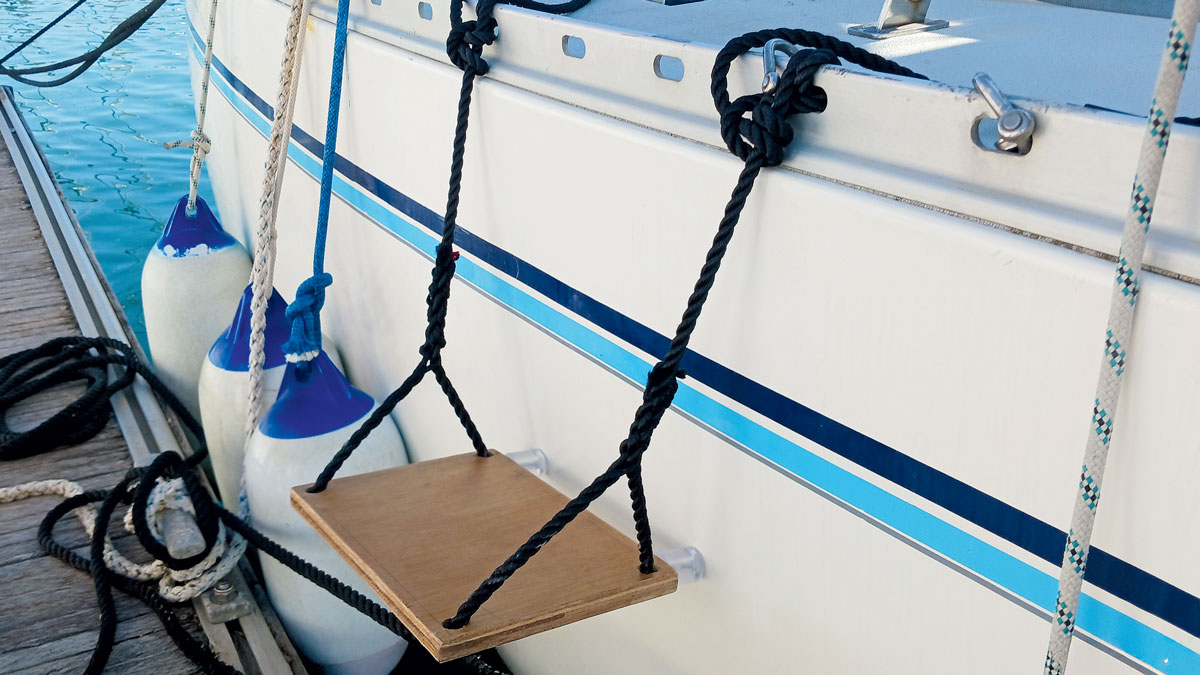
Make a boat step from salvaged wood and ropes
Mark Prior makes a step using £10-worth of material (which could be salvaged free)
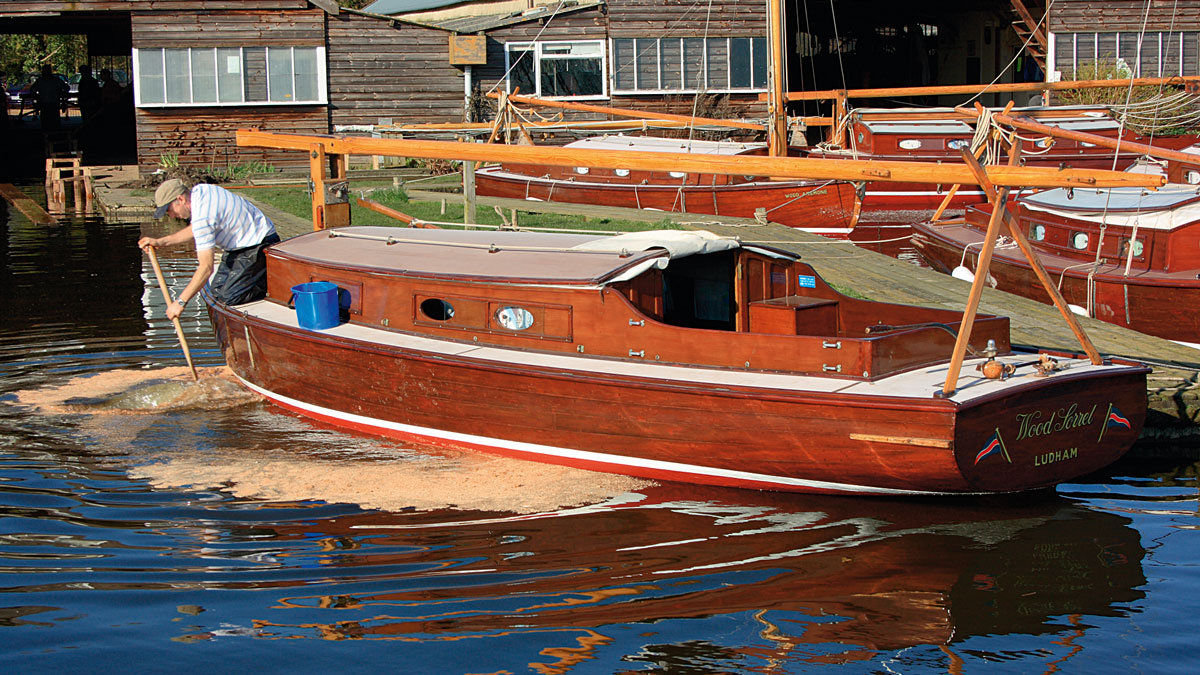
Using sawdust to plug leaks on wooden boats
Sawdust can be used to stem leaks between the wooden planks of a boat that’s been out of the water…

What to read more practical articles like Building a boat swimming platform: step-by-step?
A subscription to Practical Boat Owner magazine costs around 40% less than the cover price.
Print and digital editions are available through Magazines Direct – where you can also find the latest deals.
PBO is packed with information to help you get the most from boat ownership – whether sail or power.
-
-
-
- Take your DIY skills to the next level with trusted advice on boat maintenance and repairs
- Impartial, in-depth gear reviews
- Practical cruising tips for making the most of your time afloat
-
-
Follow us on Facebook, Instagram, TikTok and X