
Are you coming unstuck? If your headlining is starting to part company with the deckhead, it’s time for a makeover. Jake Kavanagh follows professional upholsterer Roger Nantais as he refurbishes a Westerly Seahawk

The biggest enemy of foam-backed vinyl is water. If this leaks in through deck fittings, it can gradually rot the foam; the glue fails to grip on the crumbling mess, and eventually the vinyl will start to fall down. Many owners make valiant attempts to fix the vinyl back up, but this can
often create more problems than it solves.
This article deals with linings stuck to hull sides. You can also stick them to removable plywood panels, which we followed in this article: Making Headlining Panels.
On Jane Scott and Chris Smith’s 18-year-old Westerly Seahawk 2+2, a combination of leaking deck fittings and high Mediterranean temperatures had gradually perished the foam backing, and the boat was looking decidedly scruffy inside. They decided to call in professional upholsterer Roger Nantais, who refurbished the linings from stem to stern. PBO followed his progress to learn some useful trade secrets.
Preparation
‘You really need power,’ Roger explained. ‘It’s possible to use hand tools, but the task is made much easier if you can use a hot-air gun, a vacuum cleaner and a drill with a wire brush attachment.’
As a result, the Westerly was moved from her mooring in Poole Harbour to Davis’s boatyard in nearby Hamworthy, where Roger was able to hook up to shore power.
Depending on the state of decay, it may not be necessary to renew all the headlinings at once, but on older boats you could have trouble matching the colours. This Westerly had fairly standard white linings thoughout, complemented by plywood panels on the deckhead in the saloon. In some areas, the original linings were trapped under substantial deck fittings, such as the chain plate bases, which Roger decided to work around.
With the headlinings down, many owners use the opportunity to check hidden wiring, and get to the base of any leaking deck-fittings. These need to be re-sealed before being covered in foam again. We started with the forward cabin first, which was the most badly affected.
Stripping off
The forecabin on this boat, as on many similar designs, has a complex headlining made of several panels of vinyl, all sewn together into a contoured piece. It may seem daunting to replace, but the procedure is quite straightforward.
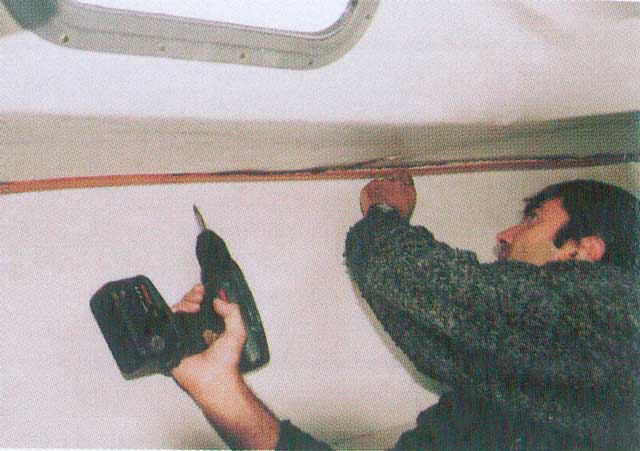
1: All the wooden trims and beadings are unscrewed. These won’t be used again, because the edges they normally hide will be made to look neater with stitching
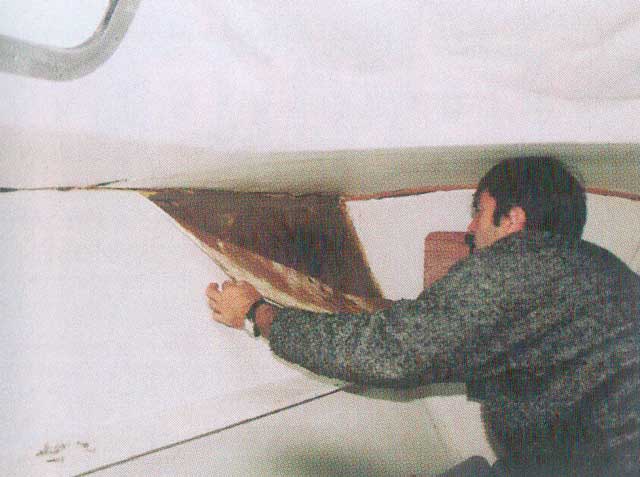
2: The vinyl panels are peeled back carefully, while trying to keep them in one piece to use as a pattern
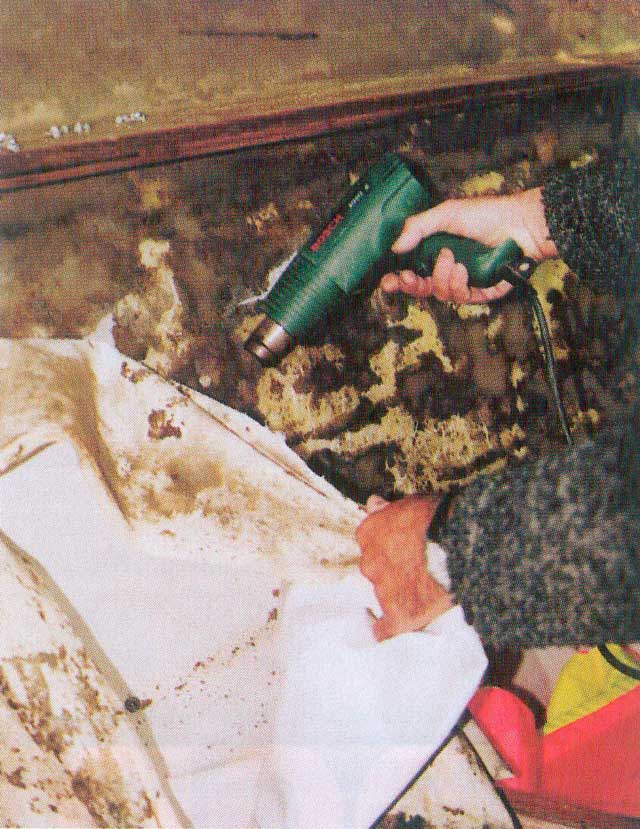
3: Any stubborn patches can be loosened with a hot-air gun
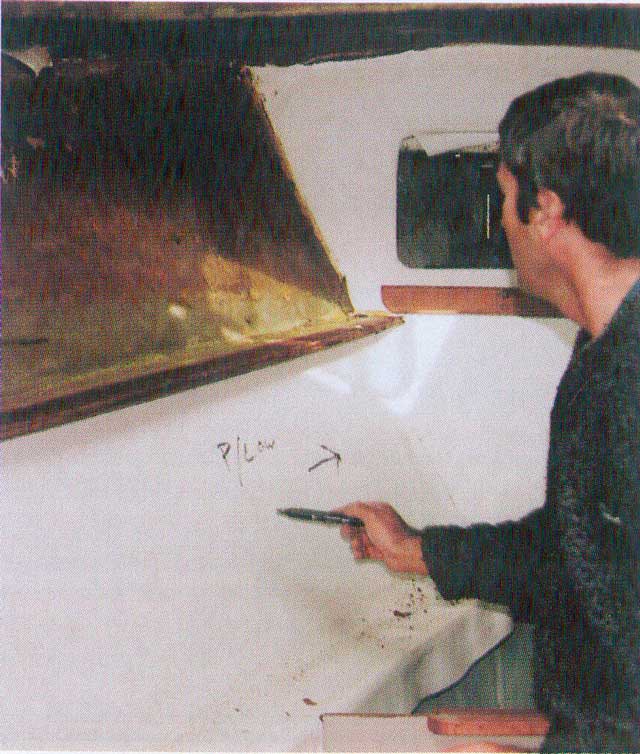
4: Before removing a panel, clearly mark its position and orientation – in this case, port lower, with the arrow pointing towards the bow
The hatch trim is unscrewed, and the side facing the bow marked with pencil so the screw holes can be relocated
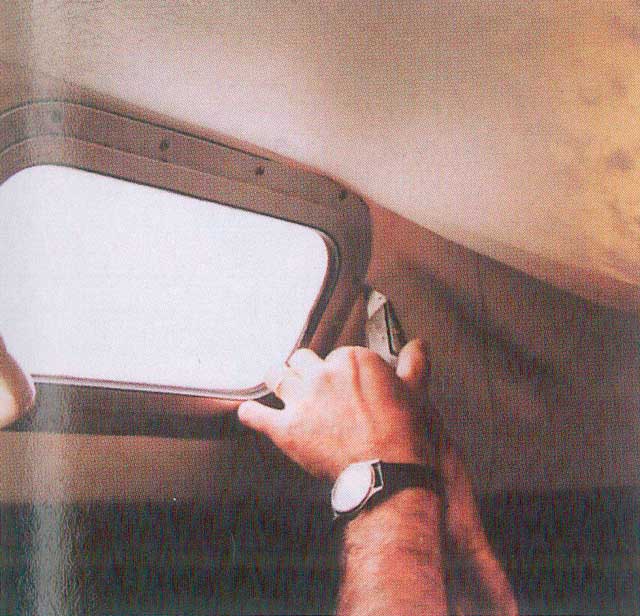
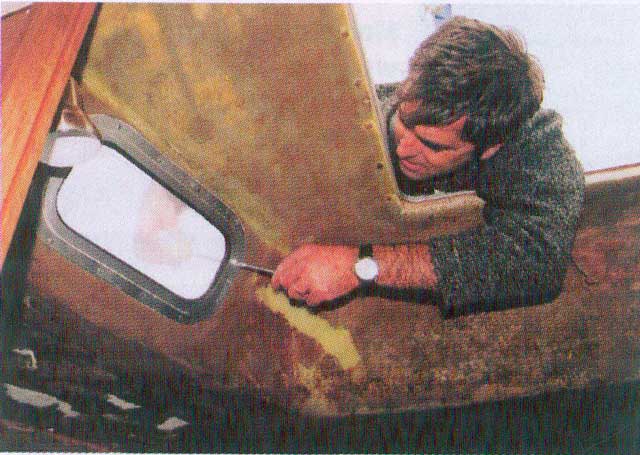
6: a blade is run around the edges of the window to free the vinyl. The window surrounds will be removed later
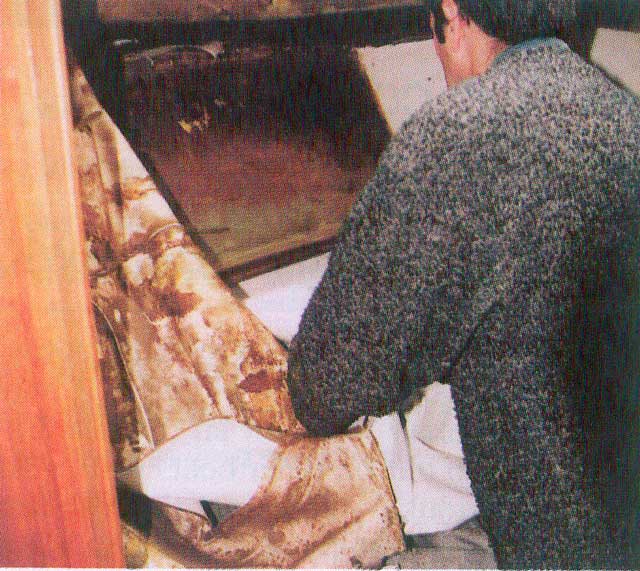
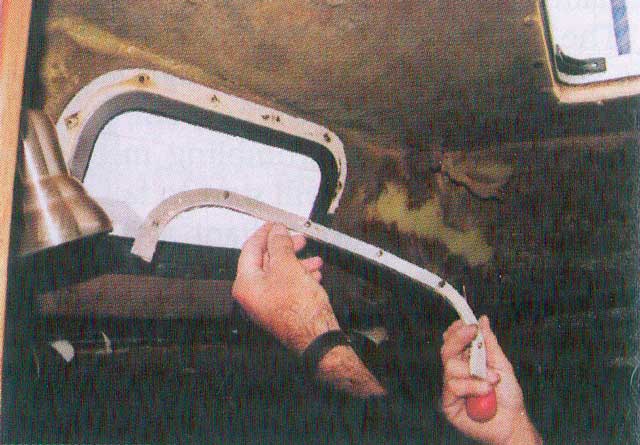
7: With the amount of degradation to the foam, the headlining piece comes down easily – and usefully intact
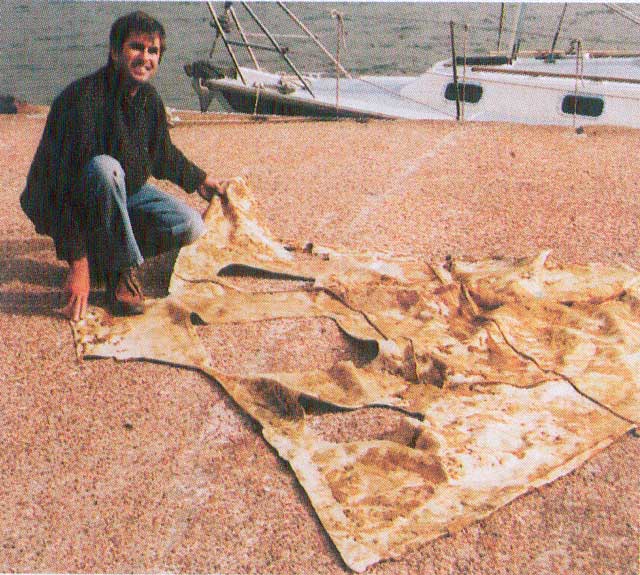
8: The upholsterer will use the old headlining as a template for sewing the panels that will make the new one
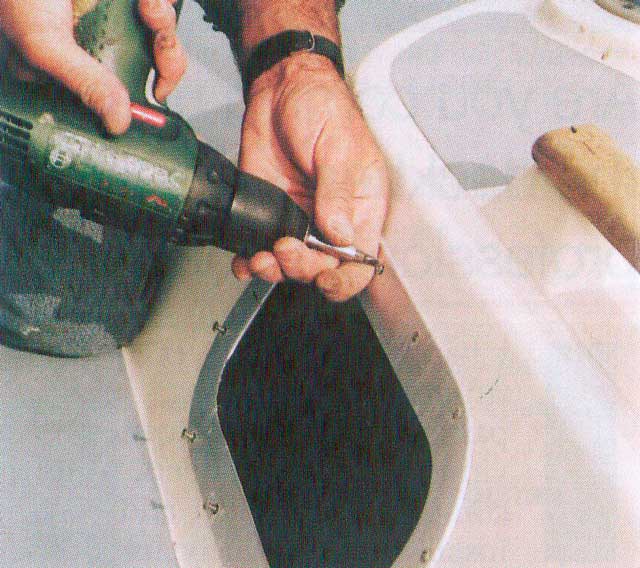
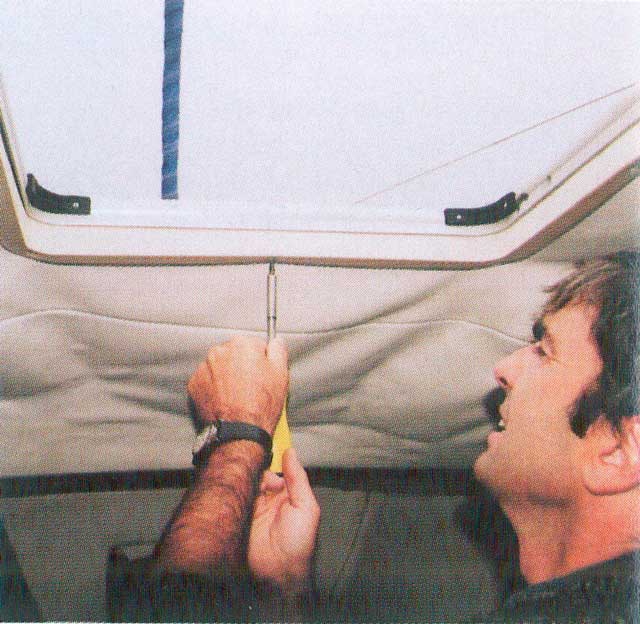
9: The window backs are held in place by flush-fitting bolts, which need to be removed from both the outside…
10: …and the inside. This will require two people in the more inaccessible areas. Those shown here present no problem for the solo worker
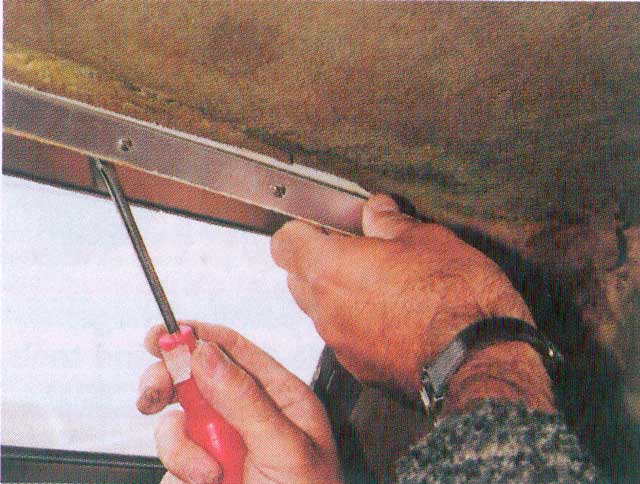
11: If the window frame is a bit stubborn, it can be prized off with a screwdriver, but be careful not to kink the metal.
12: With the inner frame removed, the vinyl beneath it can be stripped away. Remember to mark the frame in pencil to aid reassembly
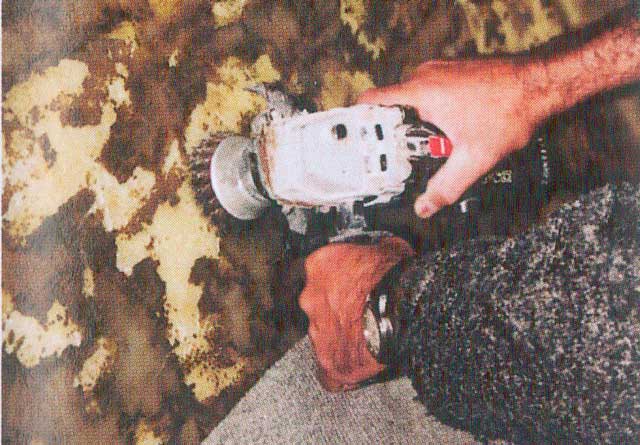
13: With all the vinyl panels marked up and removed, now comes the messy bit. Use the wire brush and hot-air gun to clean off all the old glue and foam. Previous attempts at re-sticking may have resulted in hard patches of glue, which have absorbed some of the crumbling foam. The smoother you can make the inside of the hull, the neater the finish will be. Sweep up with the vacuum cleaner, and make sure you wear a dust mask.