
Andy Pag takes apart a Rutland WG1200 turbine to see if he can get it turning smoothly again

Good friends Helen and Steve of SY Cerulean had been looking, without success, to gift their broken Rutland WG1200 boat wind generator to someone who needed the parts.
Then they heard I love a challenge.
With the advent of solar panels, wind generators are a fading technology.
They’re noisy, and the moving parts are a point of failure, but they do provide a back-up for cloudy days.
After four days without sun in Panama, and batteries hitting the red line, this was just the addition I wanted.
“It just started spinning really slowly and it hardly puts out any power.” Helen messaged me later.
Sure enough, the axle felt hard to turn.
A short circuit in the stator was causing the problem. Credit: Andy Pag
I stripped the boat wind generator out of the plastic body. The unit can be replaced for around £800 but that money could buy 1,000W of solar panels and this thing is only rated for 500W.
I hoped that I could identify the problem inside and figure out a more cost-effective repair.
My next suspicion was worn bearings in the generator.
Marlec has been producing these Rutland generators for years, but don’t provide any exploded diagrams of what’s inside the blue housing.
It’s always a bit unnerving opening up an unknown box in case you hear something inside snap, or 1,000 springs fly out.
With the cover off, I could see all the elements of a generator. Two spinning plates with magnets mounted on them like pizza toppings, sandwiching a bunch of coils encased in a black resin.
This configuration is called an axial flux generator.
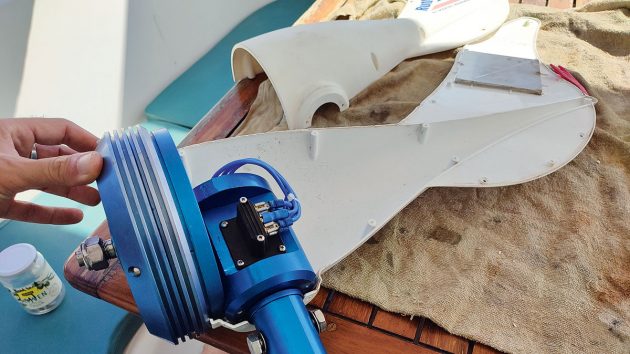
Andy’s WG1200 wind generator was a 2016 model. Credit: Andy Pag
I replaced the bearings but it was still heavy to turn.
The only thing left that could be causing resistance was the ring of coils, known as the stator.
It wasn’t physically touching but if the coils had a short circuit, they could be generating a magnetic field of their own to counter that of the spinning pizza plates and create a magnetic resistance – the principle used by the electronic brake to stop the unit spinning uncontrollably when not in use.
I measured the resistance of each of the three coils and they were consistent; a good sign.
But then I measured the electrical continuity between coils. The three coils should be isolated from each other, but two of them were connected implying a short circuit.
To be sure, I spun the shaft with a drill while measuring the voltage across each of the three output phases.
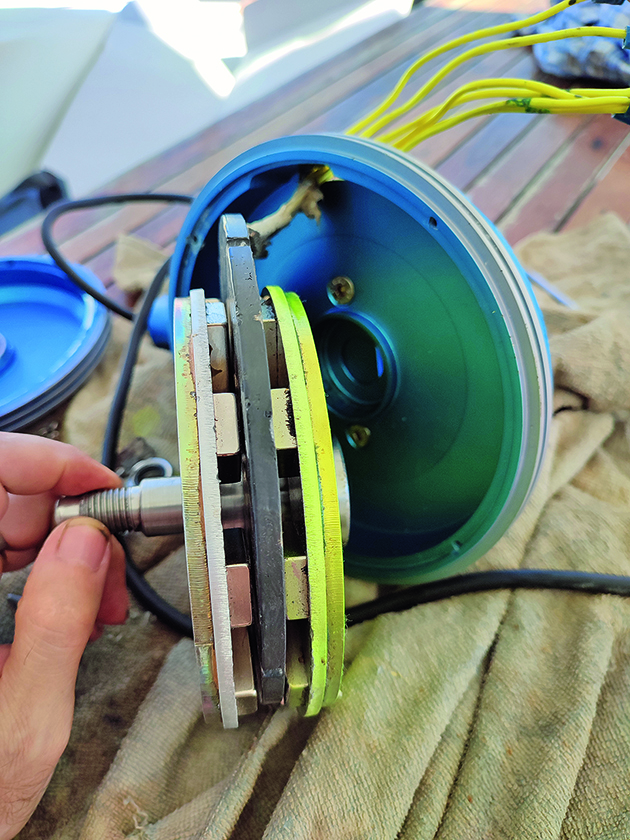
Once the blue housing was opened, the axial flux generator was revealed. Credit: Andy Pag
The three-phase configuration should create three equal alternating voltage outputs which I measured with a multimeter set to read AC voltage.
At the constant rpm provided by the drill, two of the outputs were 10V, but one was only 4V. Marlec’s Sarah Tomes helpfully suggested alternative ways to test the stator and confirmed that my results indicated it had failed.
To her credit, she did initially offer to supply a replacement stator, but further investigation revealed that the stator Marlec makes these days wouldn’t fit my 2016 model.
On the face of it there’s not much to a stator. It’s just a series of coils made with ‘magnet wire’ – copper coated with a thin flexible insulating enamel.
Continues below…
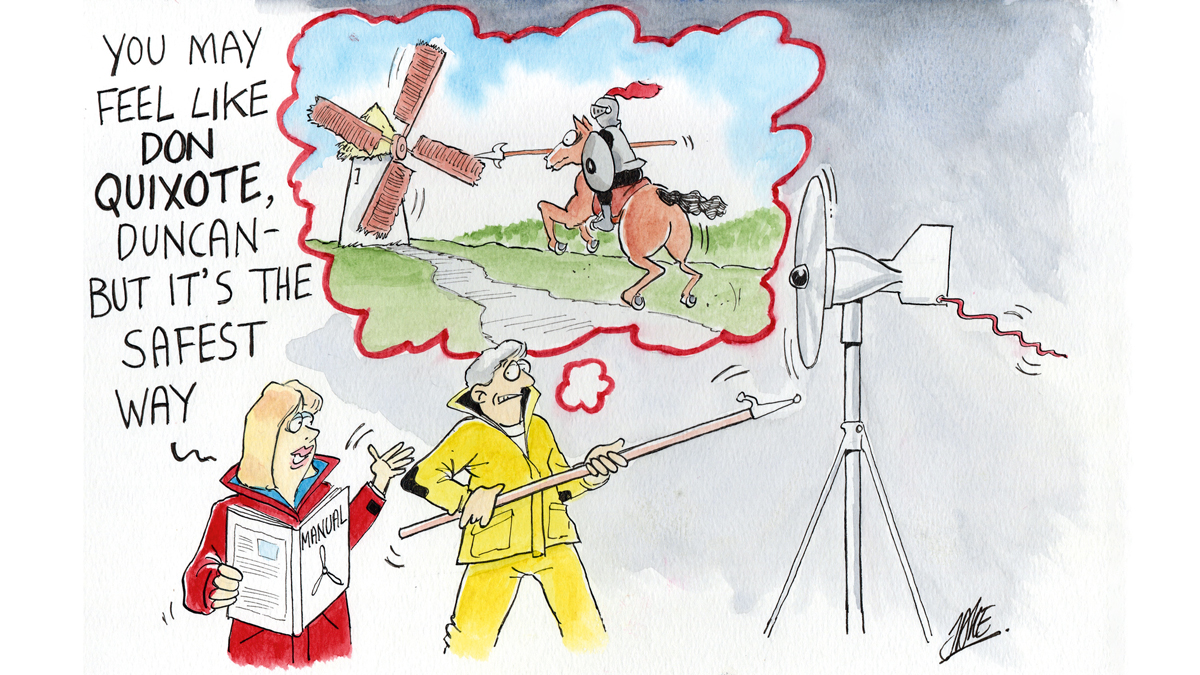
How I lost the battle with my wind turbine – and nearly lost my arm in the process
Wind generators provide an additional power source for keeping batteries topped-up, but they have the downside that the noise generated…

Battery maintenance for boat owners: How to look after your boat batteries
For all but the smallest and simplest of craft a reliable supply of battery power is essential to keep both…

Jimmy Cornell boat survey reveals how much sailing has changed in 40 years
‘During the past four years I have sailed through some of the major crossroads of the cruising world: Rhodes, Gibraltar,…

Boat power management: How to keep your batteries topped up
Now we’d decided on batteries for Maximus the next conundrum was how to keep those batteries charged. Premier Marinas had…
But the devil is in the detail; for the boat wind generator to produce the right voltage and current, the diameter and length of the wire, and the number and the direction of the coiling has to be just right.
Usually, the number of coils in three-phase generators like this one is a multiple of three, typically nine or 12, but this stator appeared to have 10 coils and 10 magnets, which doesn’t divide by 3!
Also, unusually, each coil appeared to be made with two wires rather than one.
I asked Marlec for help but the firm wasn’t able to provide a schematic of how the coils are laid, citing intellectual property.
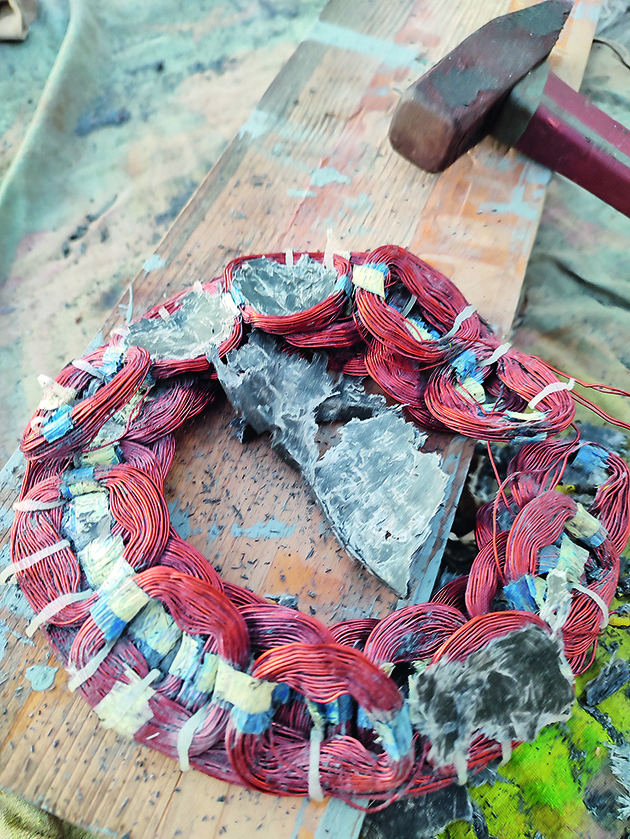
So my only options were to either disconnect one of the shorted coils and allow the generator to work on two thirds of its rated power, or ‘reverse engineer’ the stator with a hammer to see how the coils were laid out and try to replicate it.
I opted for the hammer.
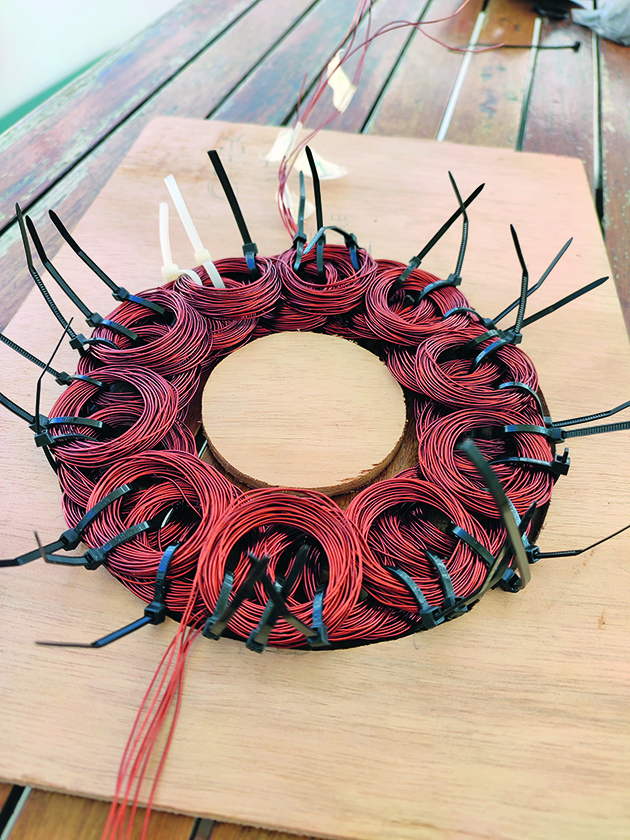
The rebuilt stator, using magnet wire. Credit: Andy Pag
As it broke up I could see there were six sets of five coils, each with 40 turns in alternating directions.
I was able to measure the diameter of the wire and draw out a schematic.
This configuration is similar to a serpentine coil and, like serpentine coils, each set of 10 coils was offset from each other at an angle to create the three-phase output needed by the controller.
Magnet wire is bought by weight rather than length, and I set about reproducing the layout with 500g of 22-gauge.
After a bit of experimenting I found the best way to make the coils was to wrap them 40 times around a hotel shampoo bottle that happened to be about the right diameter.
Each of my coils weighed 62g, compared with the original of 67g, so if the bottle had been a little bigger it would have been perfect.
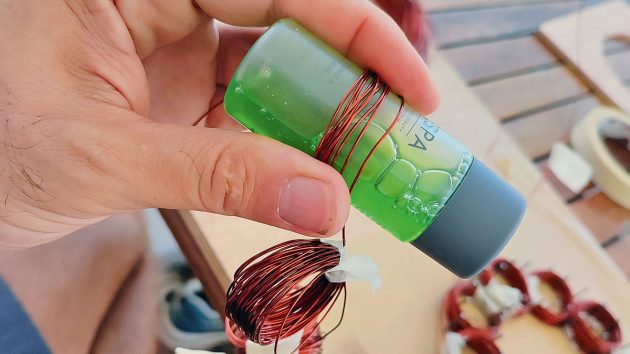
A travel size shampoo bottle was invaluable for making the coils. Credit: Andy Pag
Lighter coils mean shorter wire, which means less resistance, and that creates higher current but lower voltage.
I judged the 7.5% difference was an acceptable drop in output voltage as the unit is designed to charge 12V or 24V systems, and I’d only need the 12V output.
More concerning was if the current got too high it might melt the enamel and create another short.
The original black stator material had a clammy feel to it, implying it was a good thermal conductor and undoubtedly better than the epoxy I was going to use to set the coils.
Making the windings is a lot like braiding hair. I tied the sets of coils together with zip ties to lock in the angular offset of the three phases, and dropped them into a mould I made from an old breadboard and a piece of 7mm plywood – the height of the original stator.
I’d fill this with epoxy, but flattening all that copper down to the right thickness was a real challenge.

After flattening down the new stator, Andy encased it in epoxy. Credit: Andy Pag
I used a food vacuum sealer, and even stood on the coils in bare feet to get them into a flatter shape.
Eventually I made a lid for the mould, poured in the epoxy, and screwed the lid down hard.
It was lined with parcel tape and smeared in furniture wax to ease the release.
I’d chilled the epoxy in an ice bath to prevent thermal runaway that could melt the enamel off the wire and used a slow cure hardener.
After 24 hours it came apart easily and after tidying up it was ready to fit and test.
Unfortunately, it was still 2mm too wide, so I needed to fabricate a spacer to keep the pizza plates from rubbing against the stator, and the whole housing would no longer seal properly.
I made it weatherproof with some electrical tape, and drilled some new fixing holes and threads to keep the housing together.
A very unsatisfying cosmetic finish.
To my huge relief, the axle spun without any resistance, and the drill test produced equal voltages across all three outputs of around 22V AC at a modest rpm – more than enough to make the 14V DC charging voltage I need.
Some of the plastic casing needed repairing with a hot glue gun and I bought a cheap 500W charge controller from ebay to complete the kit.
The total cost of materials was under £50, but the joy of learning about the internals of a boat wind generator was priceless.
For more on building and understanding generators, search for Robert Murray Smith on YouTube, particularly episode 1800 on serpentine coils.
Enjoyed reading Repairing a broken boat wind generator?
A subscription to Practical Boat Owner magazine costs around 40% less than the cover price.
Print and digital editions are available through Magazines Direct – where you can also find the latest deals.
PBO is packed with information to help you get the most from boat ownership – whether sail or power.
-
-
-
- Take your DIY skills to the next level with trusted advice on boat maintenance and repairs
- Impartial in-depth gear reviews
- Practical cruising tips for making the most of your time afloat
-
-