



Kerry and Fraser Buchanan convert a cavernous coolbox into an efficient, near-silent keel-cooled fridge
Our 1984 Barbican 33 Barberry, designed by Maurice Griffiths, has had a busy few years. In 2023, my husband Fraser and I sailed her from Northern Ireland to Greece via the French canals, so of course there were many adaptations required to fit her for the hot, dry Mediterranean weather.
One of the items Barberry did not possess was a fridge, only the familiar coolbox designed for day or weekend sails, where freezer blocks supposedly keep your sandwiches fresh until you reach the anchorage. The coolbox on Barberry was cavernous, but had very little in the way of insulation, only a double skin with an air gap of around 5mm thickness.
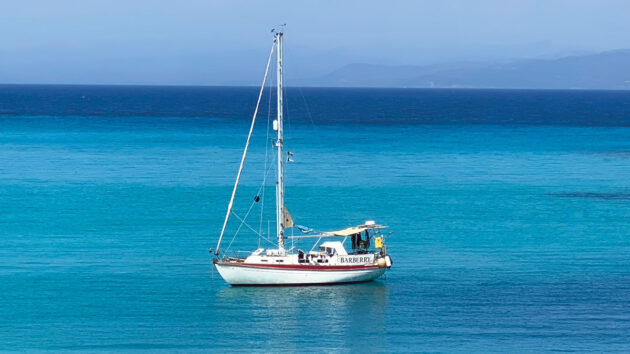
Barberry, the 1980s built Barbican 33, has now sailed 3,000-plus miles with a keel cooled fridge. Credit: Kerry and Fraser Buchanan
For a while we used the coolbox to store tins and long-life milk and had a portable plug-in cooler for weekends away, but the 12V cooler took up a lot of space on our quarter berth and was awkward to open to get at its contents. It didn’t keep the food especially cool, and drew heavily on our batteries, so it was always going to be a temporary solution.
We tried shopping around for a nice, shiny, new fridge that we could slot into the gap, but the space available was quite tight, and the only ones we could find were front-loaders. We’d had one of those before in a previous boat and discovered that opening the door to get to the milk while under sail often led to an avalanche of salad and yoghurt onto the floor, plus cold air tends to flood out of the front- opening doors whereas, cold air sinking to the bottom, a top-loading fridge doesn’t have this issue.
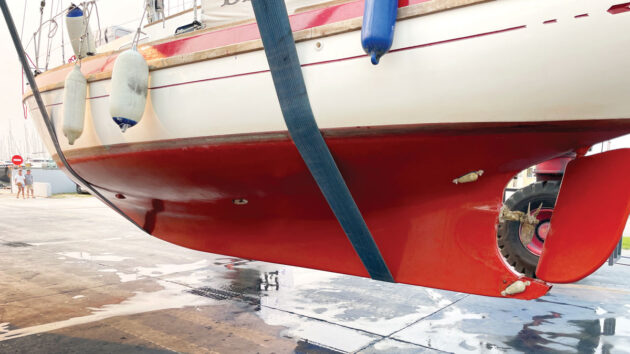
Spot the keel cooler (between the two lifting strops). Credit: Kerry and Fraser Buchanan
Fraser is a man who hates to expend more effort than he needs to, so it didn’t take long for him to decide to repurpose the existing cool box. After much research, we decided on a keel-cooled fridge, because air-cooled would be relatively inefficient in the high temperatures we hoped to be experiencing if our dream of cruising
to sunnier climes finally happened.
Fraser’s reasons for choosing to remodel the coolbox were that the existing coolbox was a good size, with more capacity than an off-the-shelf fridge. And because top loading is good for hot climates as it doesn’t lose as much heat every time you open the door as a front-loading fridge. Plus, it was already there – this was probably the deciding factor.
Repurposing a coolbox into a keel-cooled fridge

Credit: Tom Viggars/Alamy
1. Insulate the existing cool box. To do this, Fraser bought sheets of closed cell insulation with reflective sheets on the outside, similar to the stuff used in house building. The maximum he could fit in was 4-5cm thickness, and he jammed it in on all four sides plus the bottom. This seemed to involve a lot of heavy breathing and some muffled complaining, but he got there in the end. Afterwards, he filled any remaining gaps with expanding foam which also insulated the fridge and the whole thing was held together by gaffer tape.
Credit: Kerry and Fraser Buchanan
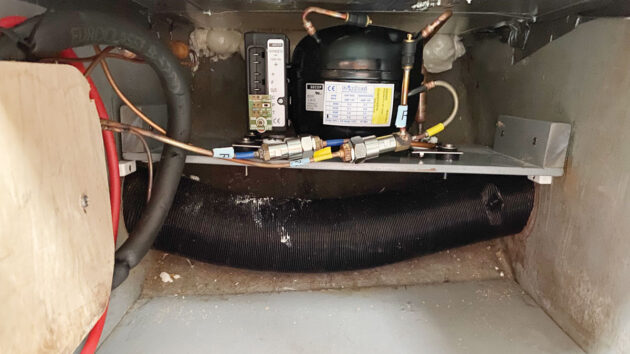
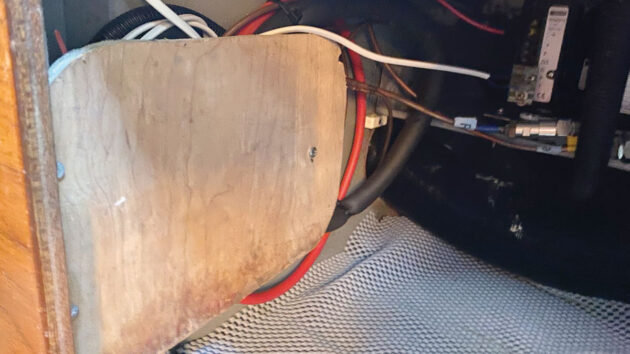
2. Build a plywood shelf beneath the cool box to house the compressor and pipework. Fraser also boxed in vulnerable pipework at the aft end of the locker so we could use the front area of the small locker for stowage without damaging the equipment.
Credit: Kerry and Fraser Buchanan
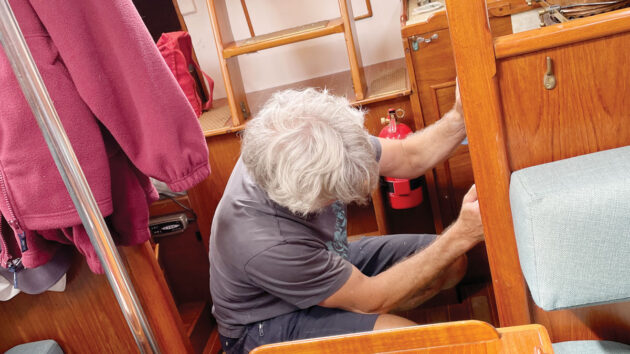
3. Secure the evaporator plate against one side of the cool box. Luckily, it fitted the long side perfectly in ours, but if it had been too long it’s possible to bend them with care so they make an L-shape.
Credit: Kerry and Fraser Buchanan
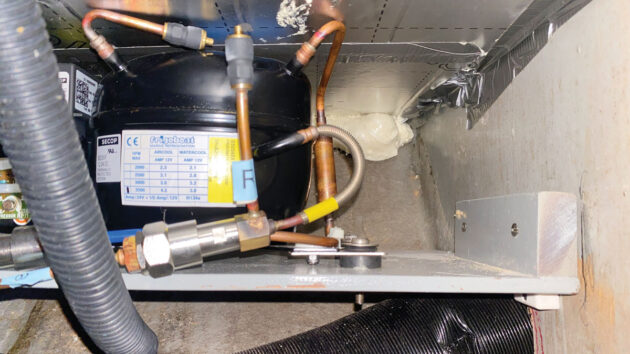
4. Now it’s time to drill a hole in the hull for the pipework to connect with the keel cooling. In a small-ish boat like Barberry, there’s not a lot of room to play with and it was quite hard to find a spot inside the hull that was accessible for the drill, yet close enough to the compressor for the tubing to reach.
It came with 1.5m of tubing, so that limited our choice.
Credit: Kerry and Fraser Buchanan
5. The compressor could have been sited further from the cool box, as the pipes between it and the evaporator plate can be much longer, but that 1.5m maximum between compressor and keel cooler is a fixed length. Luckily, a friend of ours, Brian, absolutely loves drilling holes in other people’s boats, so he stepped in at this stage and took over the drilling from Fraser.

Credit: Kerry and Fraser Buchanan
6. Fixing the keel cooler to the hull was relatively easy with the application of much Sikaflex. It was challenging to first straighten out the pipework and then bend it to the right shape without damage, but it was then connected to the compressor. There are two anodes attached to the sintered bronze keel cooler, to protect it from galvanic corrosion.
Credit: Kerry and Fraser Buchanan
7. Remember, the keel cooler should not be covered with antifouling paint. When positioning it, make sure it won’t be damaged by lifting strops when the boat is craned in or out. Also, the keel cooler should remain under water, or at least wet, even when the boat heels. And lastly, the pipework can be vulnerable to knocks, so try to protect it where it passes through cupboards or lockers.
Credit: Kerry and Fraser Buchanan
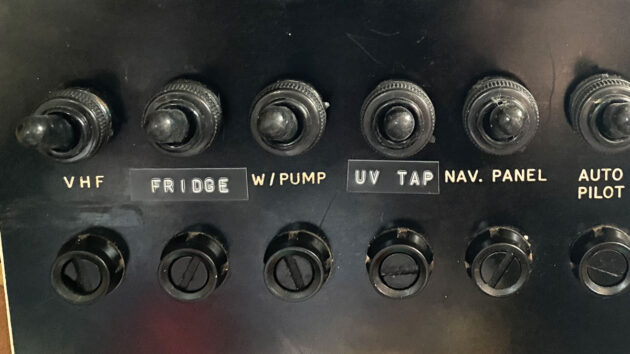
8. Once the pipework between the compressor and the evaporator plate was connected (done very quickly so as not to lose fluid from the pre-filled pipes), it remained to connect the compressor to the batteries. Fraser added a switch to our panel and proudly labelled it ‘Fridge’.
Credit: Kerry and Fraser Buchanan
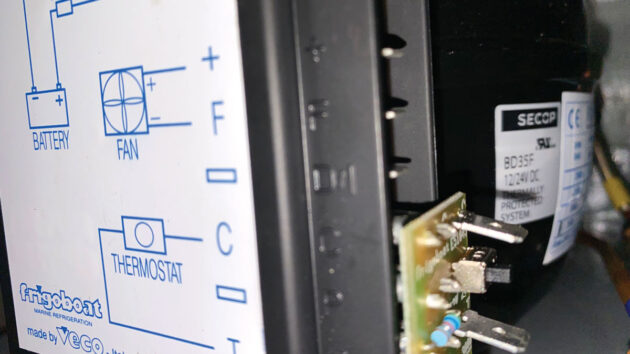
9. The final step was to fit the thermostat controller and connect it up to the compressor.
Verdict
A keel-cooled system is more efficient in warmer climates, and much quieter than an air-cooled system. It also draws less current from the batteries. As our fridge runs 24 hours a day for months at a time, we did upgrade our solar panels in case the batteries began to struggle. We now have a total of 200W solar for our two 120Ah domestic batteries and have had no problems with keeping the batteries charged.
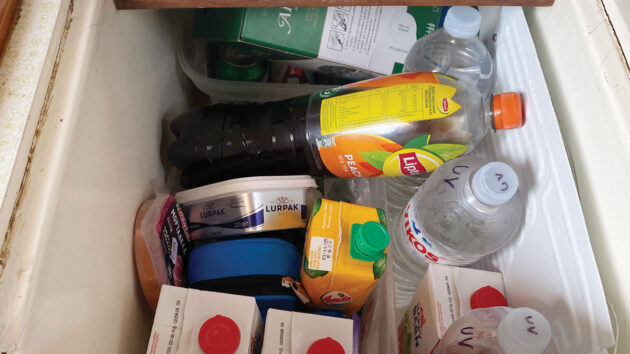
Our converted cool box has been a lifesaver for us, as we store fruit, milk, salads, water and, most importantly, a couple of bottles of beer and wine in it. The fridge is usually pretty full, and there’s always a large bag of local wine cooling in there as well as a couple of bottles of tap water.
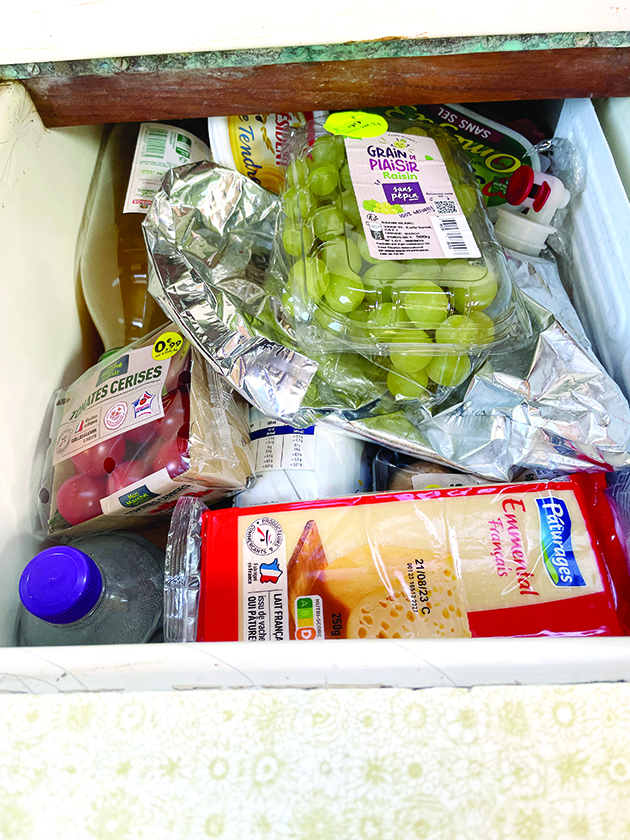
The fridge is pretty much silent, with no fan running, and it stays cold all the time. Credit: Kerry and Fraser Buchanan
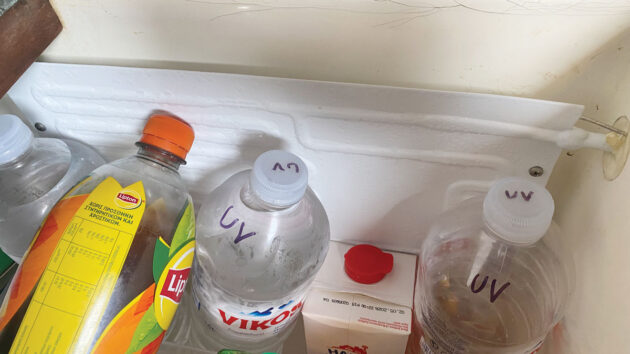
I should point out that we no longer carry actual bottled water as we have a UV water steriliser that makes the water from our tanks safe to drink and delicious. Instead, we buy one or two plastic bottles at the beginning of a trip, then refill them from the tap and store them in the fridge so we always have cold drinking water available.
This fridge draws very little current, roughly half that drawn by an air-cooled system in the warm Mediterranean climate. It’s pretty much silent, with no fan running, and it stays cold all the time. If we want food to stay cooler, we put it close to the evaporator plate and keep less crucial items a bit further away. The wine is always chilled, and we top up our insulated water drinking bottles from the refrigerated water in the fridge.
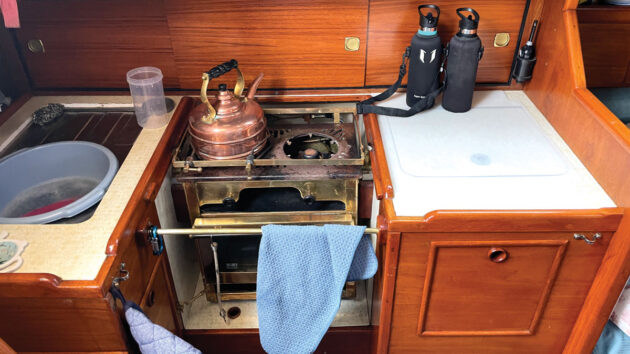
The fridge top is the only galley work surface. Note the thin silicon mat on top – to stop crumbs and add insulation. Also note our two drinking water bottles, which are kept topped up from the cool water in the fridge. Credit: Kerry and Fraser Buchanan
Barberry is a small boat, under 10m in length, so when not in use the fridge top becomes our only available work surface in the galley. If one of us is preparing a meal or washing up, we have to make sure we get everything out of the fridge before we start or chaos ensues!
Another point to consider is that condensation forms inside the fridge, so we have a small plug in the bottom to allow water to drain into the bilges occasionally. We regularly clean it, wiping the inside dry with paper towels before putting the plug (and wine) back in.
If you plan to keep your boat in cold northern seas, an air-cooled fridge would probably work fine for most of the time, but for us, based in much warmer places, the keel-cooled system has been the successful answer.
Elements of a keel-cooled fridge system
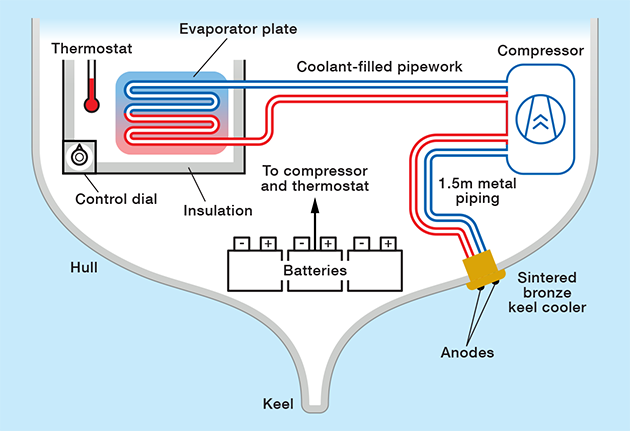
A simplified diagram to show how all the bits fit together. Credit: Sudden Impact Media
Compressor: Sintered bronze keel cooler with anodes. Evaporator plate (size needs to be calculated for the capacity of the fridge – ours may actually be slightly on the small side but still works effectively).
Thermostat: Pipework between compressor and keel cooler (1.5m length for the version we used) and again between compressor and evaporator plate. The evaporator plate inside the cool box contains pipes carrying coolant fluid. This is cooled indirectly by heat exchange with the water surrounding the hull via the sintered bronze cooler block.
Air-cooled versus keel-cooled
How it works
Air-cooled: A coil of coolant pipe works as a heat exchanger to reduce the temperature, but air is a poor conductor so a fan might be needed.
Keel-cooled: A heat exchanger, mounted on the outside of the boat, transfers heat from the coolant pipes into the cooler seawater.
Pros
Air-cooled:
- Simple to install
- Can be used when the boat is not in the water
- Easy to maintain
- Great for cooler climates
Keel-cooled:
- Very efficient
- Low power draw
- Great for warmer climates
Cons
Air-cooled:
- Less efficient
- More power-hungry
- Can deplete batteries quickly
- Not so good in warmer climates
- Can be noisy if it has a fan
- Ventilation often needed
Keel-cooled:
- More complex to install
- Requires a hole to be drilled in the hull
- Not to be advised for certain hull materials, eg aluminium
- Cost
- Care needs to be taken when antifouling
Approximate cost for a 10m boat
Air-cooled: £700-£800
Keel-cooled: £1,300-£1,400
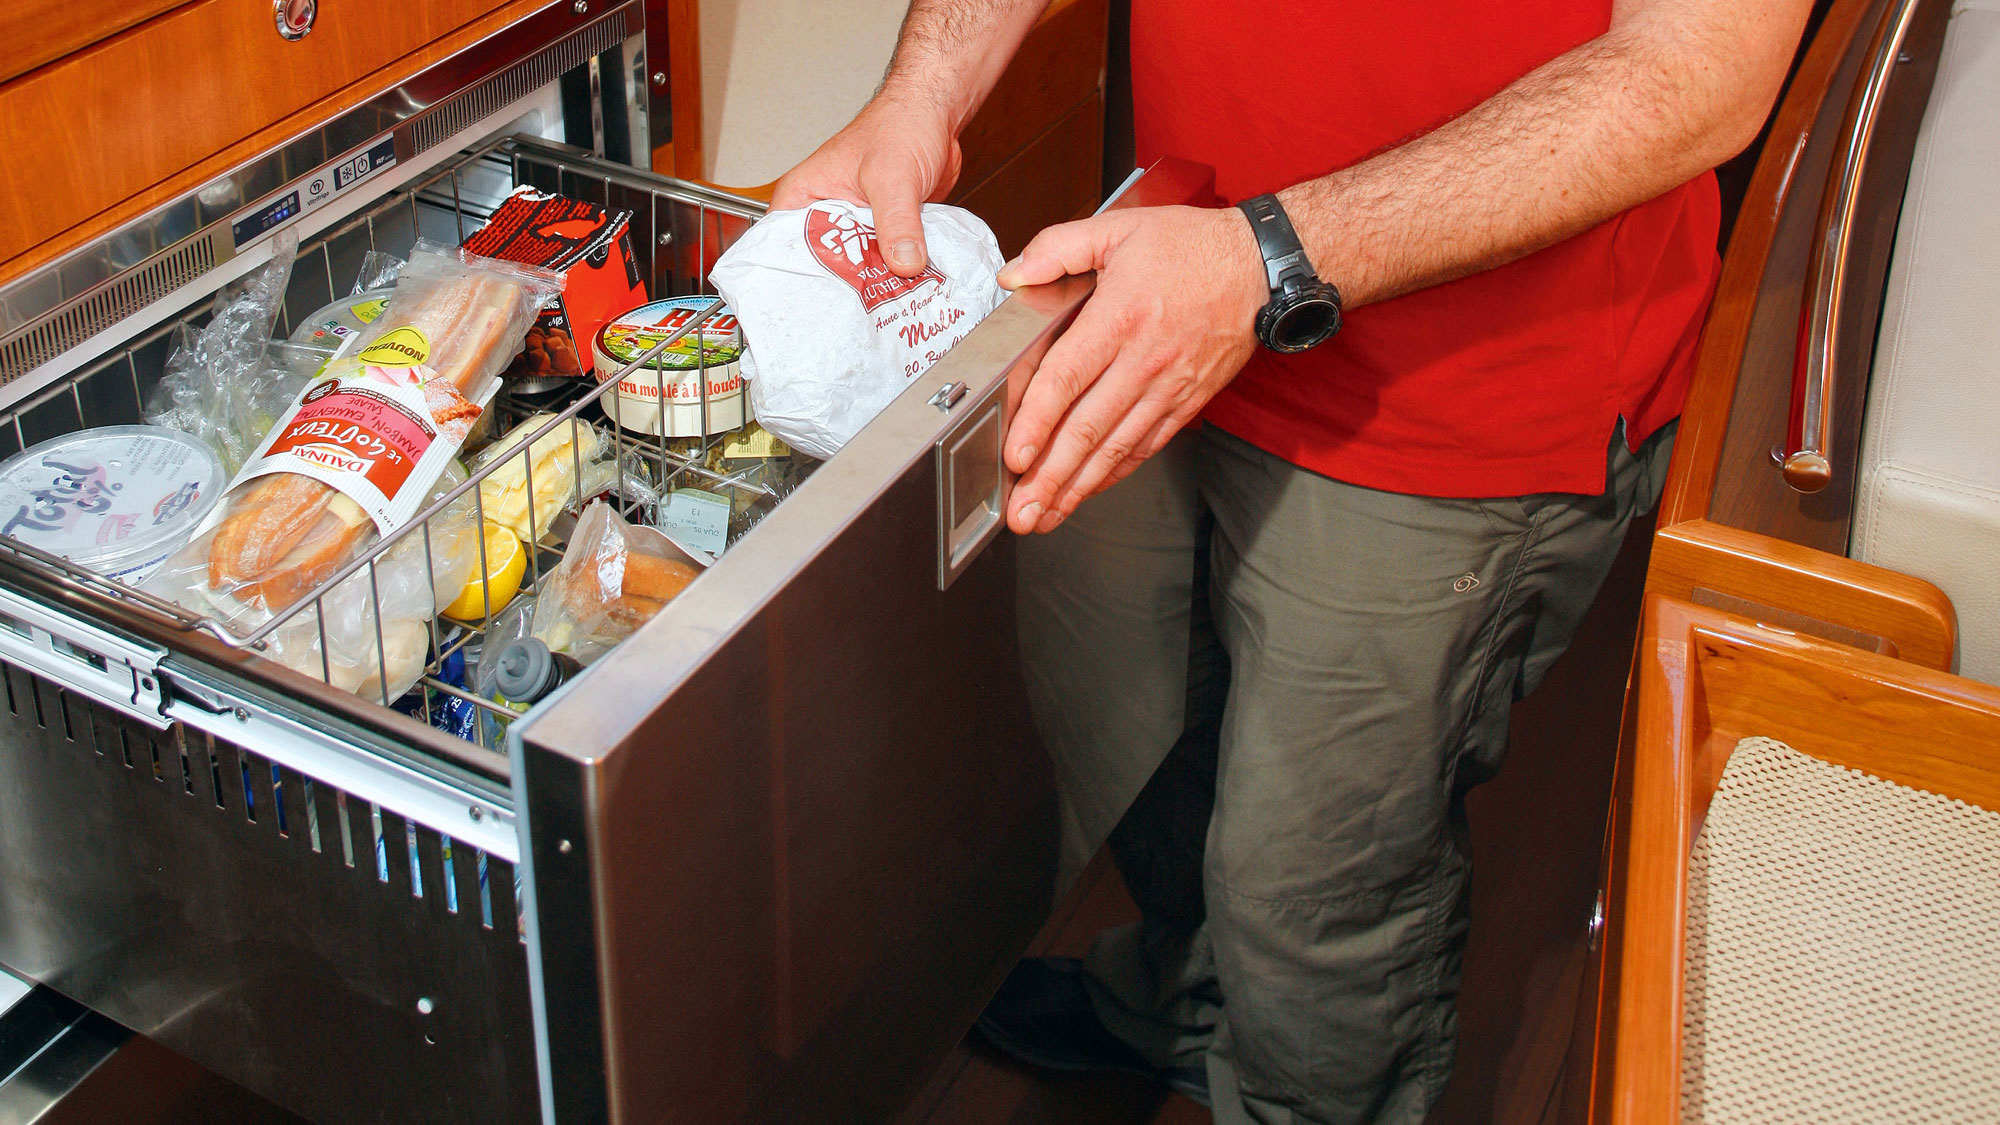
How to keep food fresh onboard: Your guide to the marine fridge
A marine fridge has become an essential onboard item. The realisation that keeping food cold is a natural preservative has…

How I made my own DIY fridge
Richard Hare describes how he built the ply/epoxy fridge during the reconstruction of his Westerly Konsort galley

How to make a boat fridge: step by step
Keith Calton converts an under-seat locker into a bespoke boat fridge for under £450

Turn a boat coolbox into a fridge
Chill out with David Rainsbury by following his step-by-step guide to converting a coolbox into a fridge
Want to read more articles like Keel-cooled fridge: how one cruising couple made their own?

A subscription to Practical Boat Owner magazine costs around 40% less than the cover price.
Print and digital editions are available through Magazines Direct – where you can also find the latest deals.
PBO is packed with information to help you get the most from boat ownership – whether sail or power.
-
-
-
- Take your DIY skills to the next level with trusted advice on boat maintenance and repairs
- Impartial, in-depth gear reviews
- Practical cruising tips for making the most of your time afloat
-
-
Follow us on Facebook, Instagram, TikTok and Twitter
PBO web categories