
With a likely bill of £500 to have his forestay replaced, Stu Davies decides to tackle the job himself – and gets carried away overhauling the mast and furler
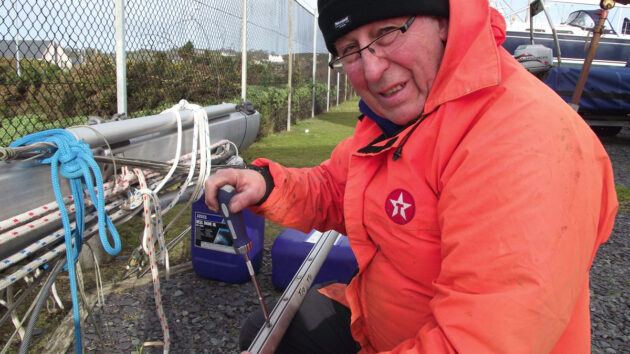
When it comes to mast and rigging maintenance on my Beneteau Oceanis 381, the most difficult stay to do anything with is the forestay, buried deep in the boat’s furler
As part of our annual boat maintenance, we visually inspect the rigging to ensure there are no broken strands or obvious signs of wear.
However, on one of the last sails of the season last summer, on port tack in a boisterous sea, I happened to glance up and saw that the top starboard intermediate shroud was loose. The next day, my wife, Laura went up the mast to check and reported that everything was fine, if a little loose. We resolved to remedy the situation during the winter, and I started planning.
Our boat, Sacha was moored in Holyhead and by coincidence, the boat berthed next to ours was having a new furler attached with the mast in place, and this presented me with a good opportunity to see how it was done.
Out of curiosity, I asked the rigger how much he would charge me to change my boat’s forestay: £500, was the reply. ‘Hmm,’ I thought, ‘I can do that myself.’
So, winter in Pwllheli found Sacha moored to a long pontoon, with spinny halyards to secure the mast, in readiness for us to start work. We understood that we could change the forestay in situ as well as the cap shrouds, but more about that later!
Then the gods conspired against us. Just after Christmas there was a big storm: the pontoon turned into a snake, one of the floating concrete blocks broke loose and Sacha sustained some gelcoat damage. This meant she had to come out of the water for the repair, and because of the serious winds still forecast the mast was dropped.
But this did provide a convenient opportunity to mount a thorough inspection, which revealed some wear on the forestay from the foil bearings and wear on the top cap
shrouds where it touched the mast going inside. The wear showed up as flats on the outside of the wires, an indication that it could also have work-hardened the shrouds.
I knew that Sacha had been given a decent overhaul before I bought her: an epoxy coat had been applied to the hull, and the mast had been down. I soon spotted that she had had new lower shrouds fitted, but the remainder was the original Beneteau/Z-Spar rigging.
Dismantling the furler
I proceeded to dismantle the Facnor SD 165 furler, which is an easy system to work on. It has a telescopic section between the drum and the foil: by undoing an Allen screw in the top of the drum and the bottom bolt that holds the stay and the drum together, the drum can be removed quickly, and by drilling out two rivets the bottom
sliding section can be removed.
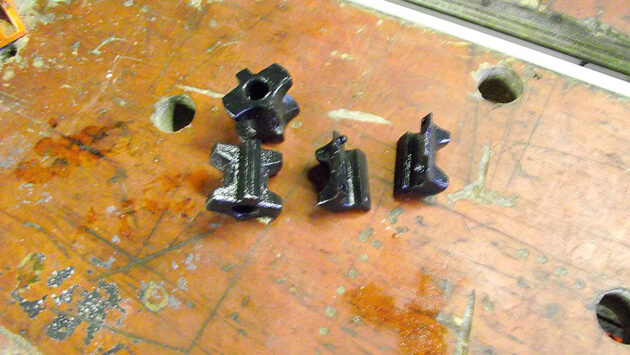
The foil sections are held together by internal joiners, and these are located and secured by four countersunk Pozidriv stainless-steel screws in each. The main issue when stripping these is apparently corrosion from the screws, but I was lucky: they all came out except for one.
The screws are 5mm diameter, and I carry several drills on board designed for stainless steel. Plenty of lubricating oil, slow speed and pressure soon got the remaining screw out without damaging the thread.
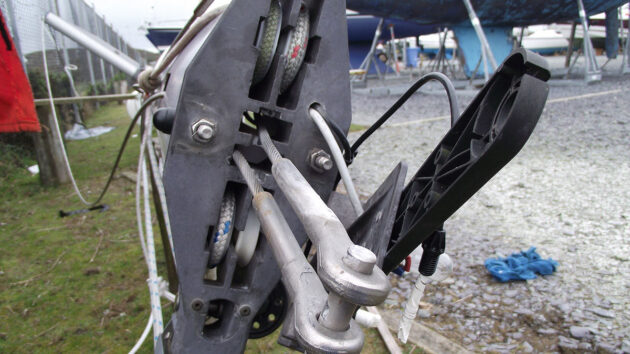
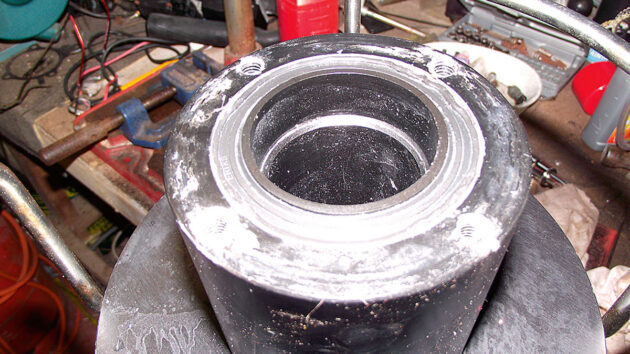
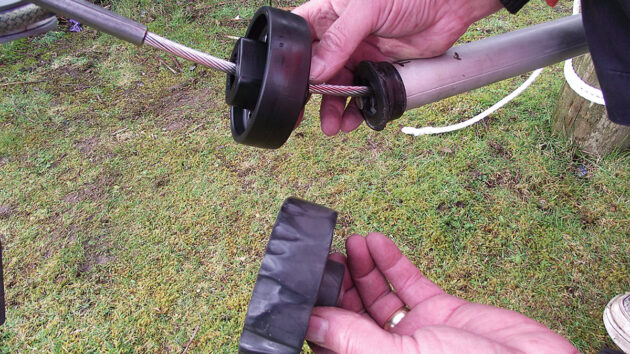
Removing the casting from the masthead reveals the halyard pulleys and the pin and shroud eyes. Credit: Stu Davies
The joiners have plastic split bearings inside them to hold the wire in the centre of the tube, and these are supposed to push in and out easily.
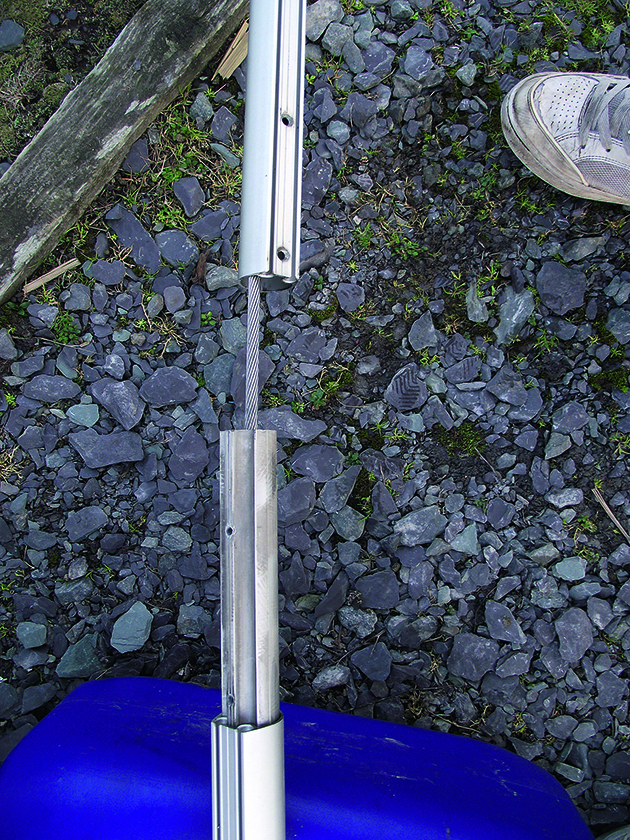
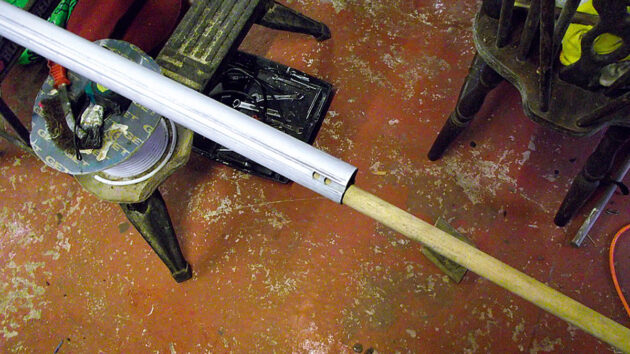
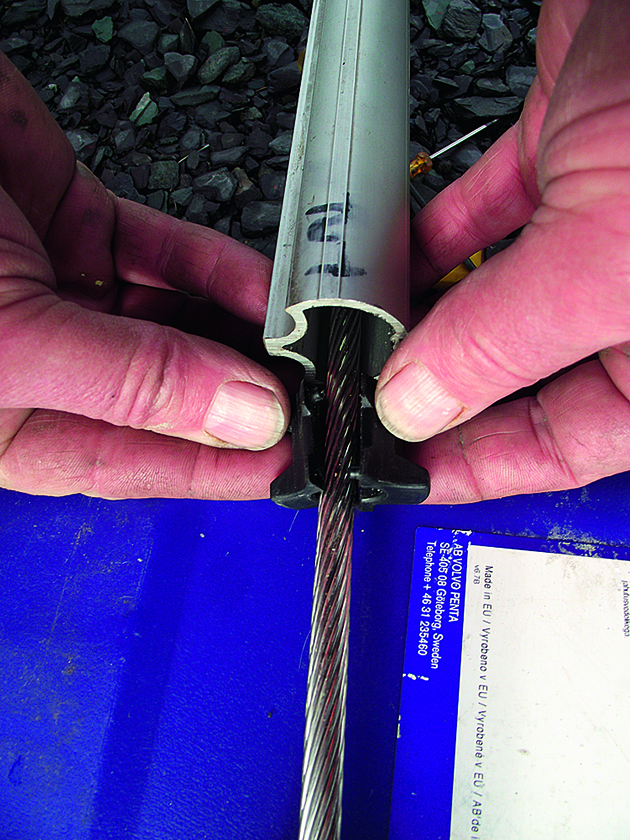
The first foil section of the furler slid to the bottom of the forestay wire and would then go no further. The internal plastic bearing wasn’t sliding down the joiner to allow access to split it, take it off the wire and then allow the foil section to slide off. There were seven foil sections, and they were all the same.
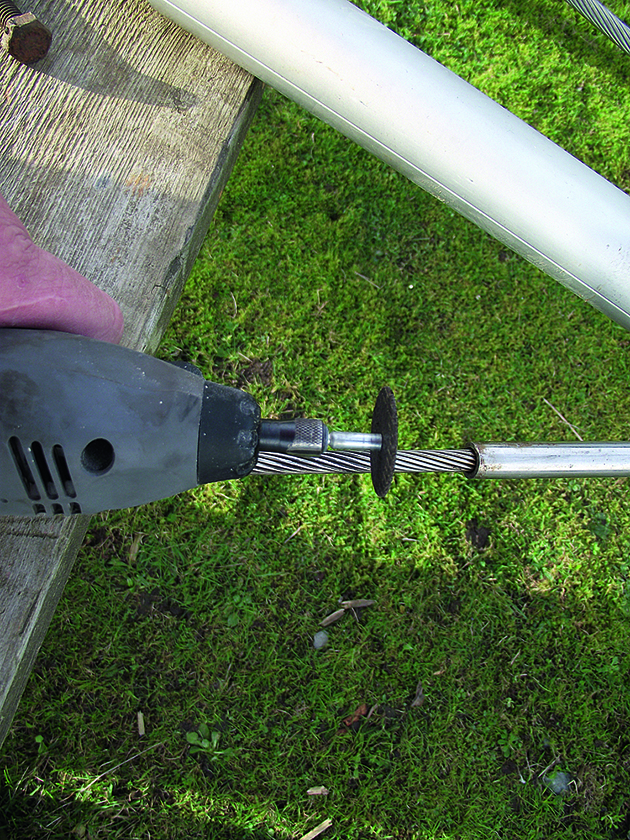
I decided the best option was to cut the swage off the end of the wire so it would pull back through the bearings – I was going to need a new forestay anyway – reasoning that I could then slide the sections off, take them home to the workshop and devise a method of getting the plastic bearings out.
The trusty Dremel went through the wire like a hot knife through butter: the foil sections then all slid off, and I was able to remove the joiners and bring them home.
The next issue was to get the split plastic bearings out of the joiner sections. I contacted the UK Facnor dealer, who gave me some tips.
Basically, the bearings are just a push fit – a wooden dowel and hammer would soon get them out. Judicious use of Duck Oil spray lubricated the inside of the joiners, which helped. I dressed the outside of the bearings on a piece of emery paper as I felt that they had swollen slightly. I made sure that the bearings went back into the joiners quite easily and then took them back to the boat.
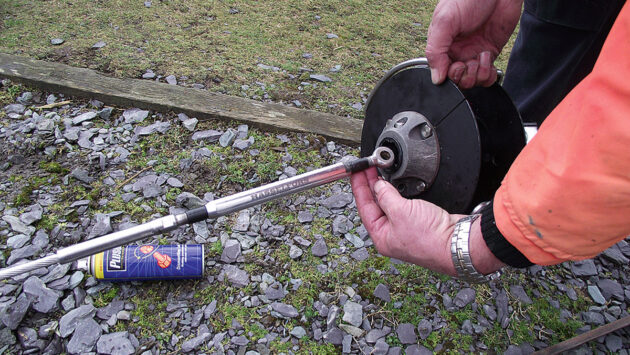
Removing the furler drum
Credit Stu Davies
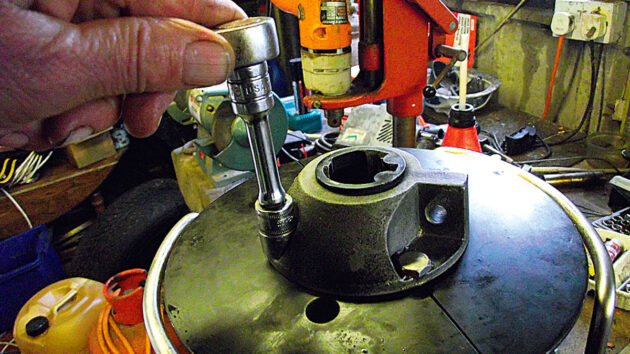
By undoing an Allen screw in the top of the furler drum…
Credit Stu Davies
… and the bottom bolt that holds the stay and the furler drum together…
Credit: Stu Davies
… the furler drum can be removed quickly and easily
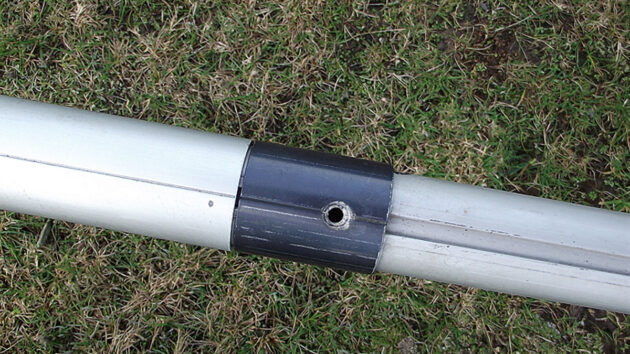
Dismantling the bottom sliding section
Credit: Stu Davies
By drilling out two rivets, the bottom sliding section can be removed
Credit: Stu Davies
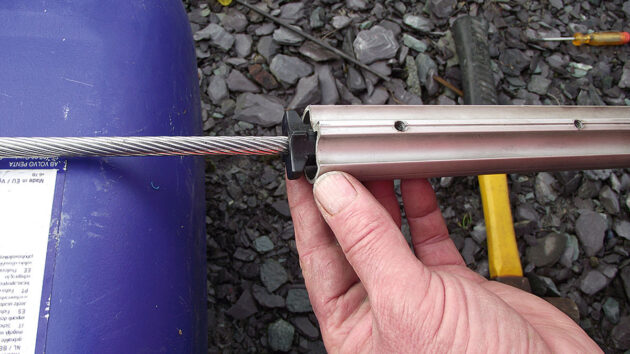
Joined sections can then be slid apart
Credit: Stu Davies
Plastic bearings inside the joiner section should come out easily – but wouldn’t
Credit: Stu Davies
Dremel made light work of cutting through the forestay wire
Tapping out the plastic bearings
Credit: Stu Davies
The plastic bearings could be knocked out with a wooden dowel inserted through the extrusion and tapped with a hammer
Credit: Stu Davies
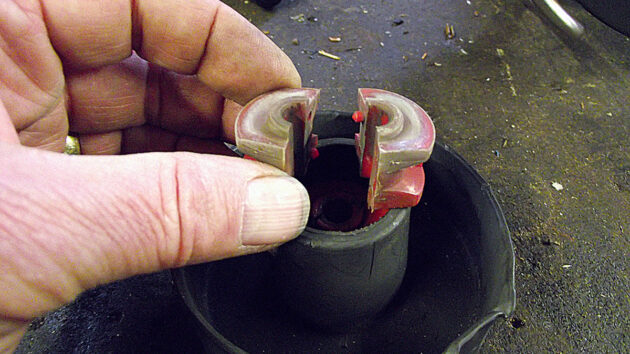
The plastic bearings are made of two halves that fit around the wire

Credit: Stu Davies
I dressed the outsides of the plastic bearings on a piece of emery paper
Masthead and cap shrouds overhaul
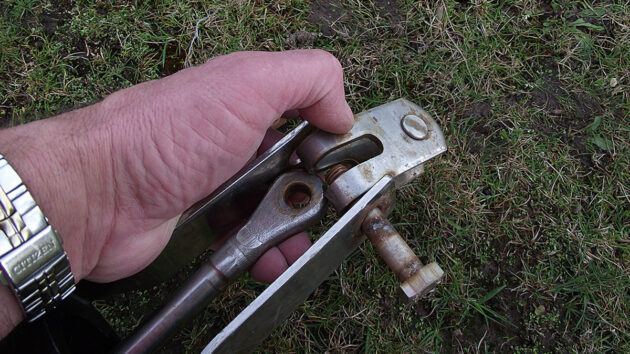
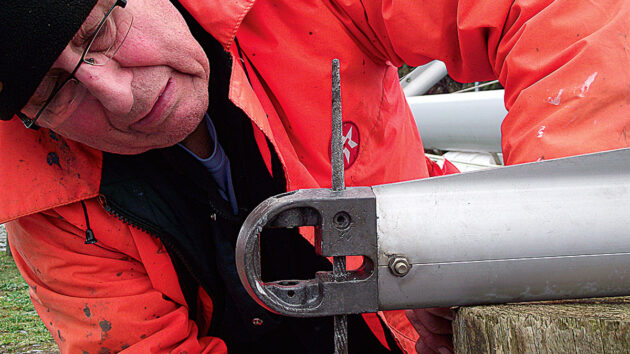
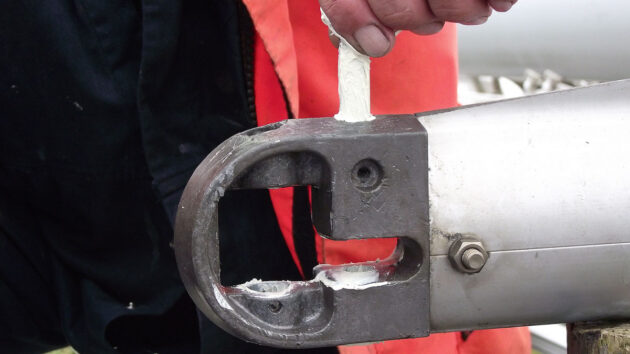
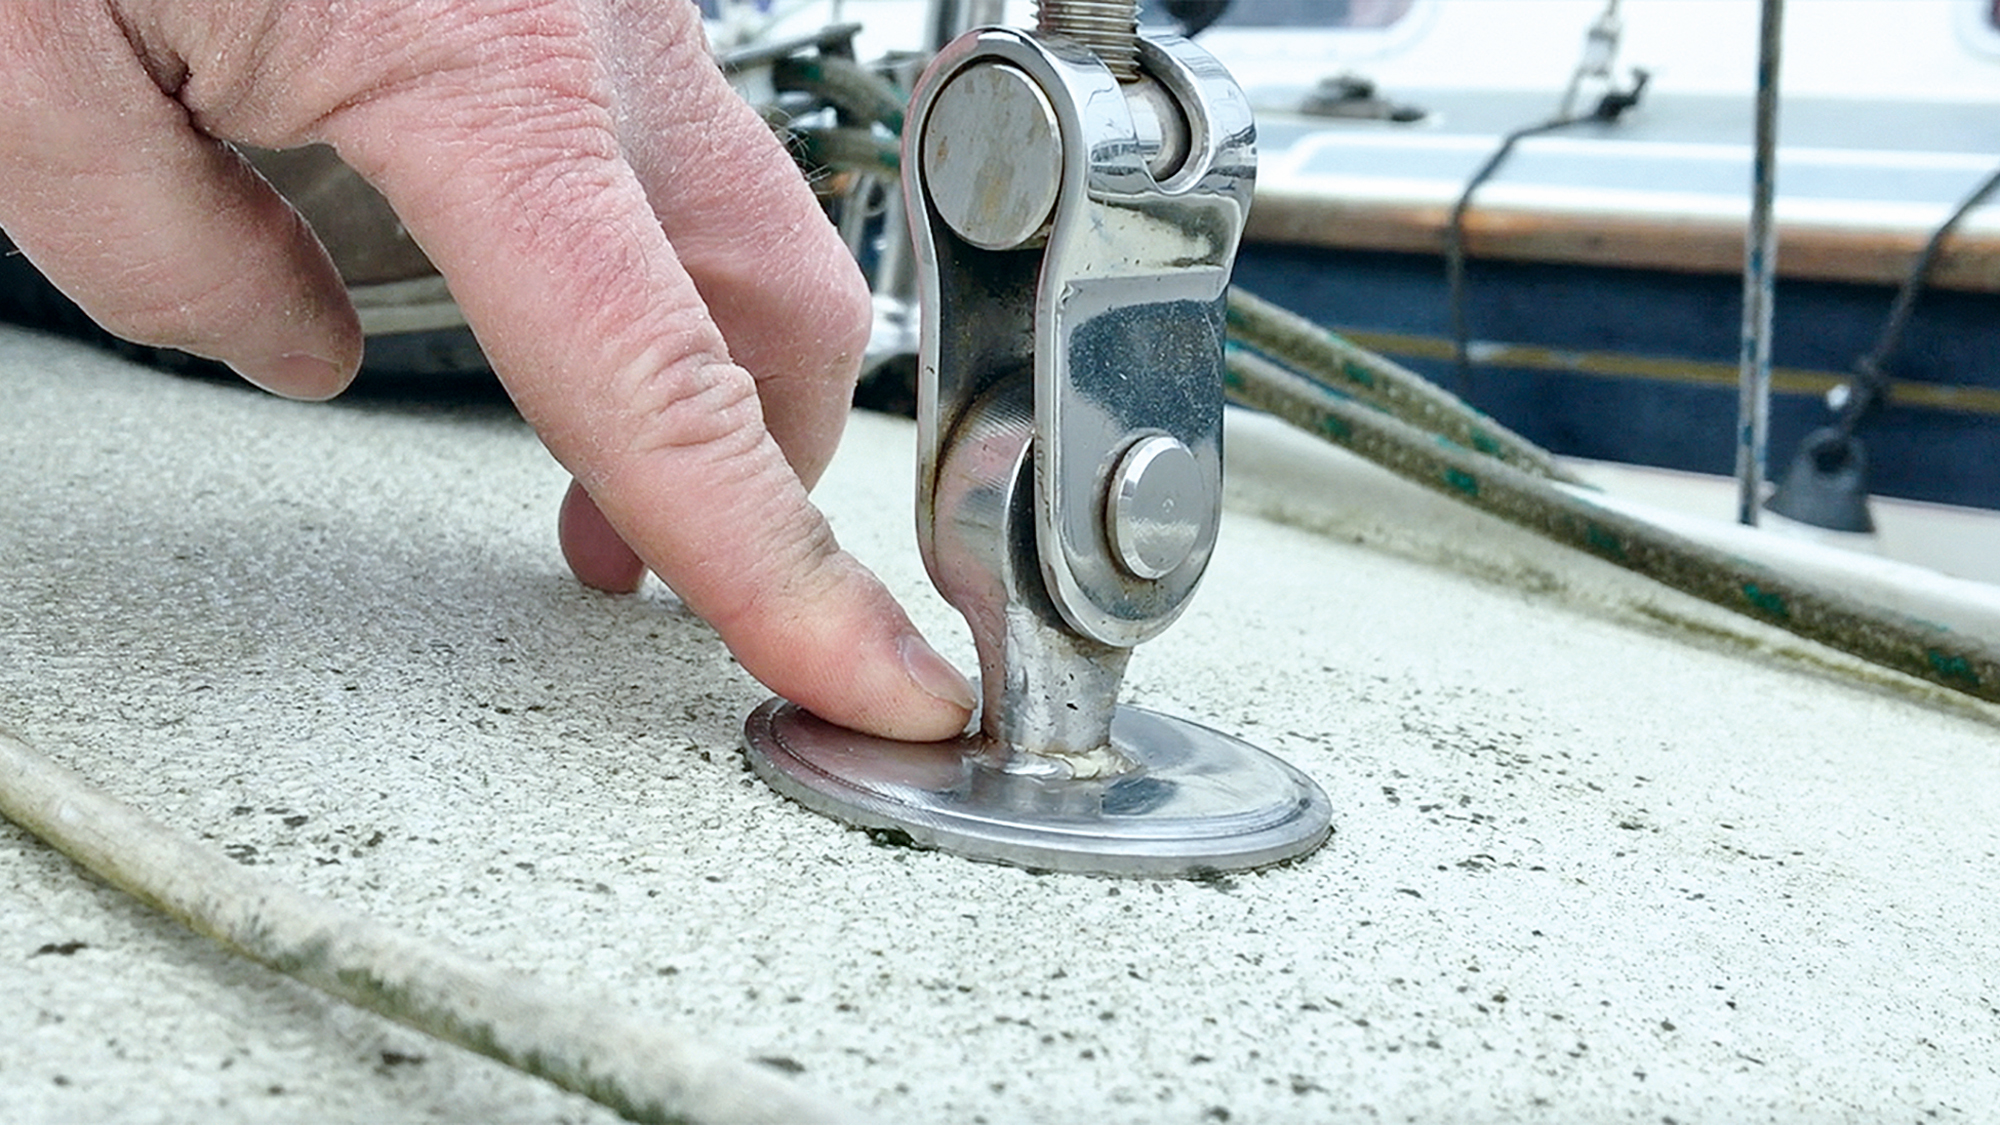
The cap shrouds are held in place at the top of the mast by a 12mm pin that goes through the eyes in the shrouds and then drops into a tapered housing in a casting: simple but effective.
Once the cap shroud pins had been removed from the spreader tips the holes were filed clean. Credit: Stu Davies
To get at this I first had to remove the casting that is held in place with two 17mm nuts. This then reveals the pin and shroud eyes along with the halyard pulleys.
I’d previously noticed a clicking when hauling up the main, and easing out the halyards and pulleys revealed that the pulleys were worn at the bearing hole, so I placed a quick call to Z-Spars and two arrived the next day. They revolve around 12mm pins which drop into tapered housings, the same system as the pins for the cap shrouds.
Carrying on with the main job, the upper cap shrouds are held in place by a 12mm pin at the upper spreaders and a 16mm pin at the lower spreader tips. The inners also go to the lower spreader tips. The bottle screws on the inners were seized, so I decided to strip everything off the spreaders, clean and inspect them and replace as necessary.
Pins were put back in place using waterproof grease in a bid to beat corrosion. Credit Stu Davies
Hmm, stainless pins and aluminium spreader tips. To be fair, someone had put Duralac on during the overhaul five years ago, but to no avail – the pins were stuck fast. I got the retaining split pins out, which proved relatively easy, but the pins themselves were another matter. I tried a drift and a hammer – no go – so out came the two-legged puller and easing oil spray, then I reached for my trusty propane torch…
Eventually, I succeeded in getting the pins out. People often ask on the PBO forum about getting stuck parts like this apart: the answer is perseverance and patience, plus tapping, heating, twisting etc etc.
Cleaning furler components
With all the pins out, I cleaned up the holes and greased the components with waterproof grease. People often recommend Duralac for this, but in my experience I find it hardens like linseed oil, which doesn’t help when disassembling.
I gently heated the bronze bottle screws with a propane torch and got them free, again using marine grease to lubricate them. A close look through a magnifying glass showed no cracks or damage.
Furling drum was stripped to clean and check the bearings…Credit: Stu Davies
I took the cap shrouds home along with the cut forestay, as well as the swivel and drum. I took off the top plate of the furling drum and checked out the seals and bearings, which were OK. I also cleaned the swivel with lots of clean fresh water and sprayed the ball bearings with a light coat of silicone grease before reassembly.
I did some shopping around for prices and delivery of new stays in 8mm 1×19 wire, and settled on Eurospars who’d make up new standing rigging with swaging at a reasonable price with quick delivery. So I carefully measured the old stays several times – it’s an expensive mistake if you get it wrong.
…and was then reassembled. Credit: Stu Davies
Eurospars was very helpful in talking me through the measuring process and checking that I had the right figures.
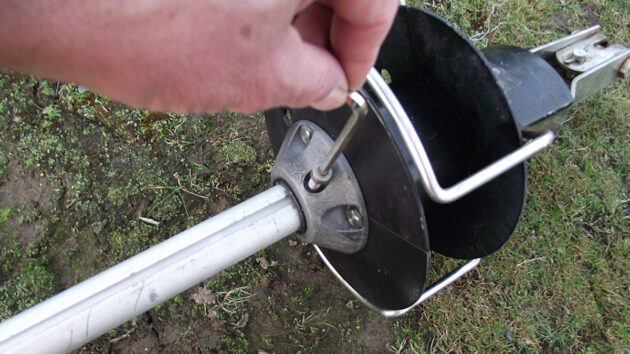
At the same time as ordering the new stays I also bought a new deflector for the top of the forestay.
Rigging reassembly
I assembled the forestay first, initially attaching the wire to the top of the mast. The reassembly process is quite straightforward as long as you take care to think out the sequence regarding which bit goes where.
Split bearing holds forestay deflector in column. Credit: Stu Davies
The first part to go on was the deflector with a split bearing. This was followed by the top section of the foil, with a terminator held in place with a splined pin, then it was just a case of sliding the foil sections up the stay with the bearing joiners to follow. A 2m foil section went on, then a joiner was placed in the next section, the two
lower screws were put in and the split bearing was positioned and tapped into the joiner. The two lower screws act as stoppers to stop the bearing coming out.
The new (top of photo) and the old
forestay deflectors. Credit: Stu Davies
This section was then pushed along the stay, and the joiner pushed into the upper stay and secured with the other two screws. New screws came from Facnor with a thread glue, but I used Duralac in a bid to stop them from corroding. The old screws, except for the seized one, were actually quite loose, and I am confident that careful tightening and Duralac acting as glue will hold the new ones securely.
Split bearings go back in the joiners. Credit: Stu Davies
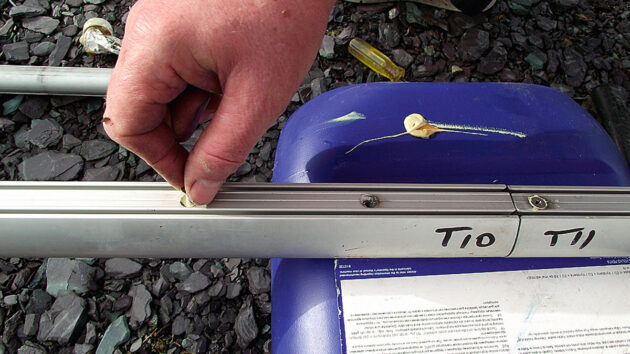
The last part of the foil has a telescopic section that allows the length of the foil to be adjusted. It’s held in place by two pop rivets: I applied plenty of Duralac to these. I’d also noticed that some of the rivets holding the spreaders in position on the mast were loose: the spreaders slip over castings on the mast and the rivets just position them. Rig tension holds them in place. I drilled out the old ones and fitted new 5mm rivets, again with plenty of Duralac.
New screws secure foil sections. Credit: Stu Davies
The cap shrouds were put back with copious amounts of grease in the housings and the pins. I left all the adjustments of the turnbuckles to my rigger, who had tape-marked the studs and turnbuckles to give a base to start from. The mast was then restepped up and fine-tuned to spec.
Final, telescopic section of the foil is riveted in place. Credit: Stu Davies
It looks good: I am confident that all the adjusters are free and all the wires are as they should be: if ever I need to change anything in the future it should be a much simpler job.

Electric winches, handles and furlers – a buyer’s guide
Maybe you want to spend more time sailing single-handed, or perhaps you’re reaching the age when winching up the mainsail…
Fend off rigging failure: the most common problems and how to prevent them
Most sailors will probably have seen or experienced a stranded wire, or a failed swage, or the catastrophic resulting from…
Your ultimate checklist to prepare your yacht’s systems for an ocean crossing
Completing an ocean crossing, such as the traditional transatlantic passage from the Canaries to the Caribbean, is a bucket list…

How to service Monitor wind vane self-steering gear
Dena Hankins and James Lane show their Monitor wind vane self-steering gear some love and learn that patience is a…
Want to read more articles like DIY Guide to Overhauling and Reassembling your Boat’s Furler?

A subscription to Practical Boat Owner magazine costs around 40% less than the cover price.
Print and digital editions are available through Magazines Direct – where you can also find the latest deals.
PBO is packed with information to help you get the most from boat ownership – whether sail or power.
-
-
-
- Take your DIY skills to the next level with trusted advice on boat maintenance and repairs
- Impartial, in-depth gear reviews
- Practical cruising tips for making the most of your time afloat
-
-
Follow us on Facebook, Instagram, TikTok and X