



Replacing an aging mainsheet track requires careful planning, custom track bending, and selecting the right hardware. Federico Ramírez shares how he did it
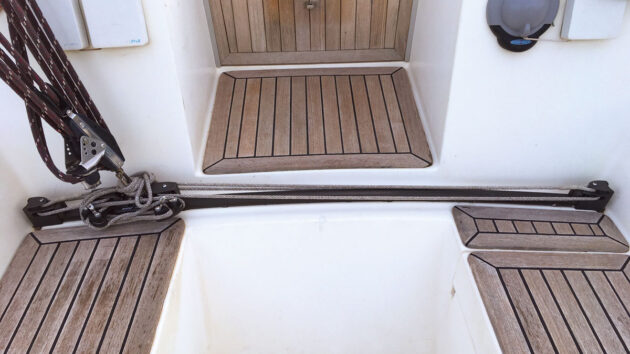
The mainsheet system on our 33ft yacht was a very old Amiot Ami 3200 mainsheet track with an Ami 3205 four-wheel traveller and two Ami 3217 vertical pull endpieces. It was discontinued long ago, and it is not easy to repair as all of the parts are riveted together.
One of the consequences of my wife having back surgery was that we had to replace all the systems which experienced friction and were difficult for her to use, and the mainsheet system came first. We also wanted to move the vertical-pull cleats at the endpieces – which were in awkward positions to operate – to the more rational and modern horizontal-pull cleats at the traveller.
Replacing a mainsheet track might seem straightforward, but in our case three difficulties had to be tackled before we even starting the job:
- The track was curved on the vertical plane, and the new track had to follow the same curve.
- The mounting holes of the old track were 100mm apart, as is commonplace in these systems, but their positions with respect to the boat’s centreline plane are not symmetrical. This presents a problem because the new track must not only be cut to the desired length, but also with the holes in a given position.
- The mainsheet track itself is mounted on a raised, moulded glassfibre plinth which means the new track must not be wider than 32mm to fit on the plinth.
Solving the mainsheet track curve problem
To solve the curve problem I had to dust off my geometry. Manufacturers usually ask for the radius of curvature which is, of course, impossible to measure directly.
I had to resort to measuring the two parameters which were easiest to measure: arc length and arc height, and calculate the chord and radius. A short computer program was written for the purpose.
To solve the mounting bolt issue I chose a track with sliding bolts; this way there’s an extra degree of freedom for positioning the track athwartships. The third condition was simply choosing a new track of the required width.
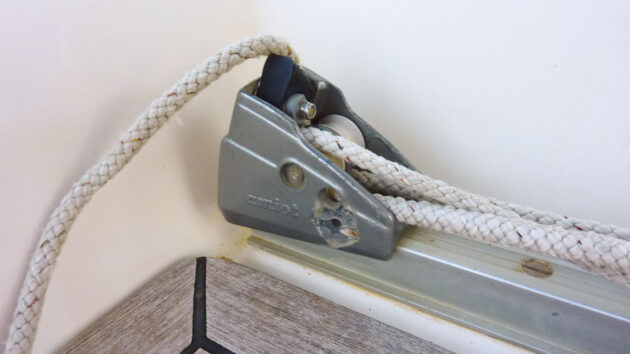
End stops in the corner made the old Amiot traveller awkward to adjust. Credit: Federico Ramírez
With these constraints, a search was made among all the major track manufacturers, and the final choice was the 53 4916 track system by Antal. The staff at Antal were very helpful with all my questions, particularly with the issue of bending the track. When I sent them the sketch of the track curvature they returned a true engineering drawing which I had to confirm before the track was actually bent to order.
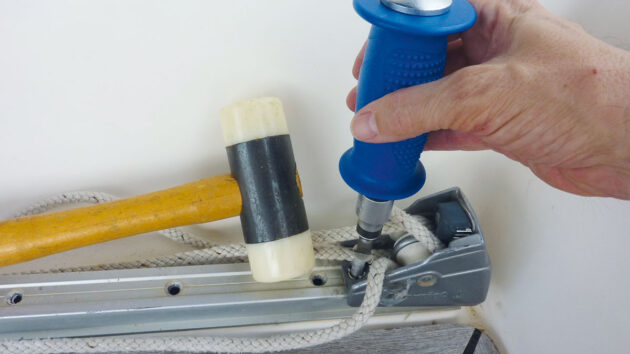
The next job was the removal of the old mainsheet track. Interior trim panels below were removed to show the nuts, which were easily loosened. Removing the bolts was not as easy, and it was carried out with the ever helpful impact screwdriver. There were 16 bolts, and none of them showed water ingress after more than 30 years.
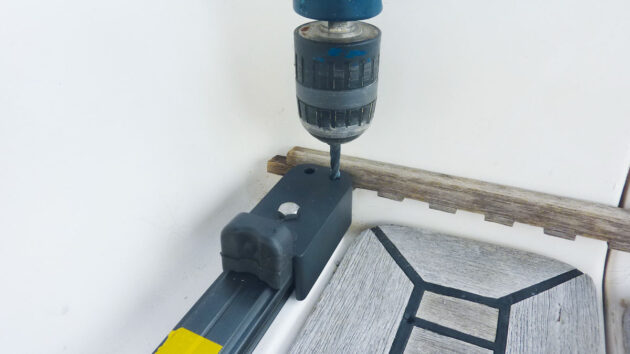
With the track removed the plinth was cleaned and the existing holes were enlarged to a diameter of 8mm. Two redundant holes were filled with epoxy filler. The track was then dry fitted in order to drill new holes to fix the endpieces. Suitable pieces of scrap wood were used to position the track athwartships to ensure even gaps at each end.
Traveller assembly
The bolts, endpieces and traveller were mounted in a predetermined sequence: the port-side bolts and endpiece went first, then the traveller, which was delivered on a short length of track and had to be inserted from the starboard end of the track, and finally the starboard-side bolts and endpiece. Anti-corrosive compound was applied wherever dissimilar metals were in contact. The whole assembly was then dry fitted once again in order to check everything was ready.
Bedding compound was then applied to the holes, the bolts, and the track in the areas surrounding the bolts. The assembly was put in place and seated by gently tapping on the track with a rubber mallet and a wooden block. Nuts were tightened lightly and retightened the following day after the bedding compound had set.
Finally the control line was rigged and interior trim panels were put back in place.
Removing and replacing a mainsheet track: step-by-step
Credit: Federico Ramírez
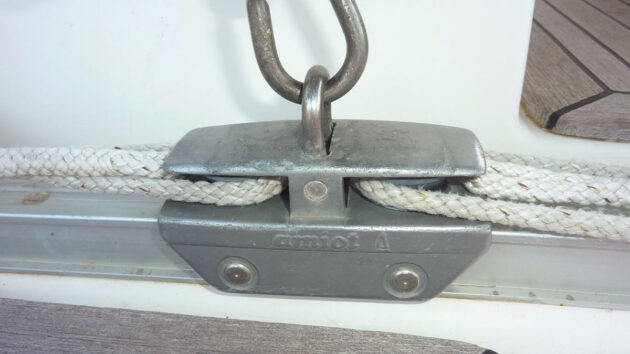
1. The old Amiot traveller car in situ. Note that roller shafts are riveted in place, meaning maintenance is almost impossible.
Credit: Federico Ramírez
2. Slot-headed bolts securing the track and end stops were difficult to remove – Federico resorted to an impact driver and mallet to loosen them off.
Credit: Federico Ramírez
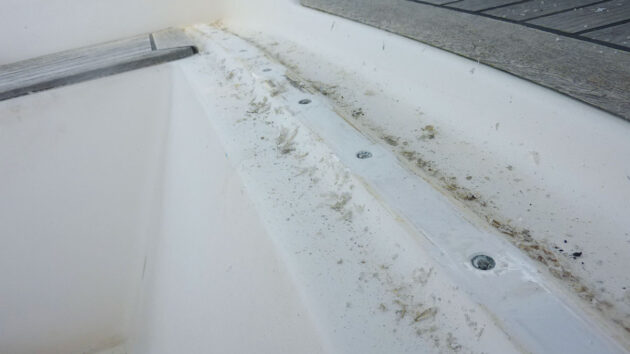
3. The old track is finally removed showing the raised plinth it sits on. It now just needs a clean up and filling of redundant end stop holes.
Credit: Federico Ramírez
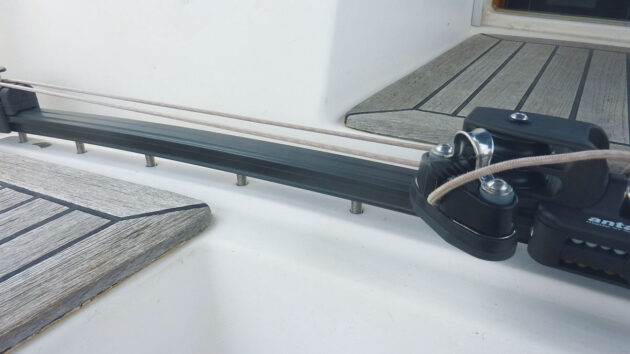
4. A dry fit of the system to ensure bolts will fit through holes and everything can be properly lined up before final installation.
Credit: Federico Ramírez
5. Drilling holes for the new endpieces. Scrap wood was used for positioning the assembly athwartships. Pieces of tape mark the positions of the bolt holes below.
Credit: Federico Ramírez
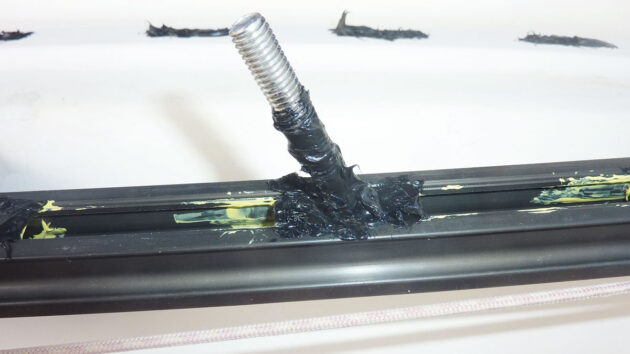
6. Black sealant applied around the sliding bolts. Note yellow anti-corrosion compound between stainless bolts and aluminium track.
Credit: Federico Ramírez
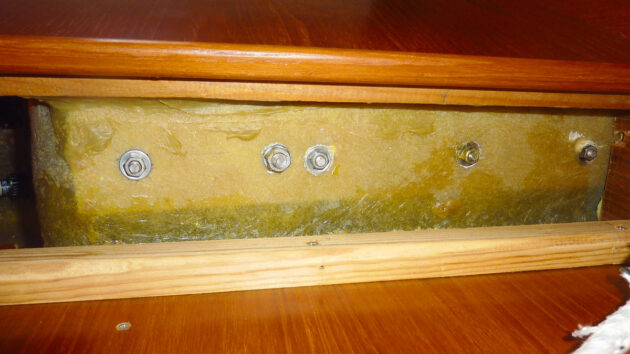
7. Trim panels removed below deck show the nuts and through-bolts holding the track to the plinth above – fortunately fairly easy to access.
Credit: Federico Ramírez
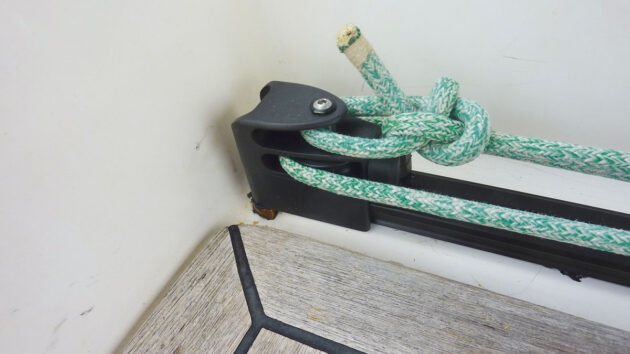
8. The new track end stop in place. Machine screw pulley shafts can be removed for maintenance to keep them running freely.
Credit: Federico Ramírez
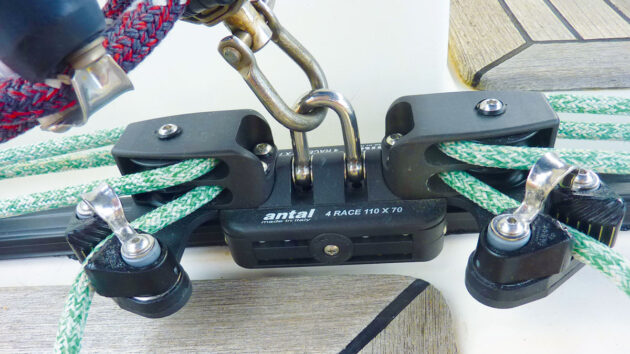
9. The new Antal traveller car – much easier for adjustment with a horizontal pull from within the centre of the cockpit.
Should I move the mainsheet traveller?
What should you consider if you want to move the mainsheet traveller? OneSails' Wilf Chaplin and surveyor Ben Sutcliffe-Davies share…
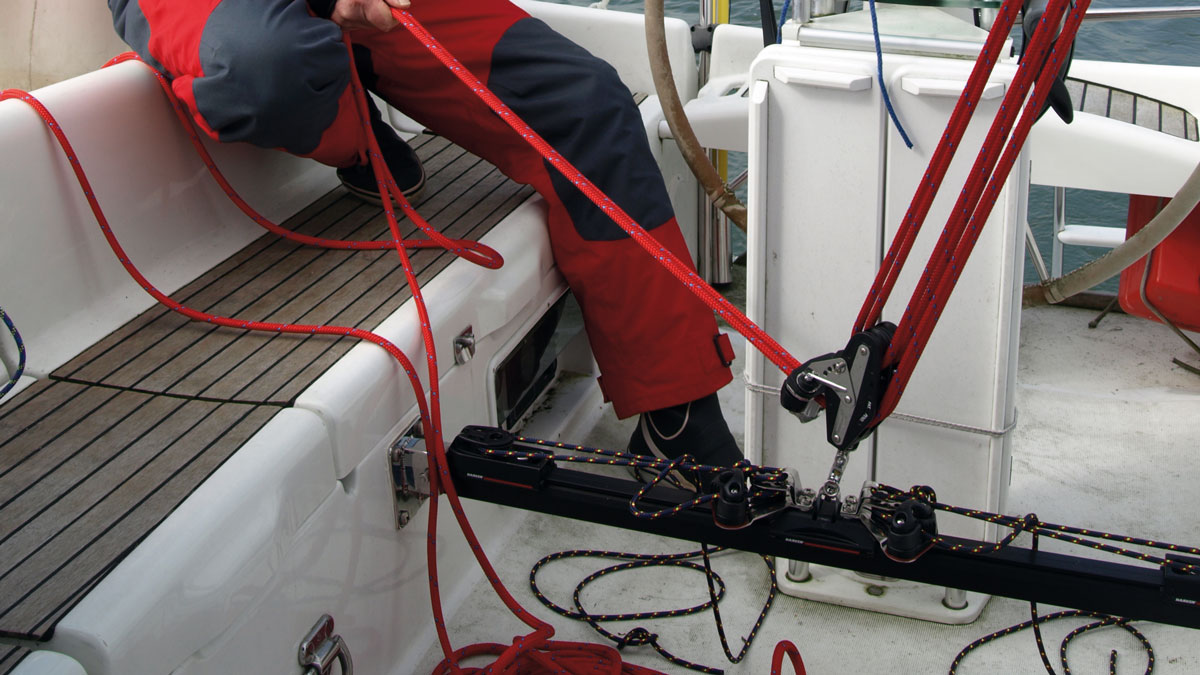
How to fit a removable mainsheet track
When your boat’s mainsheet arrangement doesn’t quite do the job it’s not difficult to improve upon it yourself. Here’s how…
Cascade systems explained: How to gain mechanical advantage when trimming sails
Cascade purchases are cheap and can give a huge mechanical advantage. Stan Cockeram explains where they can and can’t be…
Hoisting and lowering the mainsail: troubleshooting problems
What can you do if your mainsail is hard to hoist or reluctant to drop? David Harding offers some advice
Want to read more articles like Mainsheet track replacement for smooth, low friction sail handling?
A subscription to Practical Boat Owner magazine costs around 40% less than the cover price.
Print and digital editions are available through Magazines Direct – where you can also find the latest deals.
PBO is packed with information to help you get the most from boat ownership – whether sail or power.
-
-
-
- Take your DIY skills to the next level with trusted advice on boat maintenance and repairs
- Impartial, in-depth gear reviews
- Practical cruising tips for making the most of your time afloat
-
-
Follow us on Facebook, Instagram, TikTok and Twitter