
This month’s project boat tasks include fitting laminated deck beams and reinforcing the chainplates. Ben Meakins reports
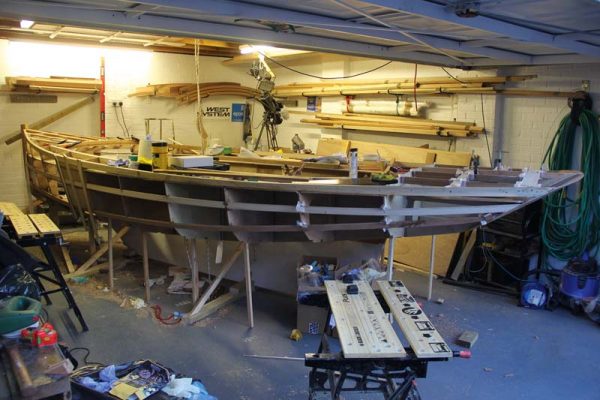
Building this Secret 20 is a bit like watching a wireframe drawing come slowly to life.
See the full set of articles: Building the Secret 20 kit boat with PBO.
This month, we’ve reached the final part of the boat’s structure: from now on we will begin to add the hull panels and turn her into a real boat at last.
We’ve managed a good few sessions on the boat this month, and have fitted laminated deck beams, installed some reinforcement for the chainplates and comprehensively faired the hull structure ready for the panels.
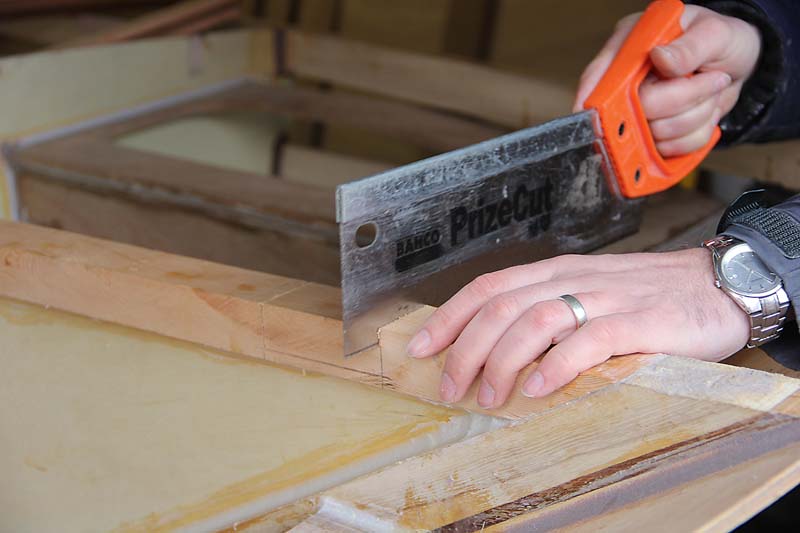
We cut a slot for the mainsheet traveller’s beam with a tenon saw, knocking the waste away with saw cuts and a chisel
Laminated deck beams
The first job was to fit some reinforcement to the counter stern, as a means of adding some stiffness to the structure and some support to the aft deck.
Aft decks tend to be subject to heavy impacts, with crew dancing around when sailing and mooring up – and the last thing we want is for someone to plunge through the 6mm plywood deck covering.
There are also some areas of high stress, with the mainsheet traveller’s fixings needing reinforcement to stop it pulling out of the deck in gybes and when subject to high loads.
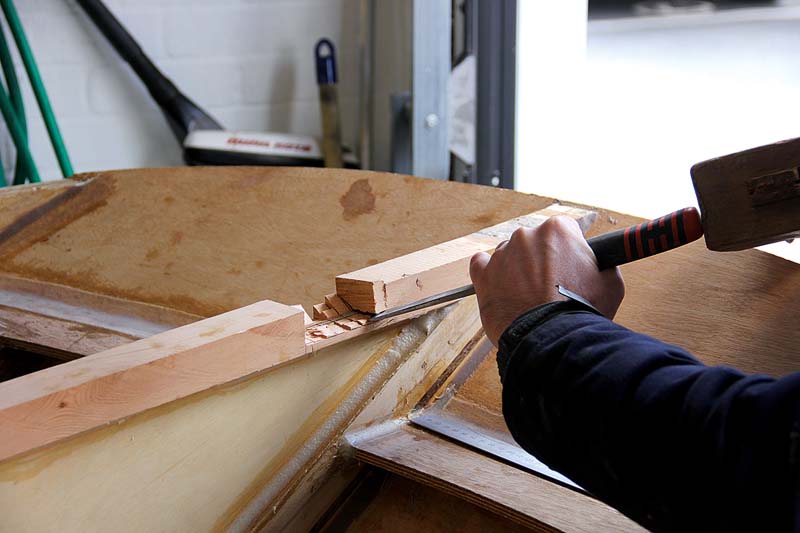
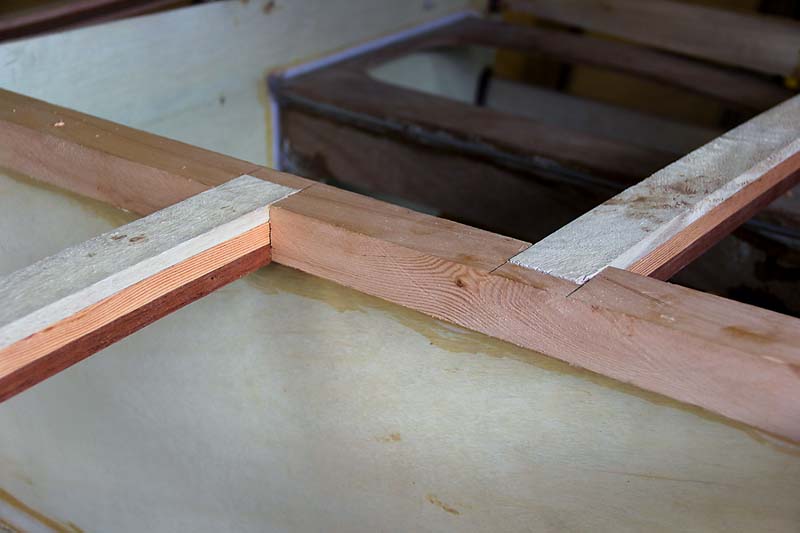
We installed a laminated beam, made from three different woods of varying hardness – hardwood for strength, with cedar sandwiched in to save weight – by notching the fore-and-aft beam to accept it.
Here, David made two parallel cuts at either end of the notch before making multiple cuts in between, down to the baseline, to remove the waste.
This could then be cut out with a very sharp chisel.
The ends of the beam could then be butted up to the stringers, thereafter being epoxied and filleted in.
The port side of the aft deck is covered, whereas the starboard side has an opening for the outboard engine well.
We soon realised that it would be impossible to reach the underside of the beam to access any fittings for the mainsheet traveller when the deck was installed, so after some head scratching we decided to fit an inspection hatch in the piece of plywood that divides the counter in two.
With this installed, an arm should just be able to reach back to the nuts on the underneath of the beam… hopefully!
It was then time to fit the next beam forward.
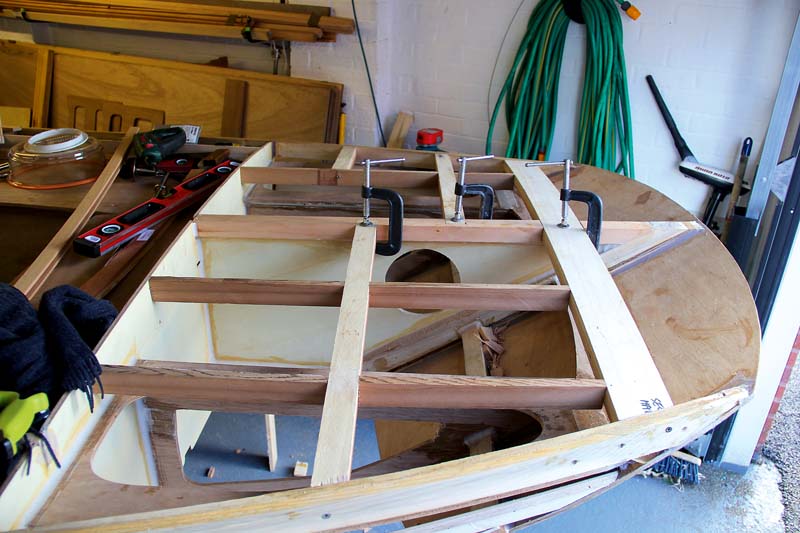
All the aft deck beams dry-fitted before epoxying and filleting them in
A blind halving joint houses the inboard end of the half-length beams
The position of this is constrained by the opening for the engine well, and as we’re not sure what engine we’ll fit – we are toying with the idea of installing an electric outboard – we needed to leave as large an opening as possible.
The aft end of the well will be set by the transom’s lower edge, so we installed the beam in such a way that the forward edge lined up with the lower edge of the raked transom.
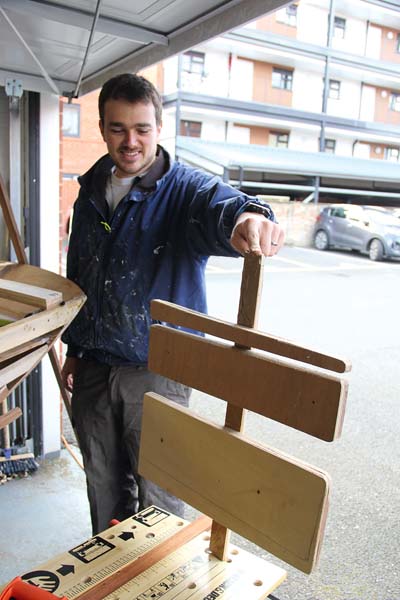
The instructions called for two full-length beams here, but we only had one; so we cut it in half and installed it, staggered, to add support to the deck on both sides while allowing for the engine well.
David cut a blind halving joint on each side, using a drill to remove the waste before tidying up with a sharp chisel.
The outboard edges of the beams were butted up to the stringers and filleted in.
Finally, we could add fore-and-aft braces to tie the structure together and lend further support to the deck.
Now the plywood should be well and truly supported and there should be no areas with any risk of flexing or breaking.
Best of all, it’s lightweight and strong.
Installing one last athwartships beam finished off the foredeck, butting up to the aft end of the foredeck beams and fitting to the insides of the stringers that will support the cabin sides.
Fitting this was a matter of accurately cutting a bevel on each end so that it would fit to the stringers, before epoxying the whole thing in and adding fillets where it meets the five foredeck beams.
The foredeck will be installed here, and the aft edge forms a useful shelf inside the boat’s cabin.
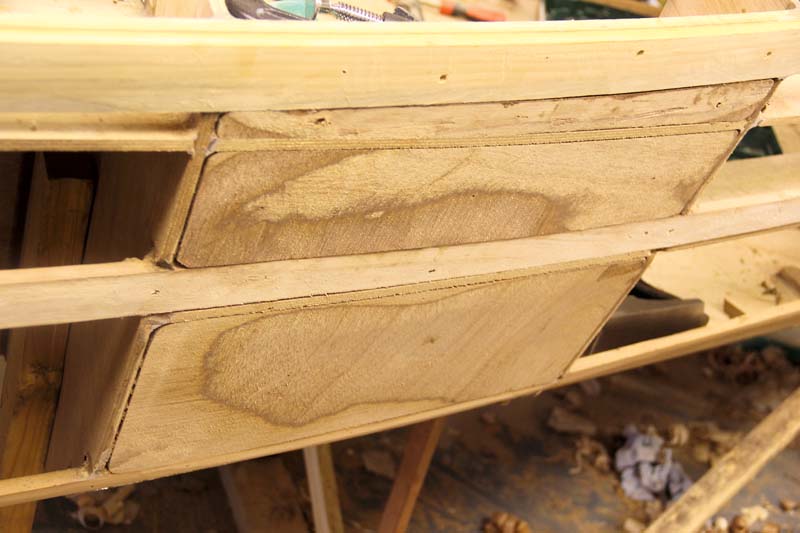
Chainplate reinforcements ready to glue in
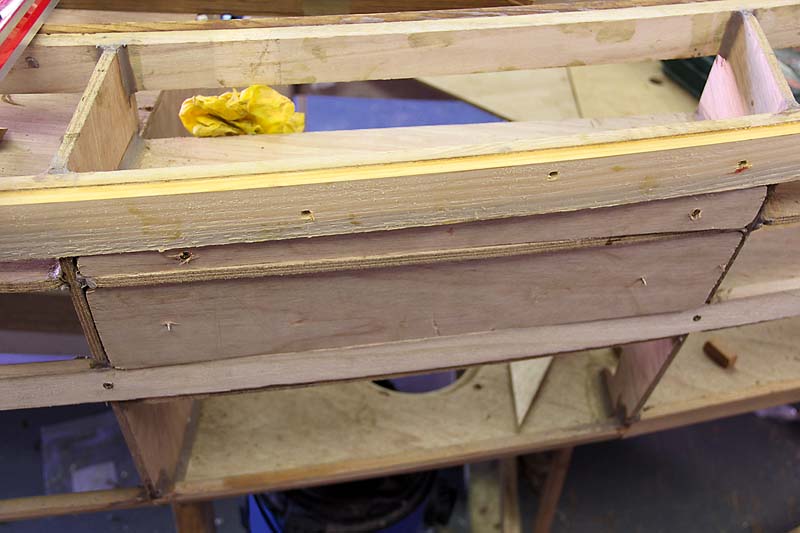
We cut the reinforcing pieces to fit the holes, before laminating them in place to match the curve of the hull sides
Chainplate reinforcement
The Secret’s design calls for extra reinforcement to be added to the hull sides to take the rigging loads.
These thickened plywood panels will be glued to the hull sides and both layers will host the chainplates, which will be through-bolted.
The manual stipulates 18mm plywood, but we opted to make ours from two laminates of 9mm ply – not only because that’s all we had, but also because trying to make thick plywood take the bend of the hull sides would be all but impossible.
Two thinner laminates glued together in situ would take the bend of the hull shape and, once the glue set, would be extremely strong.
The first step was to hold up a piece of plywood to the spaces between the shelves and frames, drawing the shape on and cutting it out roughly with a jigsaw.
This could then be duplicated before being screwed to another panel – and these could then be shaped with a block plane to ensure they fitted perfectly in the hole.
Once all three were shaped on each side, it was time to glue them in.
I painted each inside face with neat epoxy before reassembling the laminate and sealing the edges with more neat epoxy.
The panels could then be refitted.
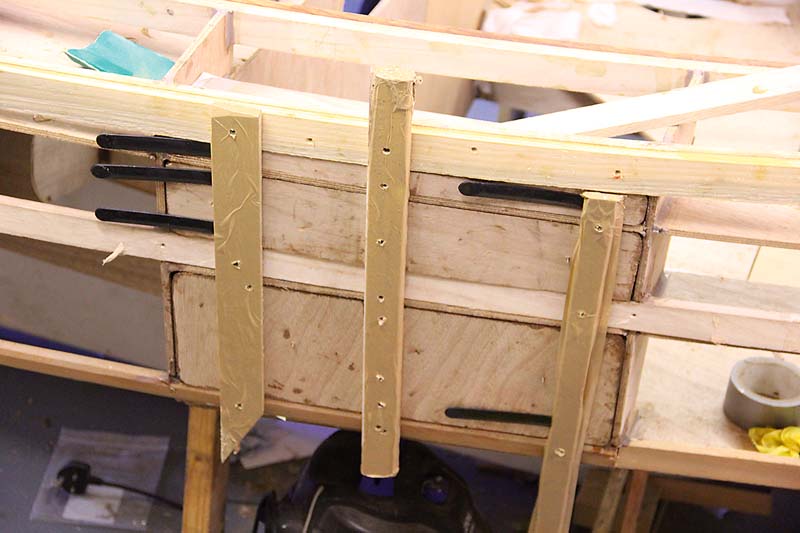
Temporary tape-covered battens encouraged the panels to take up a curve
Glued in place and faired in, the panels will take the rigging loads
To get them to take up the shape, I screwed temporary battens to the panels and to the surrounding structure, covering them in packing tape to ensure they didn’t end up stuck to the boat.
These encouraged the panels to take up the curve of the hull sides.
With the panels thus fitted, they could be filleted in place.
That meant climbing gingerly inside the boat, but luckily she is good and solid now, with the structure almost finished.
We added long fillets to each edge of the panels to fill any voids and secure the chainplate supports – we won’t want these to move once they are taking the full rigging loads.
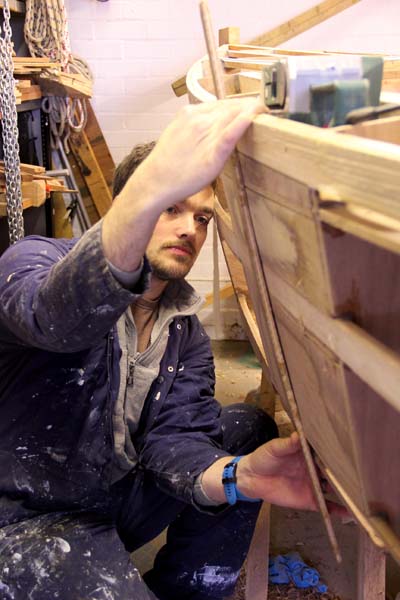
We used a long batten to check the frame for fairness, and to
ensure it was an even curve from deck to waterline

A long sanding block faired in the bevelled stem battens
Fairing the hull sides
Once the epoxy had all set, we could return and remove all the temporary battening and peel ply.
With almost 200 fillets since we started gluing the boat together, as well as bare plywood edging and stringers, the hull framework was anything but fair.
As this will set the boat’s shape and play host to the plywood panels which make up the hull sides, it’s vitally important to get the basic shape right before we go near anything so exciting as installing panels.
The humble block plane was pressed into service – having been sharpened to within an inch of its life – and the first task was to plane off any protruding plywood edges.
These were where the horizontal panels extended beyond the stringers and needed paring back.
That done, we used flexible battens to ensure there was a fair curve to the hull from gunwale to waterline.
Where there were high spots, a few strokes with the block plane smoothed them out.
An area that needed some extra work was the newly installed chainplate reinforcement panel.
While it had taken up the horizontal curve well, bending across its vertical axis was beyond the capabilities of the plywood, which left the top and bottom edges standing somewhat proud.
Here, judicious use of the batten and a carefully-wielded belt sander soon had these faired in.
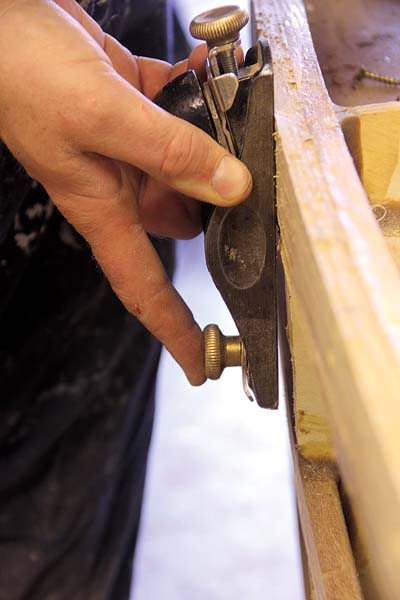
A block plane’s base showed up any areas which needed fairing in

Bevelled stem battens will support the front hull panels
The areas where horizontal and vertical frames met often had a mess of epoxy fillets, so these needed sanding back with the belt sander to enable a fair hull.
The final piece of preparation for the hull sides was to install bevelled stem battens.
These fit between the deck and intermediate stringers and the intermediate and chine stringers and allow the front of the hull panel to sit, reinforced, along the boat’s stem.
Fitting them was a simple matter of cutting them to size and gluing them on.
With the epoxy dry, these could be faired with the edge of a belt sander to remove any epoxy lumps.
What worked just as well was a long piece of timber with a length of sandpaper wrapped around it, which trued up the forward edge without taking too much off.
The stringers were largely ok, setting the sheer and curve of the boat’s sides.
However, some tumblehome is present at the transom, and in other areas the stringers stood a little proud, while about a third of the way back from the bow, twist in the stringer meant that the bottom edge stood proud.
Here, judicious use of a long jack plane faired them in to line up with the frame edges – but we had to be careful to make sure we didn’t just plane off an edge.
The batten provided a useful guide, and we found that using the plane bed was a quick way to check how the profiling was going.
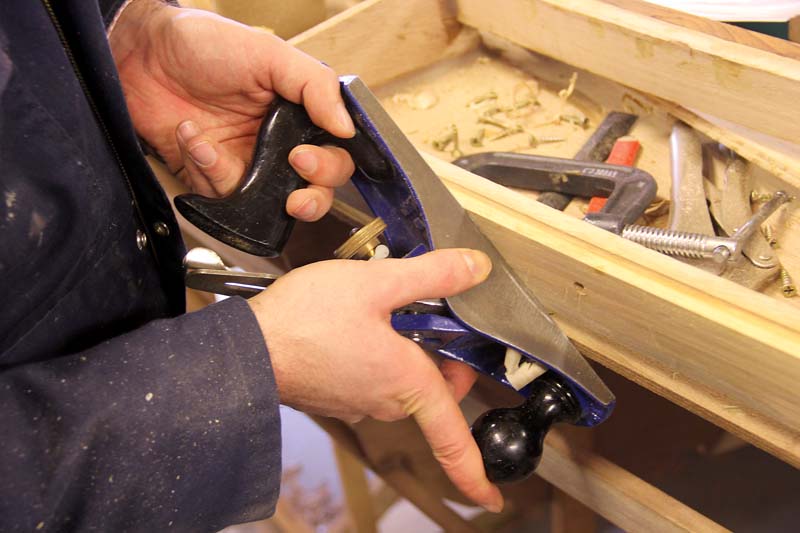
A smoothing plane made short work of fairing in stringers and frame edges
We went around the boat numerous times, eyeing her up from all available angles and profiling all the frame edges, checking with a batten until we were happy that the boat was as fair as we could make her.
Next month we will cut out the hull panels and do a dry-fit with a final check to see if there are any high spots, before we fit them for good.
The boat is really beginning to take shape now, and her beautiful lines are being set. We can’t wait for the next stage!
As published in the May 2017 issue of Practical Boat Owner magazine.