
Mirka’s Andy Mierau shares trade tips on how to prepare surfaces for polishing or varnishing

Surface preparation for polishing or varnishing a boat
You don’t have to be a professional boatyard to carry out essential maintenance on your boat during the autumn and winter months to ensure it remains in tip-top condition for when it goes back in the water next season.
There is always plenty of cosmetic work to be done when the boat is out of the water, and one of the biggest jobs involved is surface preparation.

Over time, gelcoat turns from shiny to dull, due to oxidisation
With multiple surface types on boats, it’s important that owners, no matter their level of knowledge and experience, have access to the necessary skills, techniques and products to ensure a high-quality end product.
Practical Boat Owner met up with Andy Mierau, business development manager in Marine for Mirka (UK), to find out what is required when it comes to prepping a surface for a repaint, flat and polish gelcoats, and for re-varnishing wood.
Surface preparation: gelcoat polishing
The first job we‘ll discuss is the polishing of flat gelcoats. Gelcoats should be shiny but after a while oxidisation leads to them losing their shine and having a matt finish, and this issue is especially prominent above the waterline.
For the polishing process the first thing you need to do is thoroughly wash the boat to remove all the dirt particles.
If your boat proves to be heavily oxidised, the next job should be to sand the gelcoat.

Chose the right compound for the surface. Polarshine 45 is recommended for the first cut
Andy says: “When we come across this issue, we recommend the use of a sander with a P1,000-grit foam-backed abrasive, that is slightly damp, which from our product line-up would be Abralon J3. The trick is to only work on one square metre at a time.”
He adds, “The second stage after sanding over the area using a P1,000-grit is to move up to P2,000 and we always say that you should clean the area before and after sanding to protect the surface and remove any flecks of dust.”
For the next polishing stage it’s important to choose the right compound to achieve the required results.
“This is because one compound might be a coarser and faster compound that is suitable for hard surfaces and coatings, whereas another might be a finer compound developed specifically to provide a deep gloss,” Andy says.
“For these jobs we’d recommend using Polarshine 45 for the first cut, and for dark-coloured gel coats it would be Polarshine® 12 Black.”
The right material
In addition, you should do your own research and talk directly to the local supplier or the manufacturer of these products as they’ll have the knowledge to ensure you have the right compound for the job.
“When working with gelcoats, choosing the correct compound is important, but our top tip is to keep the polisher at around 1,200rpm. This keeps the gelcoat cool to the touch because if you go any higher, speed generates too much heat and dries out the compound and the head of the machine.
Continues below…

Gelcoat repair: How to make an invisible repair
Everything you need to know to make an invisible gelcoat repair, from preparation and filling to topcoat and polishing

Restore and revive faded gelcoat: Three different methods to try
Few things irk me more than dirty, chalky and stained gelcoat. Like an engine that is corroded – or lines…

8 quick tips for varnishing
Some tips and tricks to get the best finish possible when varnishing your boat's woodwork
Best boat varnish: 7 top options for gleaming woodwork
Few things are as quintessential to the archetypal sailboat as gleaming, iridescent woodwork that is indicative of a recent coat…
“This impacts the finish and stops the polished gelcoat from having the same shine it had when the boat came off the production line.”
From a technique perspective, it’s each to their own, but one that is quite easy to follow is the one Andy recommends. “On the area you are working on follow a pattern like an S-shape and then go back at a 50% overlap to ensure true coverage of the area. You should then let it dry for 15 seconds or so and repeat the process in the opposite direction. When complete, it’s important to remember to clean the polished surface with a microfibre cleaning cloth.”
Gently, gently
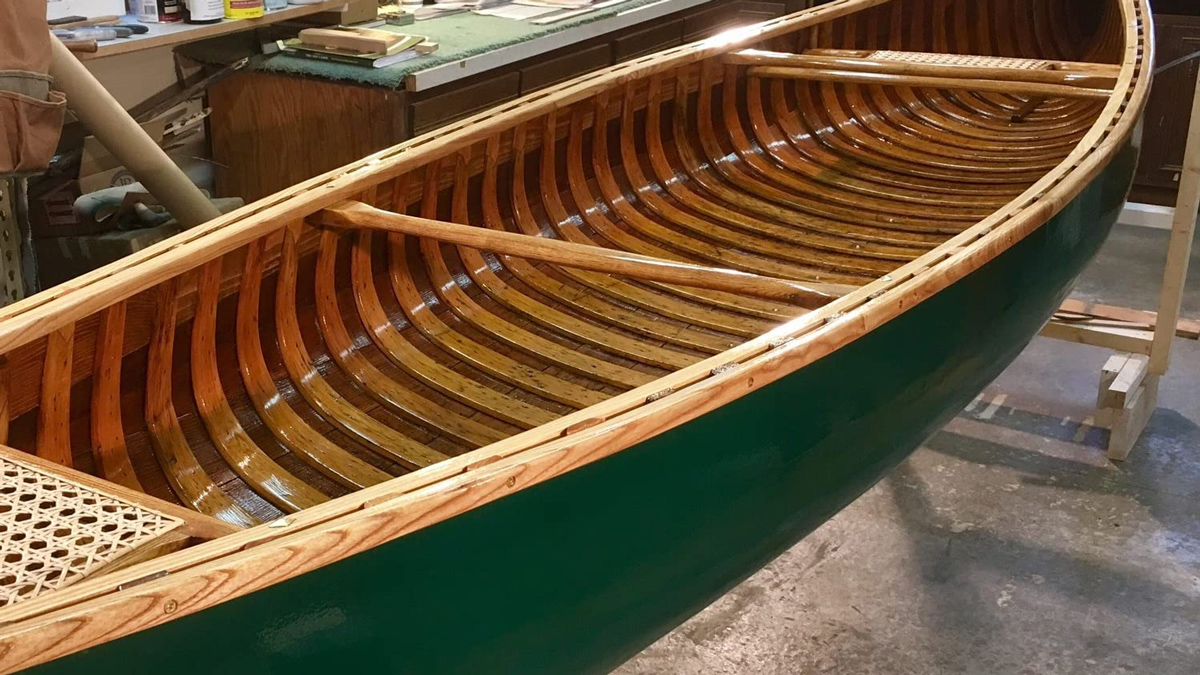
When it comes to older boats, the majority are made from wood, and they need to be treated with kid gloves to ensure they look their best.
“To do this, one of the jobs that needs to be done regularly is sanding the old varnish off in preparation for a new coat to be added. With this job, the first thing that is required is a full inspection of the boat as this will enable you to see where there are any flaws or places that you need to be careful with when sanding.”

Keep the polisher at around 1,200rpm to prevent the compound from drying out
Andy adds: “Once the inspection is complete, it’s time for the prep work. When preparing the surface, it all depends on how thick the varnish is and whether you are trying to completely remove or just feather out the edges in readiness for the new varnish to be applied. For this work, we recommend using a P180-grit ceramic net abrasive which in the Mirka product range is Abranet ACE, and have the sander set to between 6,000 and 7,000rpm. In addition, it’s important that the sander is linked to an extraction system. The reason for this is simple – it provides a dust-free work environment and protects yourself and the surface from the dust.”
“If the P180-grit abrasive is not removing or feathering the edges, you should drop back to P120. Or if necessary, you can go even lower to a P80-grit. However, if you do this, you must come back up and finish with a P240 or P320.”
Follow the rules for perfect surface preparation
Andy advocates always reading the guidelines of the varnish you are applying because each one will recommend a different abrasive grit you need to finish with.
So don’t make the mistake of thinking it is a one-size-fits-all approach when it comes to the recommended grits.
Know your grits
When a boat is regularly out on the water the paint starts to lose its lustre, so this is the time for a repaint.
Before the repaint takes place, you must sand the old painted surfaces. However, there is a step before that – ensuring the surface is clean and free of any contamination that could potentially affect the result.
Andy says, “We recommend choosing a selection of grits to start with, depending on the state of the boat. We normally recommend starting with a P180-grit ceramic net abrasive and working in small areas to start with.”

You can use a P80-grit abrasive for removing old varnish, but you’ll need to finish with a much finer P240 or P320
“Doing this provides an easy way to identify the finish required to apply a primer. Starting with P180 allows you to move to a lower grit if required, but what you have to keep in mind is that if you go lower you need to come back up to finish on a high grit. If you are using a P80-grit, you’ll need to come back up and finish with a P240 or P320-grit.
“Furthermore, as we mentioned with the varnish, you need to read the guidelines for the primer you are applying because each manufacturer’s recommendation will differ when it comes to which grit you need to finish with.”
When it comes to primer sanding, Andy concludes, “We recommend using P240 or P320 ceramic net abrasive which is linked to a dust extraction system. We do, however, recommend that you seek guidance from the manufacturer or supplier of the product before beginning this process.”
Enjoyed reading Surface preparation for polishing or varnishing on a boat? 
A subscription to Practical Boat Owner magazine costs around 40% less than the cover price.
Print and digital editions are available through Magazines Direct – where you can also find the latest deals.
PBO is packed with information to help you get the most from boat ownership – whether sail or power.
-
-
-
- Take your DIY skills to the next level with trusted advice on boat maintenance and repairs
- Impartial in-depth gear reviews
- Practical cruising tips for making the most of your time afloat
-
-
Follow us on Facebook, Instagram, TikTok and Twitter