
James Wood removes Maximus’s alternator and gets it repaired

As ever with a small yacht, working in the engine bay is cramped and you have limited visibility.
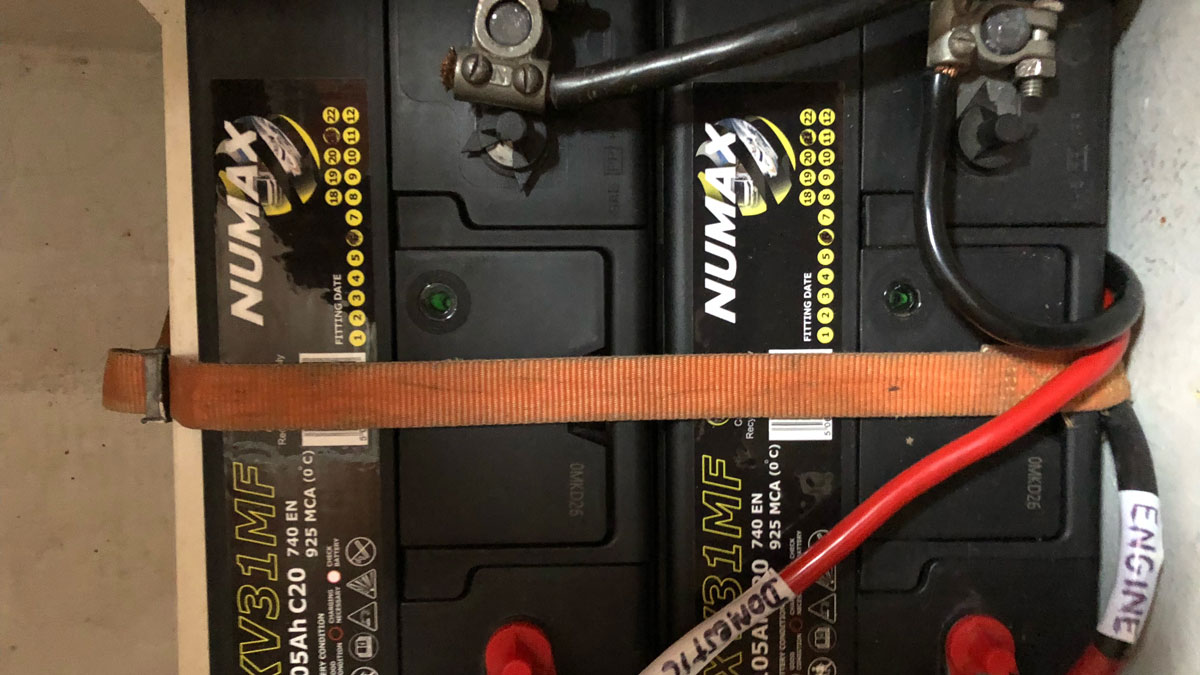
I’d already established that I would have to remove the wiring from the boat alternator terminals completely blind so, after a few failed attempts, I took a photo of the current wiring with my smartphone, as a guide when it came to reinstalling it.
The next job was to release the tension in the alternator belt and remove it, so I could swing the alternator out and improve the working access.
The boat alternator is attached to the engine with a 17mm bolt, and the adjustment by two 13mm bolts.

The old boat alternator stripped down
My wife, Ali, slackened these and swung the alternator towards the engine so I could reach behind.
The alternator is pretty heavy and removing the wiring from the four terminals takes some time, so having Ali’s second pair of hands was definitely an advantage.
The electrical inputs were connected by spade connectors which slide off easily, but the other terminals are secured by nuts which required loosening with a small spanner before I could remove them completely with my fingers.
Once released, I took out the 17mm bolt connecting the alternator to the engine itself and slid it out sideways.
It took longer than anticipated – around an hour!

The spade connector had snapped off
I took the boat alternator home where I had a multimeter and a wider set of tools, as I saw that I needed my star-shaped tamper-proof bits for removing the regulator.
Once home, I contacted Stu Davies again for some guidance on where to start.
I was going to have to take the alternator apart in order to be able to identify which component was faulty.
The plastic cover came off relatively easily, followed by the spade connectors that connected the regulator to the body of the alternator.

The alternator’s refurbished components
In order to remove the regulator itself, I needed to dig out my little-used star bits (finding them probably took as long as taking the thing apart did!).
The regulator duly came off, and the brushes looked a good length and in good condition.
Removing the diode bridge is slightly more complicated, as you’ll need a soldering iron to disconnect the three connecting wires to remove it from the body of the alternator.
That done, I tested the inner core and diode connections with the multimeter, with a little assistance from Tino G’s Sailing channel on YouTube.

Rear view where all the wiring goes
I couldn’t detect anything obviously wrong in the different readings I took.
I know that usually means that the regulator is suspect, but as my multimeter skills were a little rusty, and I wanted to get Maximus back seashape as soon as possible, I decided to get a second opinion from an expert, Alan from AJW Electrics.
It had been a good learning exercise, but this was as far as I felt comfortable taking it. Time to hand over.
Refurbishing the boat alternator
After dropping off the alternator, Alan fully refurbished it and confirmed that the regulator was at fault, replacing it with a new one.
The regulator was then finished with Motip Heat Resistant Lacquer to improve its longevity in the damp confines of a boat.
Refitting the alternator
I had it back within a week and, together with Ali, set about reinstalling it on Maximus’s Volvo MD2020 engine.
It had taken so long to get it off, could we actually get it back on again? We could hardly see what we were doing and had to reconnect seven different cables in a very tight space.

Wiring terminals at the back disappear from view once installed
We were glad we’d taken reference photos before removing it initially, so there was a clear guide to getting it back on.
One of the reasons the working space was so tight, which we hadn’t realised earlier, was that Adam had cable-tied up all the alternator cables to keep them neat and tidy.
Continues below…
I need help understanding my marine alternator! Ask the experts
PBO reader Paul Farr wants help in understanding his marine alternator. Engine whisperer Stu Davies comes to his aid

How to service a marine diesel engine in 12 simple steps
It was time to service the marine diesel engine on our Maxi 84 cruiser. Knowing how to diagnose and fix…

How to: troubleshoot your diesel engine electrics
Even when you’ve done all your normal pre-departure checks, sometimes the engine still just won’t start. If you have ever…
I snipped these free, which gave a little more flexibility to the cables.
While inspecting them, I noticed that the spade connector for the engine instruments was badly corroded and had completely snapped when it was removed a week earlier.

Refurbished components reassembled into an alternator
I think this connector probably played a part in the alternator failing, but I’d ordered some new spade connectors and replaced both, so we should hopefully be in the clear now.
With help from Ali to replace the alternator, I could then re-attach the cables to the correct terminals.
Ali then tightened the bolts, using the handle of a hammer as a lever to tension the V-belt, and we were finished. Now it was time to see if it worked…
3, 2,1…Lift off
Ali performed the fuel and engine checks, and started the engine. I was hovering next to the Victron battery charge instrument with bated breath.
To my relief, the reading jumped up to just over 14V, which is exactly what we were hoping for. We could consider the alternator fixed!

James ready to install the refurbished alternator
Although I wouldn’t regard the project as a simple task, removing, inspecting and replacing the alternator, certainly gave us a much better understanding of Maximus’s electrical systems, and greater confidence in undertaking similar jobs in the future.
This is an important point for me, as in our year of owning Maximus, we have come to learn that finding reliable tradespeople who can fit in smaller jobs isn’t always easy.
Much better to try and be as self-sufficient as possible… even if you do occasionally have to hand back to the experts.
Enjoyed reading Refurbishing a boat alternator?
A subscription to Practical Boat Owner magazine costs around 40% less than the cover price.
Print and digital editions are available through Magazines Direct – where you can also find the latest deals.
PBO is packed with information to help you get the most from boat ownership – whether sail or power.
-
-
-
- Take your DIY skills to the next level with trusted advice on boat maintenance and repairs
- Impartial in-depth gear reviews
- Practical cruising tips for making the most of your time afloat
-
-