
Casting a critical eye over the project boat’s lines, David Pugh and Ben Meakins set to work filling and fairing to make the hull smooth

In the previous article (Secret 20: Rounding the bilges), we explained how we built up the chine panels on our project Secret 20 using cedar strip and epoxy.
See the full set of articles: Building the Secret 20 kit boat with PBO.
Aided by a little filler, this approach got us most of the way to completing the required curve, but they still needed fairing to get them to their final shape.
Other areas which still needed careful shaping were the angle between the keel and the bottom hull panels, the stem and the transition between the 6mm midships hull panels and the 4mm bow panels.
Additionally, the entire hull needed checking for high and low spots, and fairing as required.
Fairing is one of those jobs that can go on for ever, with endless rounds of filler and interminable sanding – and, to coin a phrase, you reach the ‘sod it and move on’ stage.
We’re not quite there yet – there are a few more rounds of filler to go – but it’s not far off!
Longboards made short work of fairing
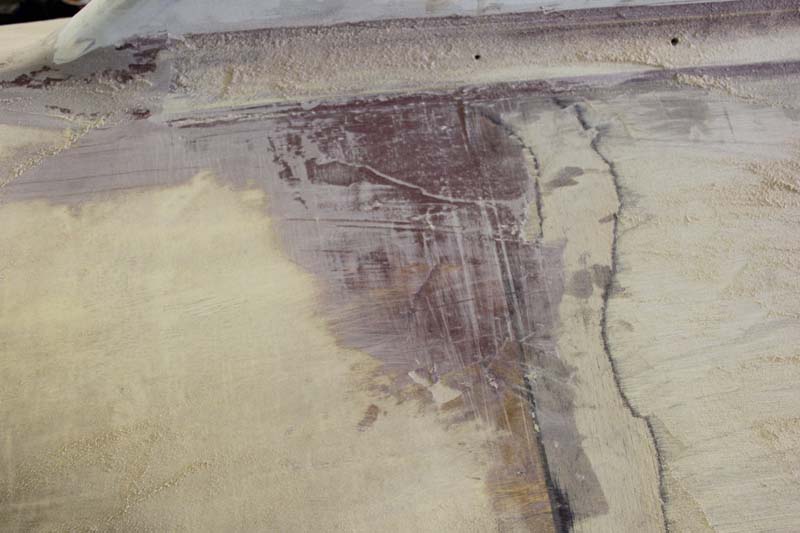
How to spot highs and lows
By far the best tool for spotting irregularities is a critical eye. Get down low to the surface you’re examining and look at it from every angle and you’ll spot problems that evade a simple glance.
Hands work well too: when you’re sanding, run a hand over your work regularly to find small bumps and hollows.
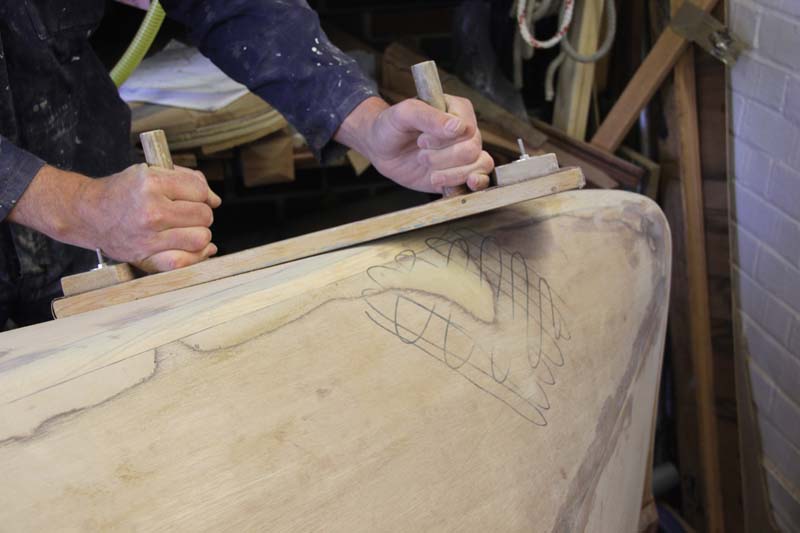
There are ways you can help your eyes, however. The instructions which come with the boat kit suggest drawing a grid over the whole boat before using a longboard (sandpaper attached to – you’ve guessed it – a long board) to give the hull an initial sand.
The board will bridge across any high points, removing the grid, while leaving the marks untouched in any hollows.
Mike Pickles, foreman at Harbour Marine Services in Southwold and regular author of our ‘View from the Boatyard’ column, recommends simply scribbling over the area to be faired before using the longboard.
It’s the same idea, but easier than drawing a grid on the hull skin.
Another technique we found useful was a laser level. These project a long, straight line which when shone onto an irregular surface shows any lumps and bumps quite well.
We found it works best when the laser is angled obliquely to the surface.
A lower tech method is to use strips of tape, which just like the camber stripe on a sail help to show if a curve is fair or not.
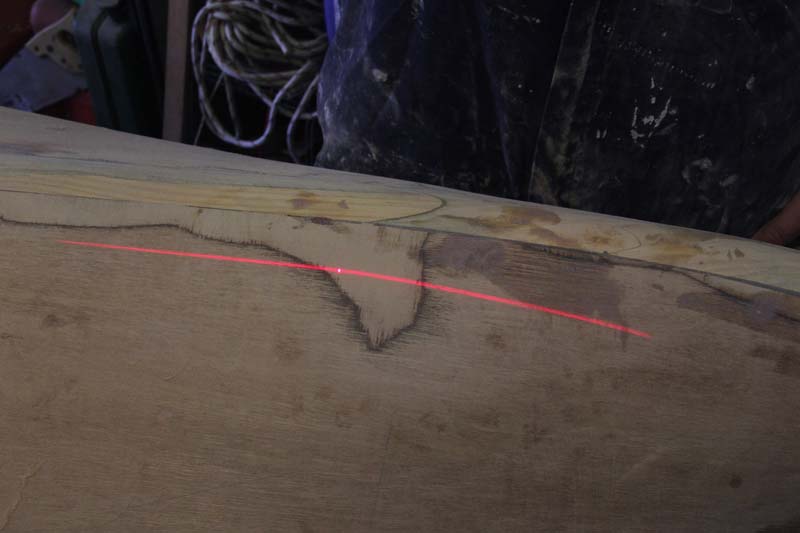
A laser level shone obliquely showed up any lumps or depressions on the hull skin
Shaping the chines
A set of templates had got us close to the shape we needed, but there were still some areas which needed attention.
Approximately half way along the chine were some large flat spots owing to there being insufficient timber to completely build the curve, and a few other errors were apparent in other areas where we had been too enthusiastic with the plane.
Rather than adding more timber, we decided that the shape was close enough to allow us to make up the difference with fairing filler.
We used WEST SYSTEM low density microballoon blend in a stiff mix of epoxy to build up a layer of filler on the areas in question.
After letting it cure for 24 hours we sanded it back, first using a random orbital sander to remove obvious high points, followed by longboards and sandpaper pulled like a strap across the chine.
This was mostly successful, but we needed a further two applications of filler on the largest flat area. Building up smooth layers of epoxy is not easy – if you make the mix stiff enough to support thick layers of 10mm or more then you risk a rough surface and voids in the filler.
A less stiff mix gives a better finish, but you then need to build up layers and ensure the previous layer is clean and keyed to ensure good adhesion.
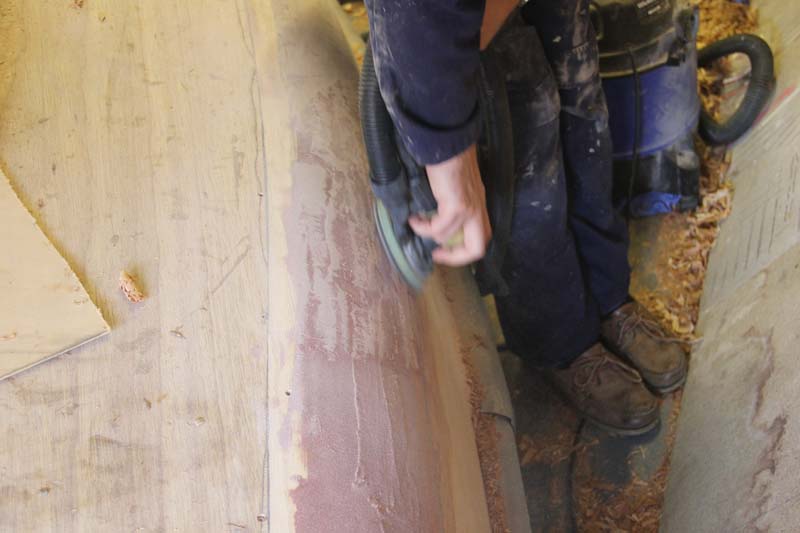
A random-orbit sander sped up the fairing of the chines
Smoothing the panels
Beyond general fairing, there were three main areas on the boat which needed special attention.
The first is the transition from the midships bottom panels, which are 6mm plywood, to the 4mm ply bow panels. This results in a 2mm step.
We removed the majority of the difference by using a long plane to taper the 6mm ply over a distance of around 40cm, before filling any hollows with fairing filler. The 4mm ply tends to scallop slightly around the fixings, so filler is inevitable.
Further aft, we had used two small 6mm panels to fill the gap between the midships panels and the aft bottom panel.
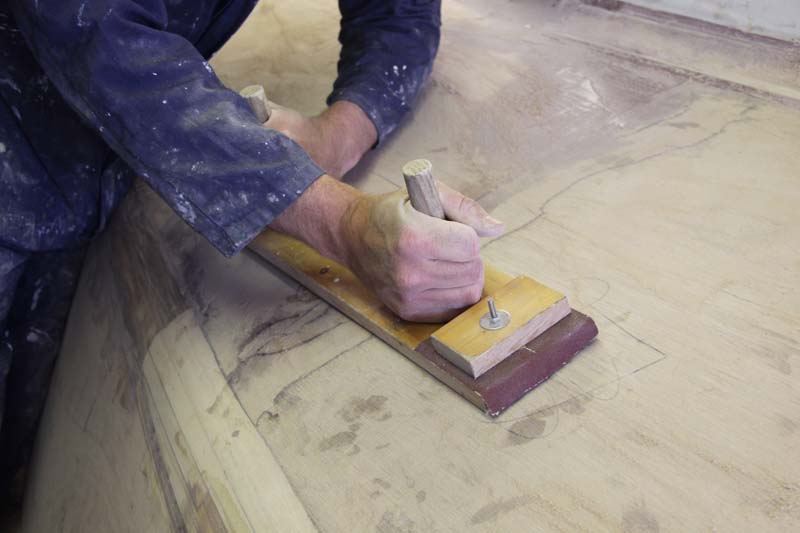
A longboard (sometimes known as a torture board!) was painful but effective
A longboard showed up areas that needed extra filling
As they were small it had proved impossible to make them continue the gentle bend of the bottom panels, so we glued them in place and used a plane to remove any high spots.
As they were mostly too high at the edges, we didn’t need much filler.
The third and final area was at the bow, where the bow panels meet the stem.
The ply had scalloped quite badly here where we had used screws to pull it into shape, so we cautiously planed the top of the bumps, taking care not to go through more than one laminate of plywood, and filled the hollows.
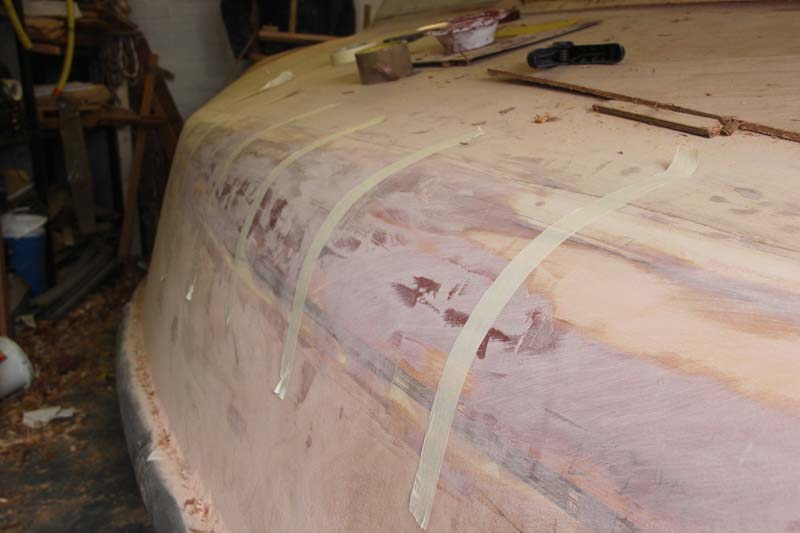
Masking tape stuck over the chines showed up any hollows or flats
Keel to hull joint
The kit provides two long mouldings to ease the gap between the keel and hull.
We first dry-fitted them, pulling them into place with long screws to check the fit before removing them and gluing them back into place with epoxy.
The mouldings provide most of the required curve, but as they don’t taper to a feather edge there’s some work required to fair them into the hull and keel on either side.
We found this was best done in two stages. The first was to make a tapered fillet on either side, for which the square end of a filleting stick proved ideal.
The angle was still too steep, however, so we used the back edge of a putty knife to form a curved transition on both sides using fairing filler.
The final shape to make was the lead into these mouldings at the forward edge of the keel.
We did this using more epoxy and fairing filler, formed to shape as best we could when wet.
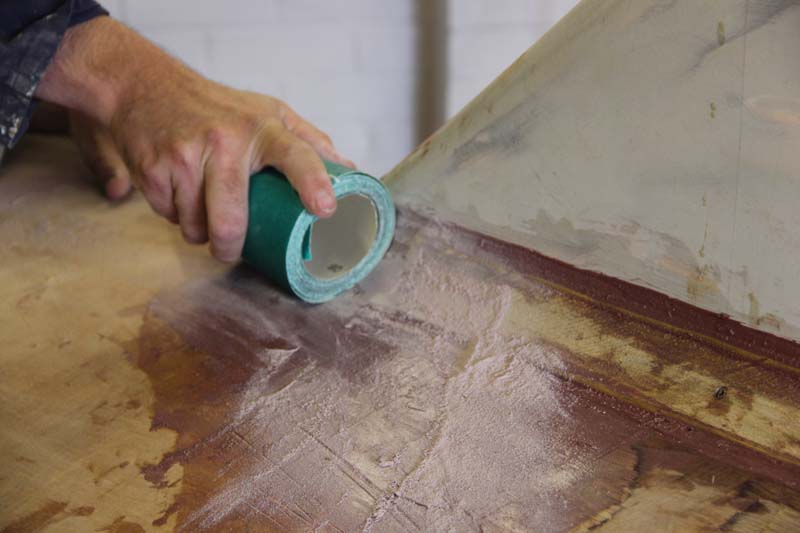
We then finally shaped it using sandpaper in a roll to ensure the correct concave shape. The same technique was used to fair the fillets we had applied along the length of the keel.
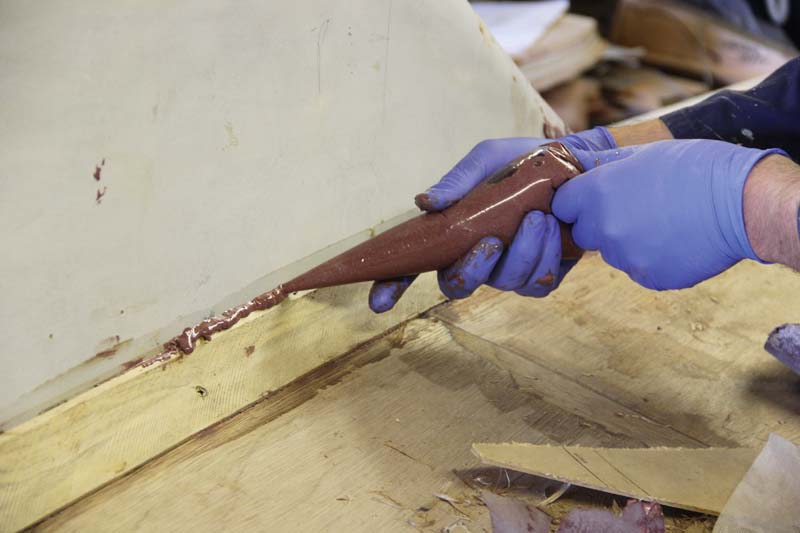
We used a piping bag to pipe in a long fillet to secure and fair in the keel battens
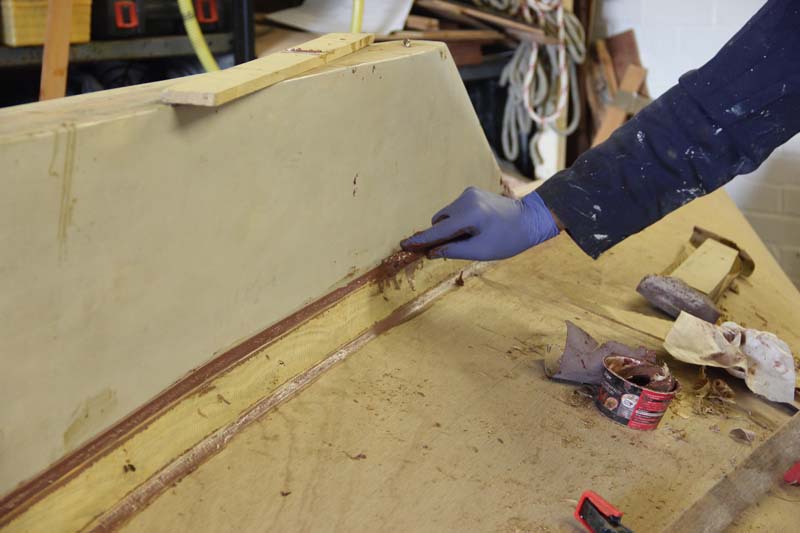
A filleting stick smoothed the seam well
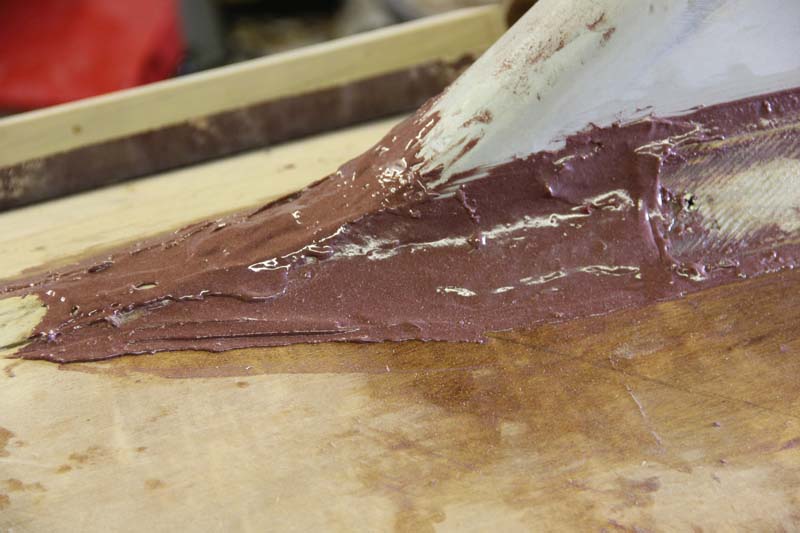
A mess of epoxy faired front of the keel…
…which could then be sanded smooth
Shaping the stem
This was possibly one of the most satisfying jobs on the boat so far. The stem, running down to meet the keel, had been left square while building the hull, so the challenge was to shape it to provide a pleasing angle between the two sides of the hull.
It also needed to be left square at the top in order to accept the bowsprit stemhead fitting.
We started by deciding the point at which the square would begin to taper, then set to work planing.
Using a long plane helped us to follow the angles set by the bow panels and did most of the work low down on the stem and along the forefoot, where we wanted a rounded shape between the two.
We used the plane to take the timber to a point, before rounding it off using a block plane and sandpaper.
Further up the stem we had to be more circumspect, so started off by carving a 45° angle into the stem using a spokeshave.
After continuing this a few inches down the stem, we drew a line from this to an estimated waterline and tapered the timber between the two points to match using a plane.
Once we had the shape we needed, we sanded the whole area to remove any irregularities, easing any sharp corners as we went to improve paint adhesion later on.
We also glued timber fillets in place at the top of the stem to make it wider, ready to acept the stemhead fitting.
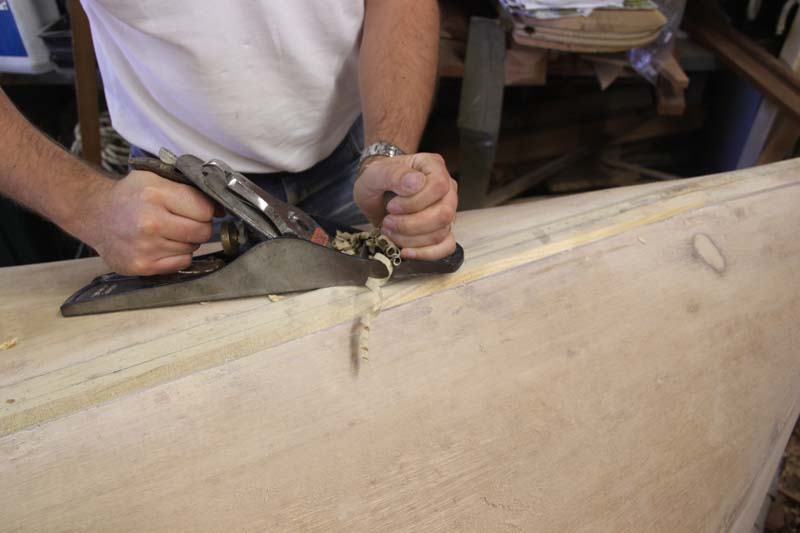
A long plane to transfer the hull angle to stem
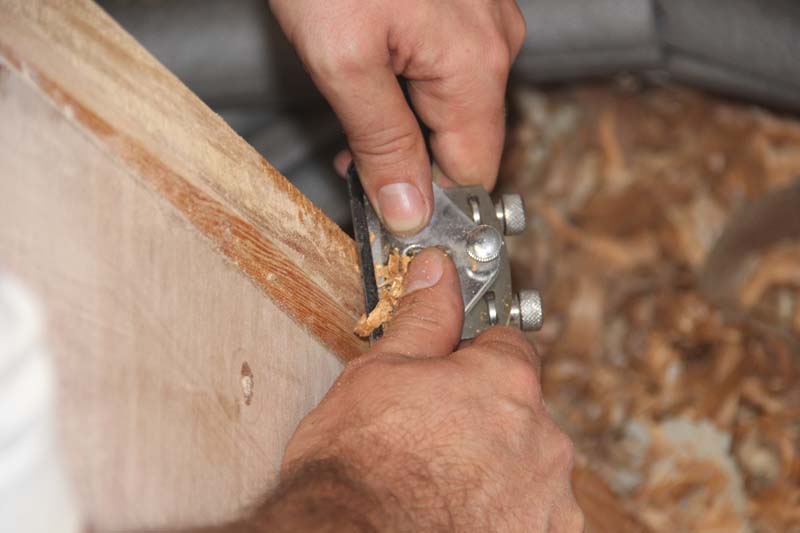
We used a spokeshave cut a ‘stopped arris’ on the stem
Conclusion
Fairing’s an odd sort of job, with much of what you do making the boat look worse rather than better as it starts to resemble a patchwork quilt. However, running your hand over the result is certainly rewarding as you feel a smooth, blemish-free surface beneath.

The most satisfying job by far, though, was planing the stem. Suddenly this rather agricultural, square timber took on new life as a shapely bow ready to carve its way through the water. It’s improved the aesthetics of the bow immensely, and is a reminder of what this boat’s meant to do – sail.
As published in the November 2017 issue of Practical Boat Owner magazine.