
Blunt tools a problem? Razor-sharp chisels and plates produce a much better job and are easier and safer to use. Julian Peckham shows how it is done
When I was a trainee boatbuilder, one of the first things I was taught was how to sharpen a chisel and other woodworking tools. Blunt tools are terrible to work with: a blunt plane is as good as useless, while blunt chisels are difficult to use and verge on the dangerous – it’s so easy to slip and hurt yourself if a chisel is not cutting as it should.
The trick with tools is to sharpen them little and often. It may seem a bit of a faff to have to keep stopping what you’re doing to re-sharpen, but in the long run it’ll save you time and effort – and it’s really quite simple.
You can get all sorts of accessories such as honing guides to maintain the correct angle, leather strops and special oils, but really all the practical boat owner needs is an oilstone, some thin oil and a bit of rag to clean up with.
In an ideal world we’d never use our woodworking tools for anything other than that for which they were intended, but I’m as guilty as anyone: I’ve used the 12mm chisel above for knocking tiles off the bathroom wall. It looks knackered, but it can be saved…
Make a damage chisel good for sharpening
These first few steps are all about making life easier so a badly-damaged chisel is ready to be sharpened on the oilstone. It’s perfectly possible to grind the primary bevel using the coarse side of the oilstone – that’s what you’d do if the chisel condition wasn’t too bad – but it’s much quicker and easier to use a bench grinder if you have one
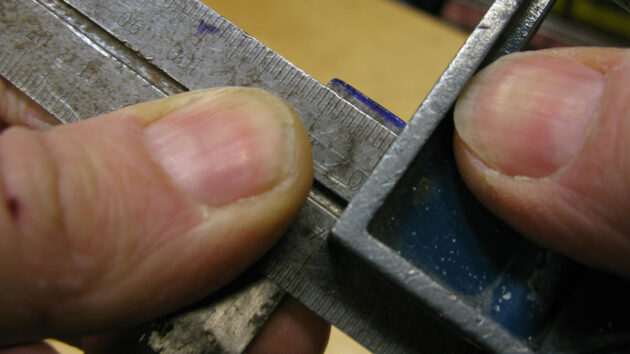
1. Mark the end off square with a set square and permanent marker.
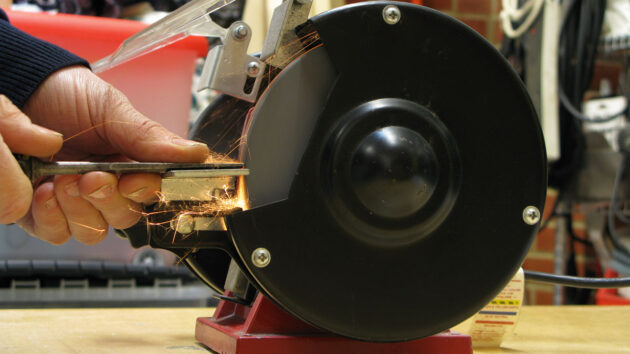
2. Grind off the end to your line – I’m using a bench grinder, but with care you could use an angle grinder.
3, Now we have to grind the primary bevel. The standard bevel angle for both chisels and plane irons is 30° or thereabouts.
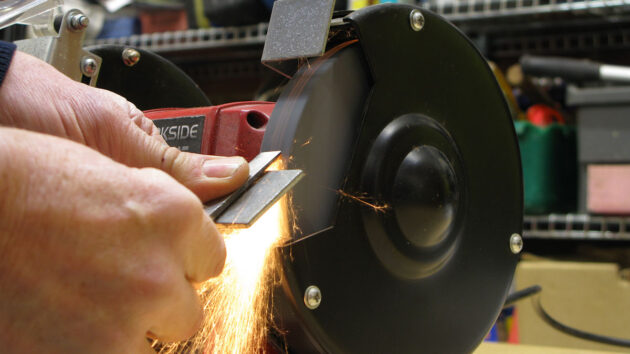
4. When using a bench grinder or angle grinder, don’t try to take off too much metal in a hurry or you’ll overheat the chisel tip. You’ll know if you’re overcooking it – the chisel tip will turn blue (photo below).
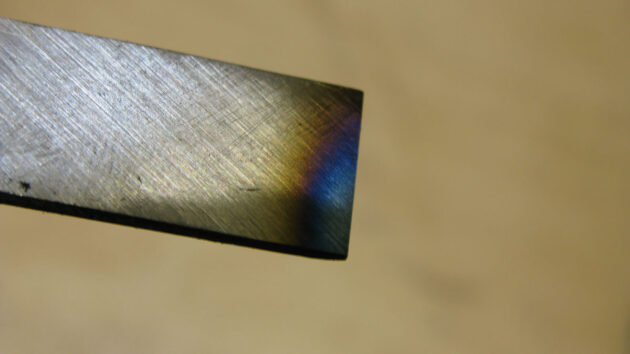
You want to avoid this because the metal will lose its temper or hardness.
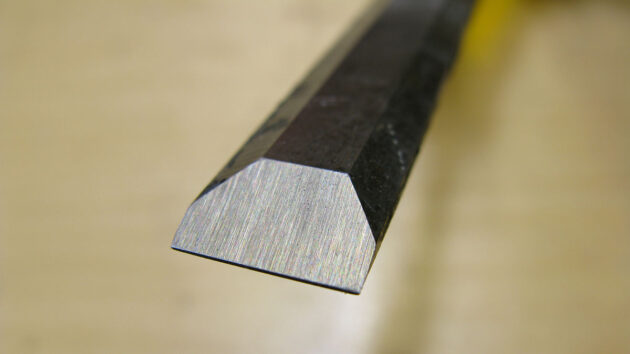
5. Grind until the bevel is within a hair’s breadth of the chisel edge, and the first part of the job is done.
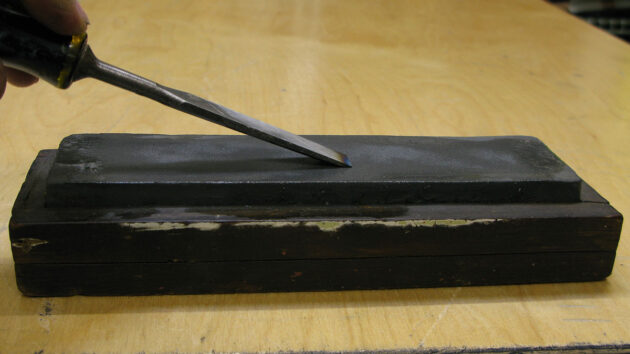
All about oilstones
Oilstones are generally combination stones – one side has a coarse abrasive used for grinding the bevel, the other a finer abrasive for honing a razor-sharp edge.
You’ll need to hold the stone firmly while using it to sharpen, so if your stone doesn’t have a fitted box, it’s a good idea to make one from scrap wood – this will make it easier to clamp the stone in a vice or Workmate-type bench.
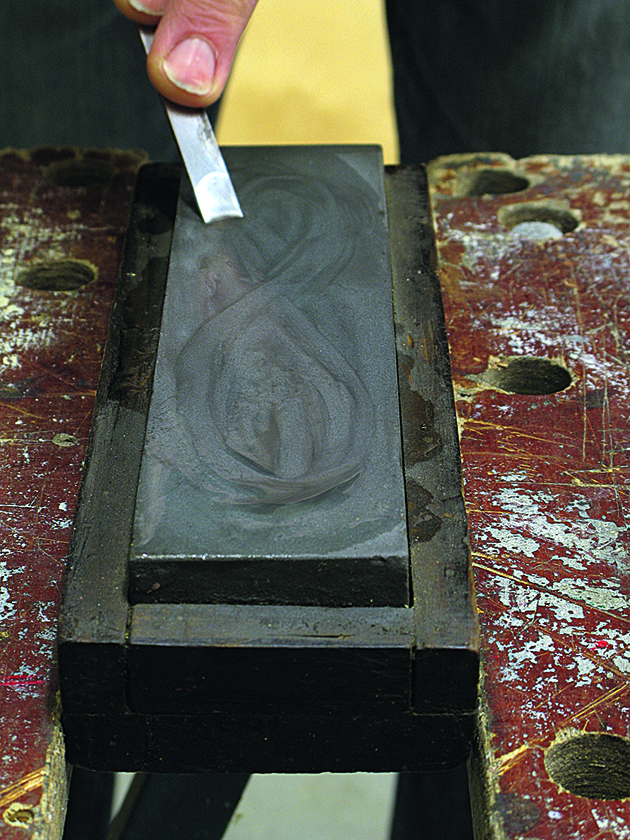
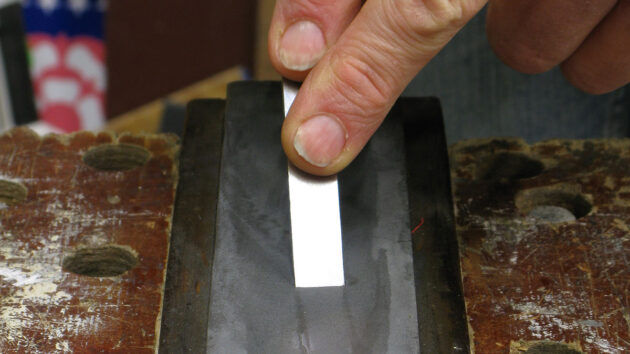
If sharpening a narrow chisel, draw back and forth in a figure-of-eight pattern
To use an oilstone, you’ll obviously need oil – special oils are available, but in reality any light machine oil (3-in-One etc) will do. And if you’re really stuck, a cheap and effective alternative is baby oil. When you’ve finished with the oilstone, remember to wipe off the excess oil.
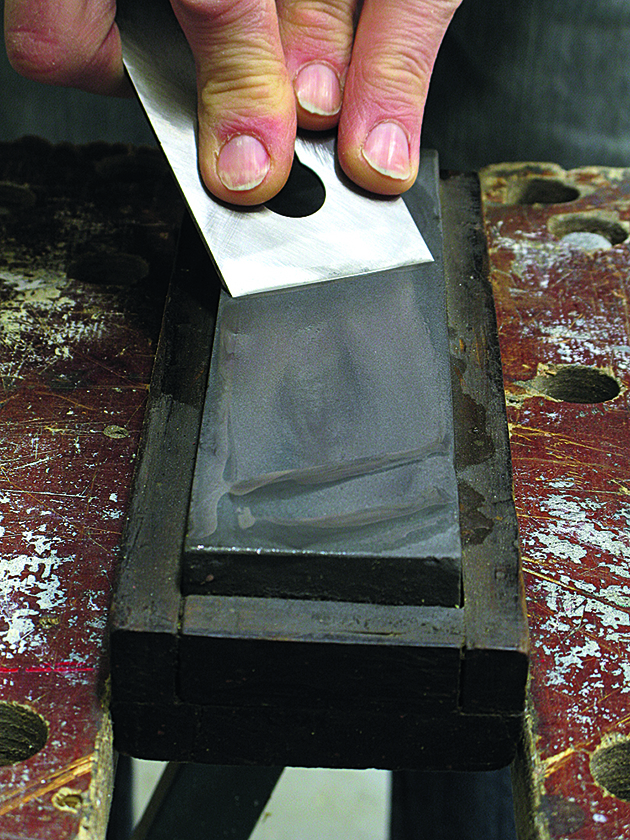
When pushing and drawing a blade over the oilstone, try as much as possible to use the whole of the oilstone’s width and length to avoid wearing a hollow in the stone. Achieve this by, for instance, holding a wide plane blade at an angle so it just covers the stone’s width as you draw
How to sharpen a chisel on an oilstone
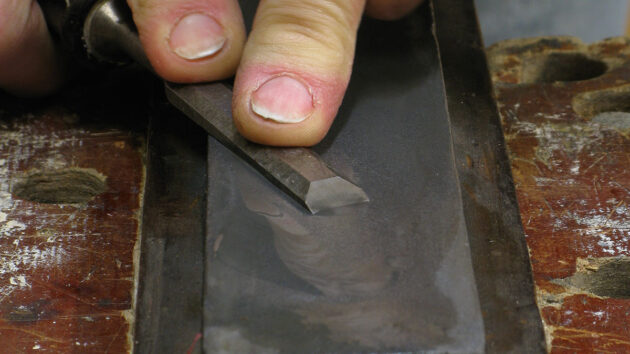
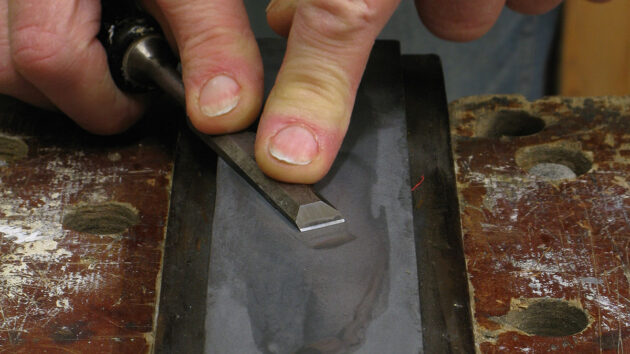
1. Start with the back of the chisel held flat against the oilstone. The aim is to ensure the steel is flat right down to the tip, so push and draw it backwards and forwards on the stone with firm pressure. If the chisel is very blunt, start with the coarse side of the stone. If you’re merely returning it to super-sharpness you can use the fine side of the stone.
2. You’ll know the back of the chisel is flat when the stone’s grinding or honing marks reach to the very tip. If the marks stop short it’s because the tip is rounded: you’ll need to carry on a bit longer.
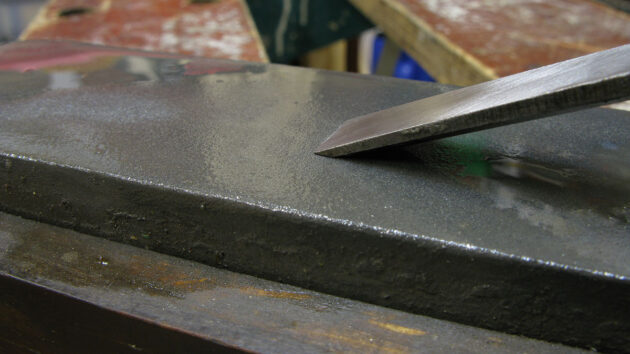
3. Now we need to create the cutting edge. With the primary bevel held flat to the oilstone (chisel at 30°), raise it a couple of degrees further before firmly pushing and drawing it back and forth on the oilstone. Again, use the coarse side of the stone if you’re sharpening a newly-ground chisel, the finer side if you’re tickling up an edge with which you’ve been working.

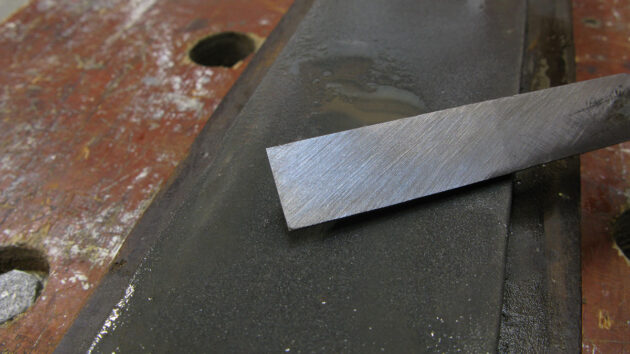
4. It shouldn’t take much to get a nice, straight secondary bevel on the blade.
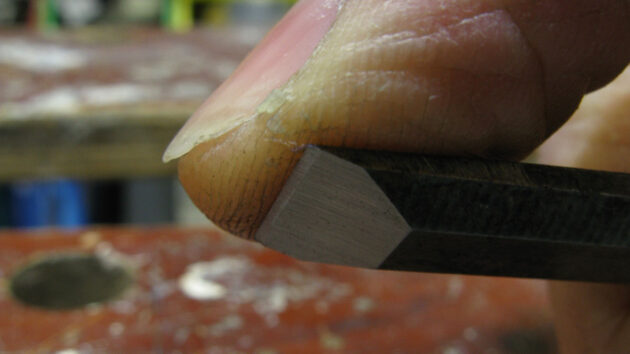
5. Now, however, there’ll be a burr on the back edge of the blade – if you’re careful, you can feel it with your thumb.
6. We’ll need to remove this by turning the chisel flat on its back again, and drawing it back and forth just a few times on the fine side of the stone.
7. The burr will now be back on the front of the blade so, holding it at the correct angle, gently draw the front of the blade back on the stone once or twice. Repeat this and the previous step a couple of times until the burr is barely noticeable.
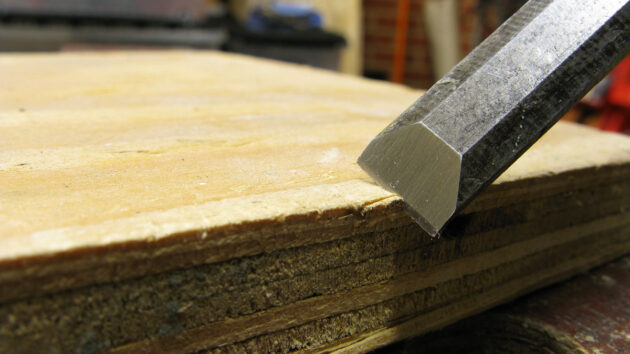
8. Remove the final burr by nicking the blade across the piece of scrap timber. It’s now super-sharp and ready for action. A sharp chisel will easily cut across an end grain.

Tools for tight spaces on a boat
Ben Meakins contorts himself terribly in a bid to demonstrate which tools work best when working on your boat in…
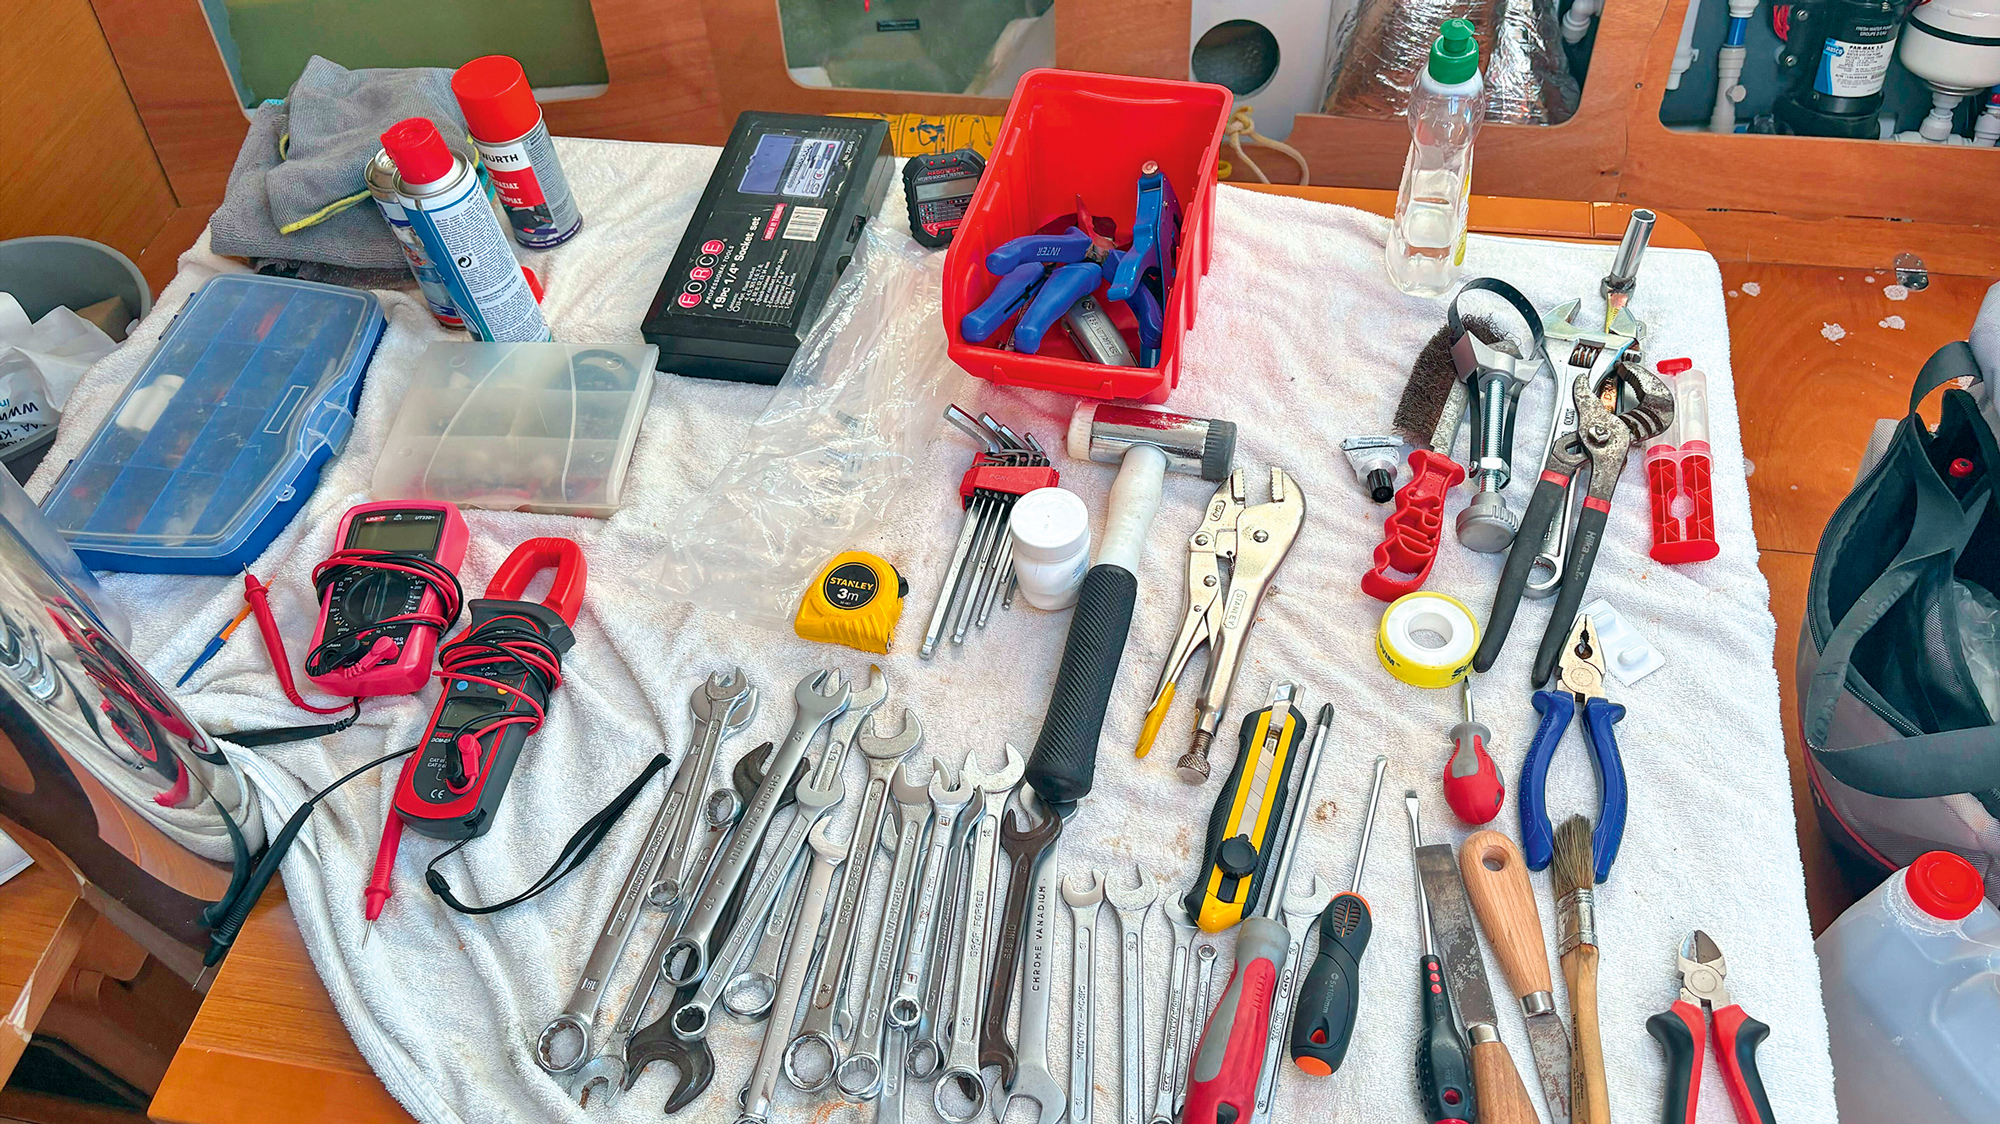
The essential tools to keep on your boat
What tools do you really need for a boat? Say you now own a new or new-to-you boat, and you’re…
Why you should consider the weight of boat tools
Minimise the need for weighty tools on board by swapping metal parts with wood and rope, and muffling those you…

Woodworking tools – a DIY boat owner’s guide to getting a professional finish
It’s not difficult to achieve a professional finish using woodworking machines and there are bargains to be had every day…
Want to read more practical articles like How to sharpen a chisel and plane iron?

A subscription to Practical Boat Owner magazine costs around 40% less than the cover price.
Print and digital editions are available through Magazines Direct – where you can also find the latest deals.
PBO is packed with information to help you get the most from boat ownership – whether sail or power.
-
-
-
- Take your DIY skills to the next level with trusted advice on boat maintenance and repairs
- Impartial, in-depth gear reviews
- Practical cruising tips for making the most of your time afloat
-
-
Follow us on Facebook, Instagram, TikTok and Twitter