
Our Secret 20 kit takes shape, with epoxy fillets holding everything together...
Once all the frames had been installed on the keel (see our last update), it was time to break out the laser level again and go around, truing up the boat with the laser and a long spirit level to make sure that each frame was level and aligned correctly. That done, we added softwood supports to keep the frames set.
The next step was to fillet everything together. We published a step-by-step guide to making the perfect fillet in the December issue – and watch this space for a video.

Each of the ‘bays’ formed by the frames and fore-and-aft sections needed five long fillets to keep everything solid and aligned. We used masking tape to keep these as neat as possible.

A layer of glass tape joined the two halves of the cabin bunk together, while fillets secured the frames to the keel and to each other.
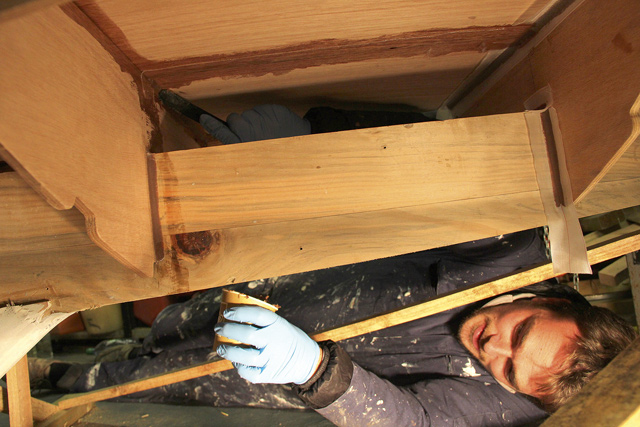
It wasn’t exactly a pleasant job filleting overhead and underneath the boat in December, but the job was soon done and the boat is much stiffer for it.
Next up was to fit the plywood transom. This was tricky as it has to take up the curve of the laminated beam, and needed a lot of force to persuade it to take up the correct shape. We used a spinnaker sheet taken to a strongpoint in the ceiling of our garage to pull the edges of the plywood in correctly.

The first step was to build up the transom framework, consisting of the sternpost and supporting structure, and a laminated beam. This was all epoxied in, with glass tape to add strength where the beam and plywood meet.
The transom dry-fitted, with line taken to the ceiling to bend it into shape
Duly finished – the transom is perfectly aligned and has taken the correct shape – phew!
Keep checking back here for snippets showing how we’re getting on – and read our full articles in PBO each month. Why not subscribe and make sure you never miss an issue?