
David Pugh and Ben Meakins tackle the truing up of the new project boat’s keel, stem and stern – and enjoy a long-deferred sea trial in a completed Secret 20 kit boat. Ben Meakins reports
In 1870, the Russian Navy launched a warship that was almost completely circular. Designed as a floating battery for coastal defence, the ironclad Novgorod and her sister ship were by all accounts a nightmare to steer. One account said:
‘They went up the Dnieper very nicely for some distance, till they turned to retire. Then the current caught them, and they were carried out to sea and whirled helplessly round and round, every soul on board helplessly incapacitated by vertigo.’
Yes, you might say: that’s all very well, but what does this have to do with our Secret 20, which when built should be a long, slim gaffer?
See the full set of articles: Building the Secret 20 kit boat with PBO.
Only that should we fail to set up the boat’s backbone – the keel, stem and stern – straight, level and true, the pride of PBO might take on a similar characteristic under sail to Admiral Popov’s rotund ships.
No matter how good our workmanship, how well we cut the joints and how accurate the kit of parts, the fact remains that if the backbone is out of alignment, the hull and deck panels won’t fit, the shape will be wrong and she won’t track straight. No pressure, then…
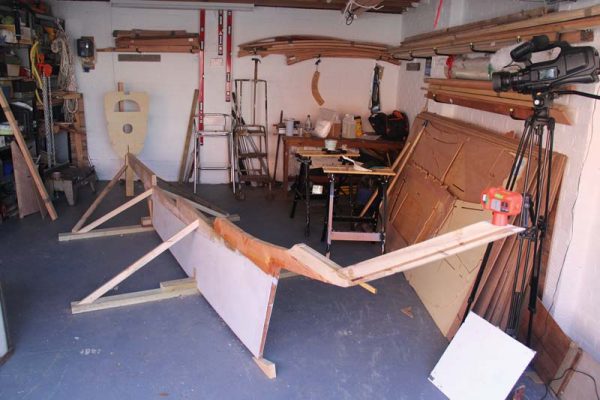
Truing up the keel
There’s normally very little use for a spirit level or a set square on a boat – not only do they tend to move when afloat, but as we’ve all found to our cost, most boats aren’t even symmetrical, let alone contain any right angles!
However, in this case, we could use both a level and a set square to true up our build as we were starting from a nice flat concrete floor.
The first step was to chock the keel up straight and level.

We set the keel perfectly level with blocks and shims at each end
We did this by placing it on two athwartships timbers, adding wooden chocks under the keel at each point to level the keel up fore-and-aft, using an extra-long spirit level placed on the top of the keel to show us when things were levelled up.
Once we were happy with the level, we drove in some wedges to secure it.
Next up was bracing it side-to-side. We used some diagonal timbers (recycled from the kit’s packing case) to brace the keel assembly to the athwartships timbers, checking with a spirit level that the keel was upright.
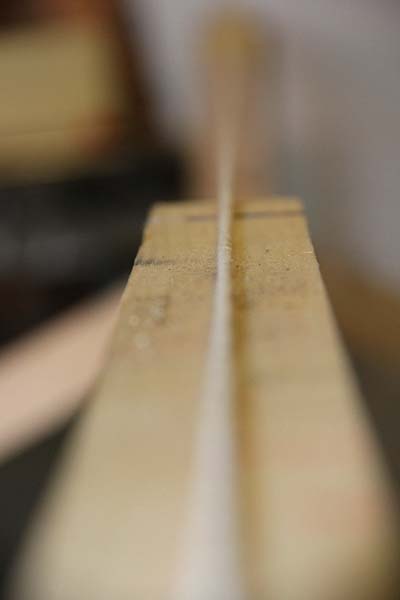
The next step was to make sure there were no twists or warps in the timbers that make up the keel.
We did this with a long string, stretched between stem and stern, which would show up any deviations.
Luckily, despite the long journey and unknown conditions under which it travelled, all was well and the keel was straight.
With everything straight and level, we added a couple of long diagonal braces from the midships brace to a final brace under the boat’s forefoot, just to make sure nothing could shift, even if it were kicked or knocked.

The stem, first frame and spacer in position
Stem and stern
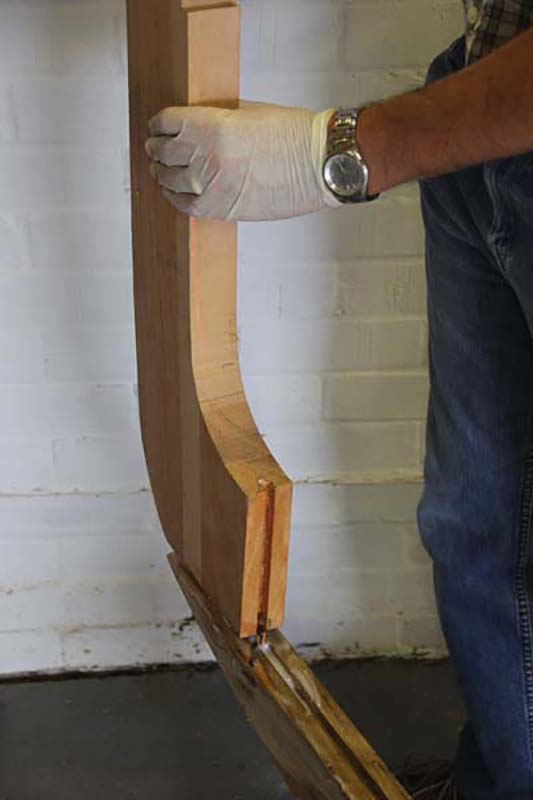
Now we got onto an exciting part – the stem.
This, which gives the boat its plumb bow, is glued onto the front of the keel, locking into place and epoxied to the first bulkhead with a spacer to keep everything lined up.
Dry-fitting this was a simple matter of truing up the bottom with a plane to ensure it was square, and clamping it to the keel.
But the real truing up was yet to come…

A level clamped vertically helped ensure the keel was upright
Keel deadwood and stern post
With the deadwood glued and clamped, we could install the stern post.
This forms the centre of the transom, and glues onto the back of the keel deadwood.
As such, it’s pretty much the aft-most part of the boat – but, gluing on to a long piece of timber, the potential for misalignment was great.
We screwed some temporary battens to act as cheek pieces to the side of the deadwood and stern post to keep them trued up, before checking with a spirit level that the whole thing was level.
All looked good, so we could glue this up, as with the keel deadwood, and move on to the final stage of truing up – making sure the stem lined up with the keel and stern post.

Tensioning a string showed that the hog is true
Laser level
We fitted a Black & Decker laser level to the centreline of the stern post, and used the level’s inbuilt spirit levels to true it up. The laser level shines a spread beam which we turned onto a vertical axis, which was really useful for truing up the next stage – the first bulkhead. We knew that the keel was straight and level, and could tell with the aid of a spirit level that the stem was perfectly upright, so we secured this with a brace to the nearby garage wall to hold everything in column.

Cheek pieces kept the stern post in line – with parcel tape to stop the epoxy making them part of the boat!
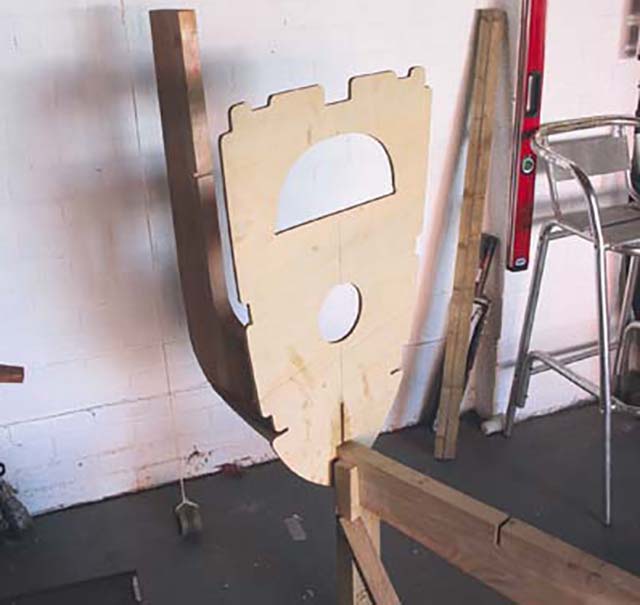
Fit the first frame
Next up we needed to fit the first frame. These come part-cut on a sheet of 9mm plywood, requiring cutting out with a jigsaw, fettling with a block plane to remove the tabs and any inconsistencies in the edges, and the edges sanding to remove any feather-edges from where it had been cut out.
This frame drops into a slot on the keel, and locks into the stem with a fore-and aft plywood spacer.
The edges of the slots needed some easing with a sharp chisel to get everything lined up correctly, but with a little fettling the frame soon slotted into place.

A laser level, set on the stern to shine on the stem, gives a datum for setting up frames
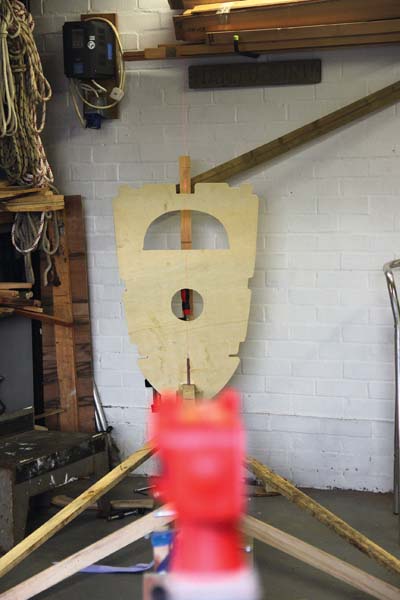
We marked a centre line on the frame and set it with the laser
Gluing on the stem
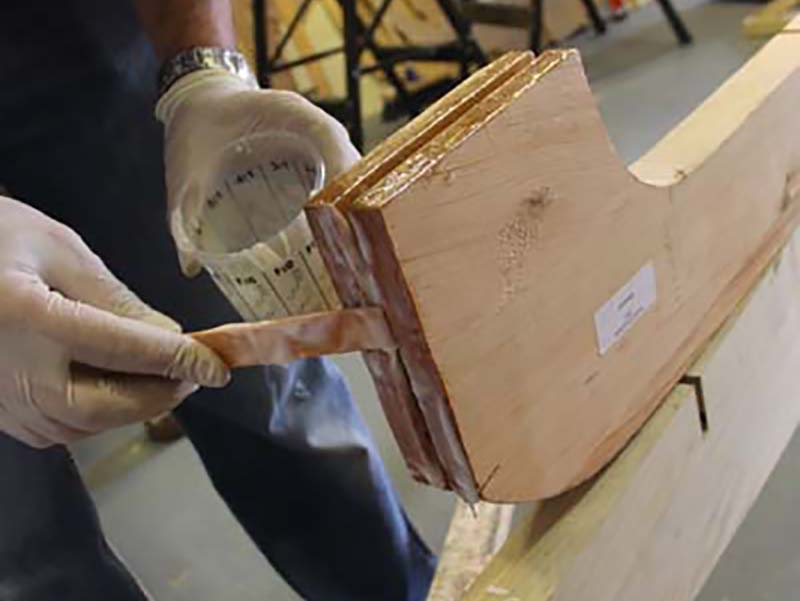
1. We painted all the surfaces to be epoxied with a neat, unthickened epoxy mix. Next, the epoxy mix could be thickened with colloidal silica for a strong, gap-filling adhesive. This mix is then painted onto all surfaces that will come into contact, including plenty in the biscuit joint.
2. The stem could then be assembled, First, the frame and the spacer panel are slotted together, before being dropped into place.
3. The stem can then be slid into place and clamped – we used a large F-clamp (bought from a Lidl ‘DIY event’ for £6!). We attached the brace from the wall to make sure everything stayed aligned.

4. Now the first frame could be aligned. This is where the laser level came in handy – as long as we aligned the spread beam with the centreline marked on the frame, all was well – and these could be clamped into position.
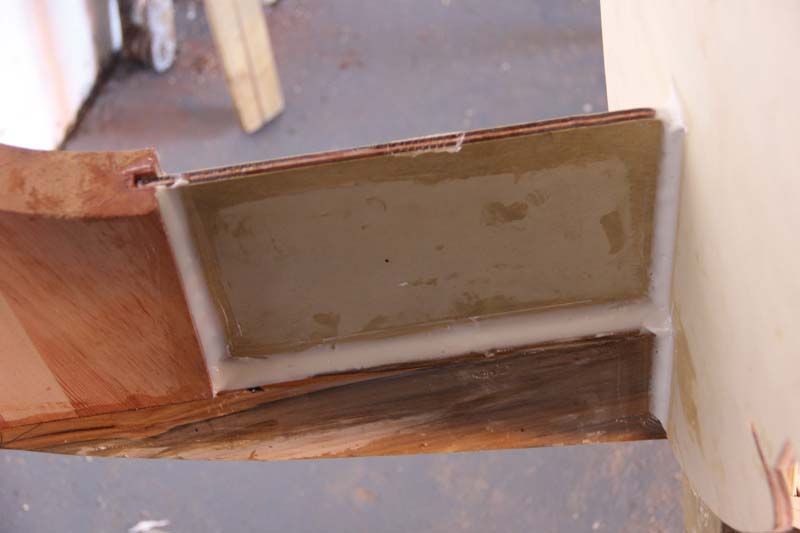
5. Finally, we could add epoxy fillets to all the joints. We’ll be publishing a detailed guide
to making the perfect fillet next month (not to mention making many more fillets as we cut out and glue in the rest of the frames), but these will stiffen up and secure all of the many joints between keel and frames and between vertical and horizontal frames.
Sailing a Secret
We probably should have undertaken a sea trial on a Secret 20 before we ordered the kit from 12,000 miles away – but, as it happened, the earliest we could arrange to go sailing in one was in September.
All we could do, as our kit wended its way across the world’s oceans, was to hope that the boat would be worth the long build process…
And so, we headed to Brightlingsea on a beautiful Indian-summer’s day to take Whisper for a sail.
Her owner, Max Campbell, was (for a time before the global financial crash) the UK importer of the Scruffie range of kits, and built Whisper as the first Secret 20 to launch in the UK. As such, he’s sailed her for eight years and knows her well.
Her profile was unmistakable as Max motored up to the town pontoon: plumb stem, nice, sweeping sheer and long counter – not to mention the long bowsprit. She felt bigger than her 6.7m (20ft) as we stepped aboard and headed out into the River Colne for our first sail.
We were beating down the river towards the sea against a strong incoming flood tide in around 5-6 knots, so Max hoisted full sail and we switched off the outboard in its well.
Although I grew up sailing lugsail dinghies, sailing a gaffer was a new experience for me; but David and Max were old hands, and we soon had Whisper trundling along nicely. She made good ground to windward, despite the strong adverse tide, and left behind a few similarly-sized cruising boats.
After beating up to the end of the channel we headed for the Mersea Stone beach on Mersea Island, and dropped David off so he could get a few pictures from the shore (and from his new drone).
After he’d tiptoed precariously along the skinny bowsprit and half-fallen, half-jumped from the end, we re-hoisted the sails.
Now the wind began to build, and soon we were having a cracking sail.

Whisper, the first Secret 20 to be launched in the UK
The helm had been very light, even neutral, when beating in the lighter winds – but in what was now up to 10 knots, the boat and the tiller came alive and she began to cream along, gaining height and pace upwind, the water hissing along her topsides.
Off the wind she really flew, and while we didn’t have the gennaker on board, she made excellent progress under mainsail, staysail and flying jib.
Sadly we had no chance to try out the optional trapeze either (Max says he’s only needed it when reaching with the gennaker in lots of wind), but we look forward to trying it out when the time comes.
All too soon, it was time to head back to Brightlingsea, but our short sail gave us a taste of the boat.
I think it’s fair to say that we’re itching to get on with the build of our own Secret to experience more of the design’s fun and bewitching sailing characteristics.

The gaff cutter rig is powerful, flexible – and a challenge to learn to handle!
Down below, there’s a double berth for a friendly couple, but the more-than-6ft-long cockpit gives a better night’s sleep for those who prefer a bit more space – especially under the custom cockpit tent that Max had made for the boat.
Cockpit cushions in waterproof covers made sailing the boat very comfortable.
The engine well proved effective, although manoeuvring proved tricky in reverse: that’s a long keel and offset prop for you!
All in all, it was a successful trip, and we can’t wait to carry on with our build in the coming weeks, when the boat should really start to take shape – and to start looking like a boat at last!
As published in the November 2016 issue of Practical Boat Owner magazine.