
David Parker makes a traditional drawstring kit bag with a twist after finding an old US Army kitbag at a garden sale

A ‘ditty’ bag was traditionally used by sailors for their personal items aboard ship. It was smaller and a bit fancier than a basic sea bag – the classic nautical holdall – and had rope handles so it could be hung from a nail near a sailor’s berth.

On old sailing ships a first task for youthful new crew was often to make their own. A piece of duck canvas, waxed sail twine, a sail needle, a sewing palm and patience were all that were needed. I have made a couple of copied variations of it over the years for various bits of kit.
But not long ago at a garden sale where a load of old military memorabilia was being sold off, I discovered a revolutionary design in canvas which would bring things bang up to date (well, into the 1950s as opposed to the 18th century). It was a US Army cutlery bag circa 1950 from Korea for an outfit of 20 men. Cost me 50p. Bargain.
The reason why this bag caught my attention was its simple and clever design around the top closure. The traditional sea bag at the top has a folded-in hem with a flat seam to accommodate the eyelets for the rope drawstring. On a three-masted top sail schooner the mate would have had the new deck boy sewing his eyelets by hand around small rope grommets.
Today, typically, manufactured eyelets are fitted on bags instead. They can be fiddly to fit and you need to buy a punch and die as well as the eyelets. The brass plated eyelets also corrode rather too quickly, I have found, especially when left aboard dayboats.
But the US Army stores tailors had a better idea with this bag. It uses no eyelets but a hem folded outwards instead of inwards incorporating a shaped opening either side. With this method there are no holes needed around the top and no eyelets to corrode over time either. I have made several and also think it makes a more efficient closure.
Here I copied the design to make an accessories bag for an inflatable dinghy, but the size can be adapted to suit whatever you want to hold. It can be sewn by hand, but I used my old hand cranked Singer for this which makes a much neater seam than I can. Also shown is how to join two lengths of material so you can make a larger bag if you’re using offcuts of material like I was.

1. First get suitable material and size up the bag. Here I’m using offcuts of acrylic canvas. I didn’t have enough for the whole thing so it means joining pieces together (see down the page for step by step on doing that). For a big bag like this allow at least 6in (150mm) for the top closure plus 4in (100mm) for the top hem and 1in (25mm) for the bottom.

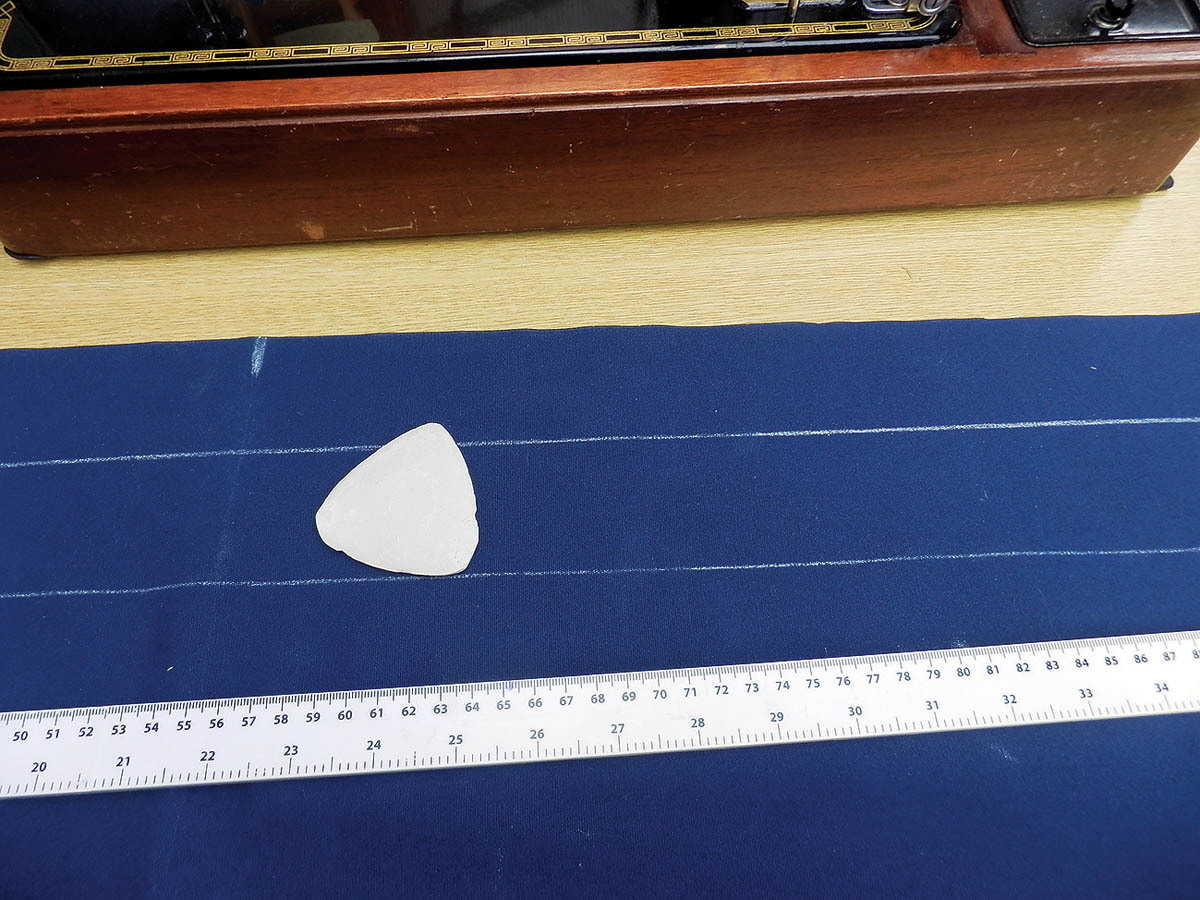
2. When using material offcuts I’ve found that if you start with straight edges all round it makes the job much easier. For larger pieces of material and for an amateur tailor like me, my setting out square – usually used for cutting plywood – is ideal to give clean lines.

3. This shows the joined pieces of material to give me the length required. If you have excess material I find it best to make a generous cut. In this case I used the length of the contents plus roughly 11in (280mm) so there’d be plenty of room for the thwart and oars.
4. Using your best edge for the top and the outside face of the material draw two chalk lines approximately 2in (50mm) apart to give you an overall hem depth of 4in (100mm).

5. Fold the top edge down to the second line and pin it. Remember we are using the outside edge to make this 2in (50mm) hem.
6. Mark a chalk line at the centre and then choose a suitable round shape, such as a saucer, to draw curves from the hem line to within about ¾in (20mm) of the centre mark.

7. Now draw a gentle curve down the opposite way from the centre mark to meet the curve up from the hem, so that the curves forms a wave pattern as shown here.
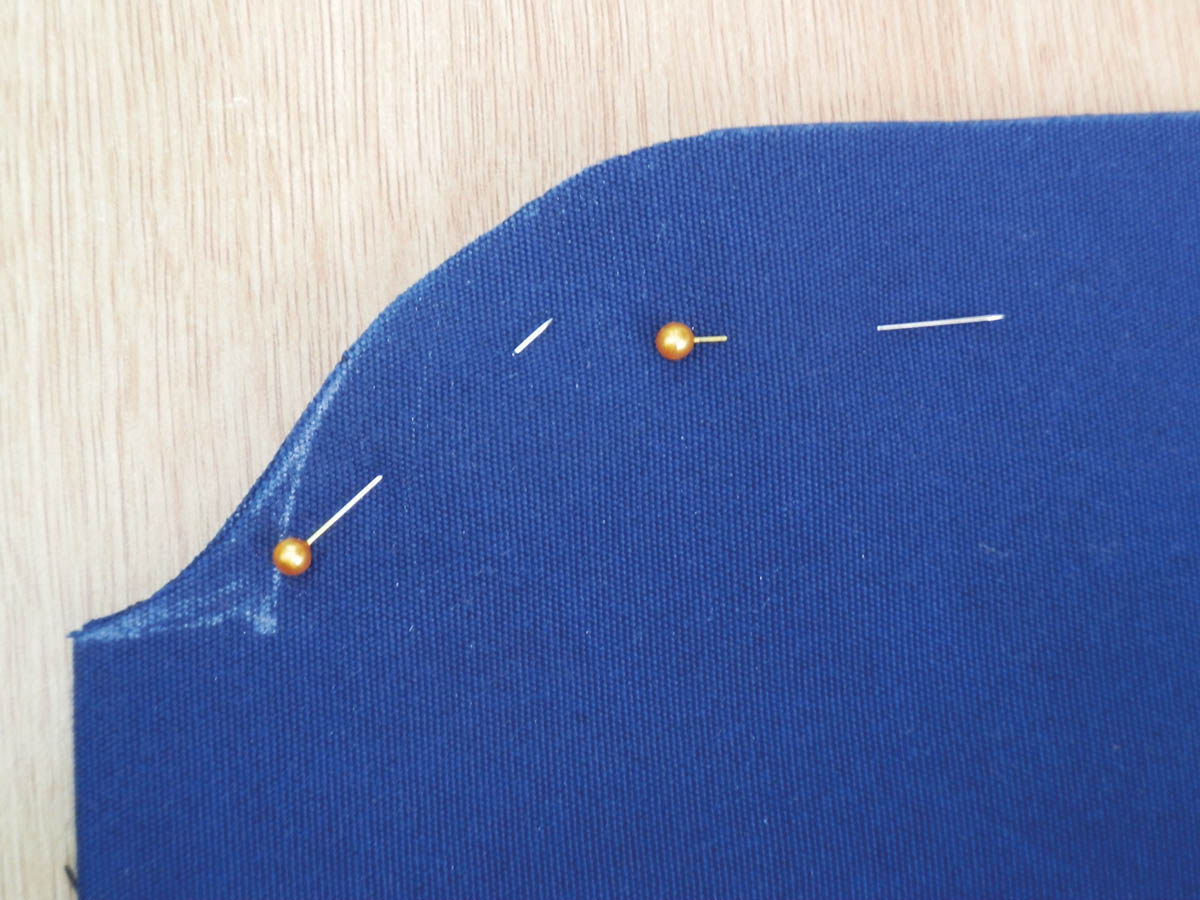
8. Next unpin the hem – you only want to cut the curves into the top fold. It also helps to fold the material along the centreline so you can cut the two curves at the same time.

9. This is what you should end up with – you’re aiming for a neatly flowing wave-shaped curve at the centreline and at each edge of the hem.

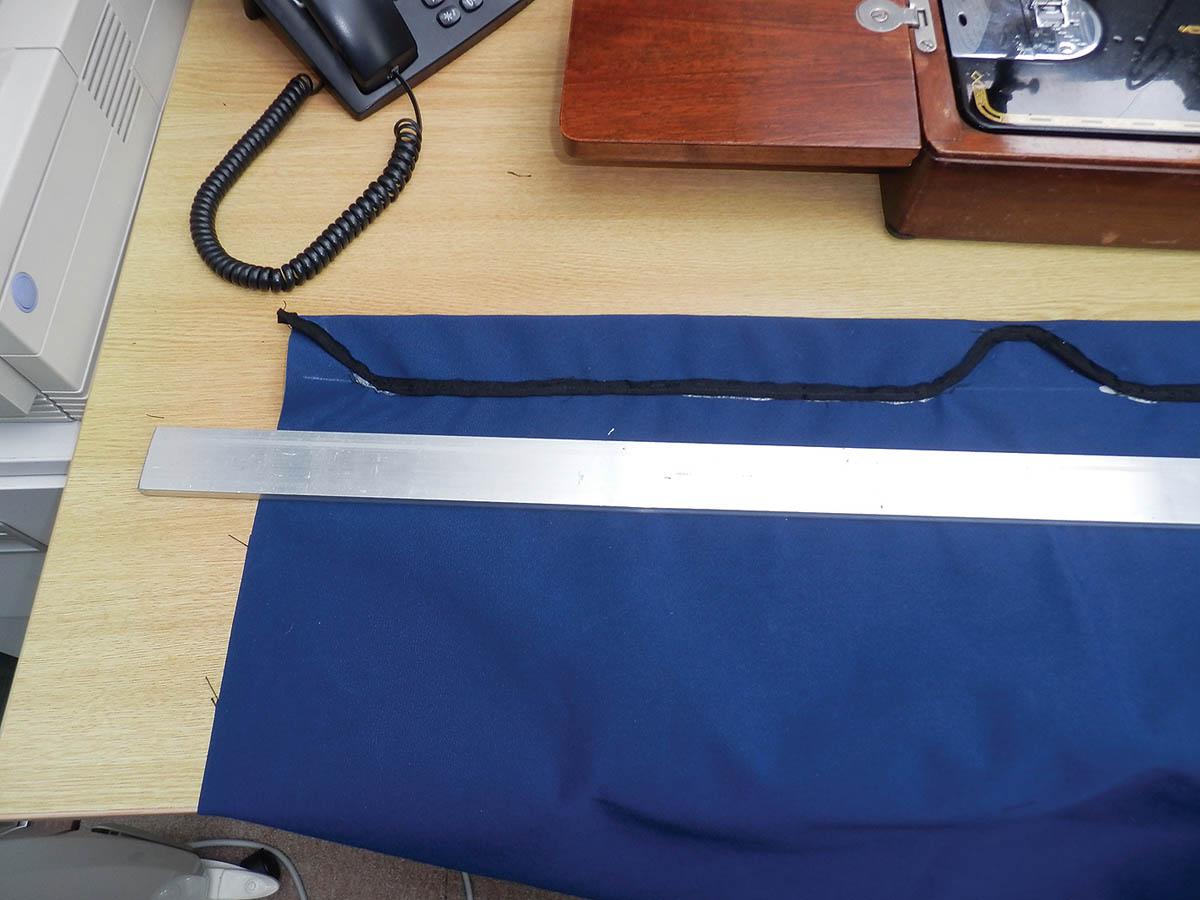
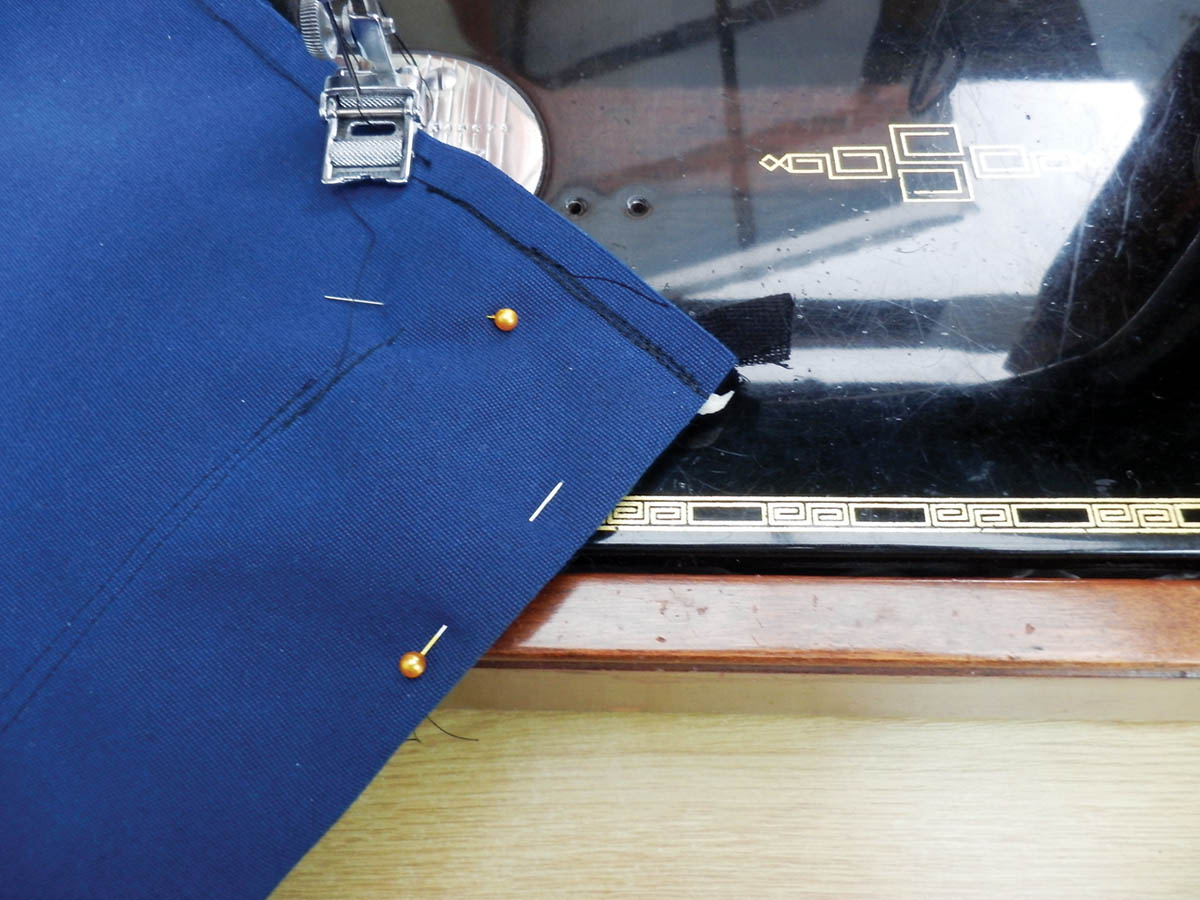
10. Now the top edge is trimmed with a strip of bias binding. Before I knew this stuff existed I used webbing brought from the chandlers. You can use it but it is stiff to fold and sew. Cotton bias binding about 1in (25mm) wide is much easier. Just fold it over the edge and pin it.

11. Next tack the binding in place by hand and remove the pins. If you’re an experienced sewer you probably can skip this stage but if you’re learning how to sew like I am this holds things in place ready for a sewing machine.

12. You can now sew the binding in place with the machine if you are using one. With the pins removed it makes it much easier to follow the curve without the stitch slipping.
13. Now fold the top edge with the binding so that it lines up with the lower chalk line made earlier. You can pin it in place but double-sided sticky sewing tape makes it easier. Sew the lower hem in position.
14. Fold the material inside out and sew the outside edges together. At the beginning and end of a seam it is good practice to back sew it. This means you go over it twice for ½in (12mm) or so to reinforce the stitching and prevent the end threads coming undone.

15. Now lay the sewn sides flat and measure between the seams. Double this measurement and you will have the circumference of the circle of material required for the base. I don’t know how professionals do it but I use the back-to-school formula of Pi (π) to find the radius of the base (see below).
A little piece of Pi
Whether you want to cut out a base for a bag or an access hatch, the formula of Pi works out the simple maths required to determine the size of a circle. Pi is a number which is usually rounded down to 3.14. The formula is the Circumference = 3.14 (π) x Diameter. Put it another way the Diameter = Circumference ÷ 3.14. Therefore if we have a bag with a circumference of, say, 74cm for the base, then the diameter will be 74 ÷ 3.14 = 23.6cm (rounded up.)
To get our radius divide this by 2 and we can then set the compasses to approximately 11.8cm and draw our circle. As a quick check in your head, the circumference is always about three times the diameter. If you have a hole on board you want to plug, say for an old instrument gauge, a piece of string is an easy way to measure the circumference.


16. When you have worked out the radius I then add about 1in (25mm) all round for the hem when cutting out the circle. This extra material makes it easier to sew and you can put a double seam into the base to make a really strong bag.
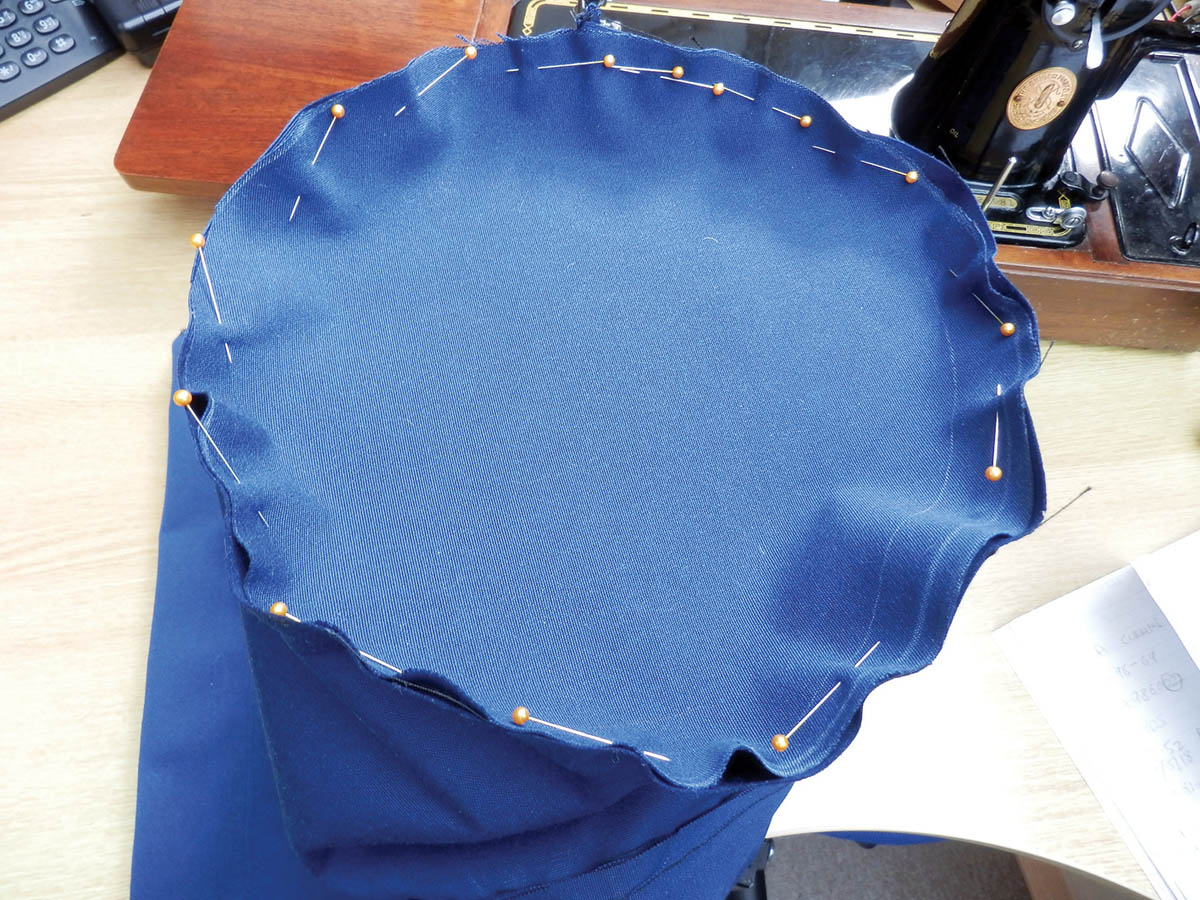
17. Pin the base to the sides and then tack it in position by hand. I find it makes this bit easier if you pack out the tube of material with a pillow or cushions so it gives you a more rigid column to work with.

18. With the bag still inside-out sew in the base. Work slowly and take care to keep the edge directly under the needle flat at all times – otherwise it can pucker and you’ll end up sewing in unintentional pleats.

19. Turn the bag the right way out then feed the drawstring twice around in the hem so it is doubled. A splicing fid works well for this, or even a big safety pin.

20. The line I used here was an 8 plait 4mm Marlow braid. Knot the end and leave a generous loop each side for carrying or hanging the bag.

21. Job done. It was worth joining two bits of material because the extra length in the bag means you can really draw the top tight.
How to join lengths of material
The nice thing about making items like this is that it’s a great way to learn sewing. Unlike with a sail or cover it’s not likely to be too closely inspected by anyone else and if you mess it up or it looks a bit utilitarian who cares as long as it does the job. Sewing projects like this are also an ideal way to use cheap offcuts – by joining a couple of pieces you can make a perfectly serviceable length to use. You can just sew the two edges together but a round seam as shown here makes a neater and stronger job.
Top tip: Smooth runnings
When making any hems double sided tape saves using pins and makes the job much quicker. On heavier fabrics, however, the adhesive can make the needle sticky and prone to jam. A quick spray of silicone over the needle and sewing foot helps lubricate them to stop this happening.

1. Make sure you have two straight edges which you plan to join together and that they are the same width. Also it’s not essential but good to check the sides are the same because the finish of the material front and back can vary.

2. Put the fabric together so the insides are facing outwards. Pin the edges together and then sew them. For heavy material like canvas I found that round-headed pins are easiest to push through the material.

3. Open out the fabric again and with the sewn seam on the inside pin a small hem down one edge to create a round seam where the fabric joins.

4. Sew along this round hem with a second line of stitching and you then have a strong seam which will lie nice and flat.
Originally published in PBO Jun19