




Tony Davies shows how he made a simple helm dashboard switch panel using 10mm black polycarbonate
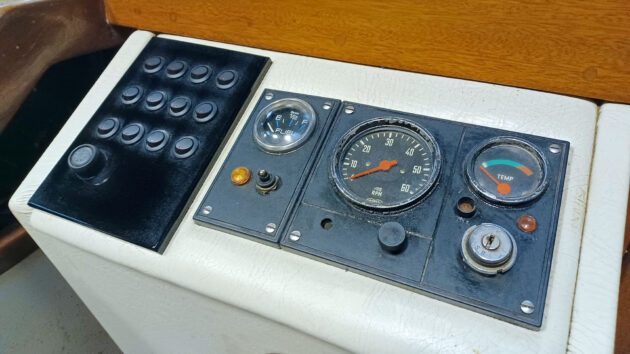
Perspex is one of many brand names for acrylic ‘glass’ and has now become the generic name for all types of clear plastic sheet.
It’s not particularly difficult to work with, but it does require care at every stage of the job.
There are two types of plastic sheet commonly available: acrylic and polycarbonate.
Polycarbonate is nearly twice the price of acrylic and is easier to work with, but has a low scratch resistance so it needs care in use and when cleaning.
Acrylic is much more scratch-resistant but requires a little more care when working as it’s more prone to cracking and crazing.
The material being used here is 10mm black polycarbonate which, due to the thickness, is fairly forgiving and quite easy to work with.
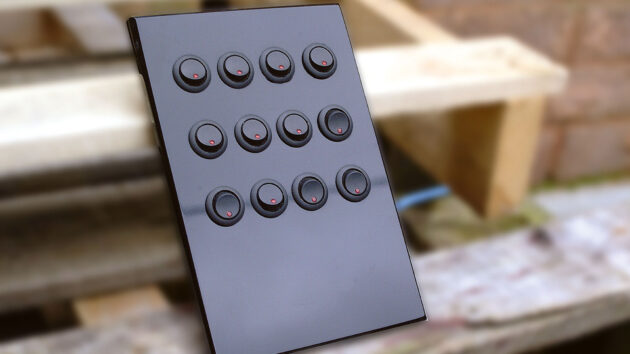
The almost finished Perspex switch panel – just the horn button to insert. Photo by Tony Davies
The first rule of working with either material is that the thinner it is, the more care is required when cutting and drilling to avoid cracking or splintering.
I’m making a fairly simple Perspex switch panel, but the techniques used are equally applicable to anything made from acrylic or polycarbonate.
Windows are probably one of the most popular uses of both materials, and the one tip I would give at this stage is to go for the thickest sheet you can afford for both strength and ease of working.
Both acrylic and polycarbonate can be shaped to have quite sharp bends when heated.
A hot air gun will work for smaller pieces, while steam from a small domestic steam cleaning machine will heat larger areas.
I have shaped a small 8mm acrylic window on the fore-cabin of a small yacht and although it took a long time to get it hot enough it did eventually go round very nicely.
Working on a hot day also helps!
Cutting, sanding and polishing Perspex
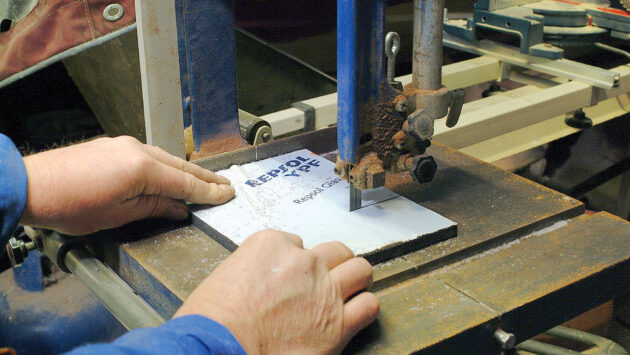
The ideal tool for cutting plastic sheets is a band saw with a fine wood blade, as the length of the blade helps to disperse heat build-up in the plastic.
A pendulum jigsaw running slowly with the pendulum at full swing also works.
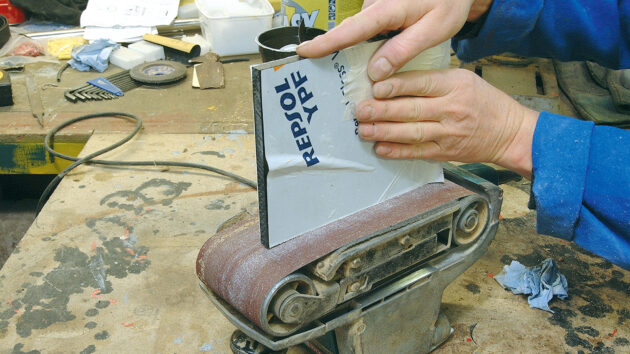
Once the sheet is cut to shape, the saw cutting marks can be removed using a sander.
I use a belt sander on the bench as it helps to maintain the straight edge, but an orbital sander or hand sanding will suffice.
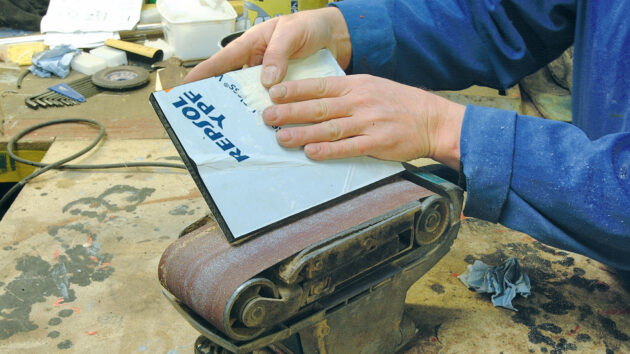
I wanted a chamfer on the edge of the panel so I used the sander to apply this all round.
Be careful to avoid heat build-up – run the sander on a slow speed if it has one.
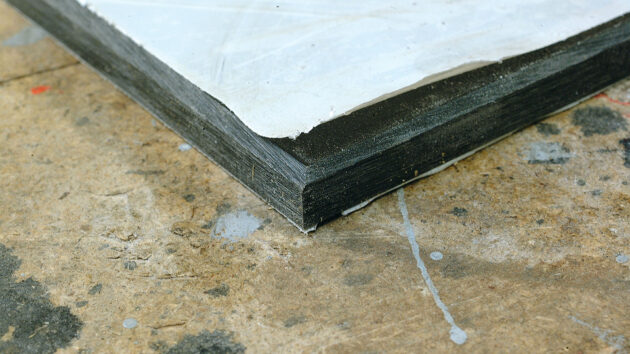
The chamfer and sanding marks are visible, so the next stage is to remove all the marks to produce a polished edge.
The amount of polishing of the edges depends on the final use of the panel; for windows it may not need the same degree of polishing.
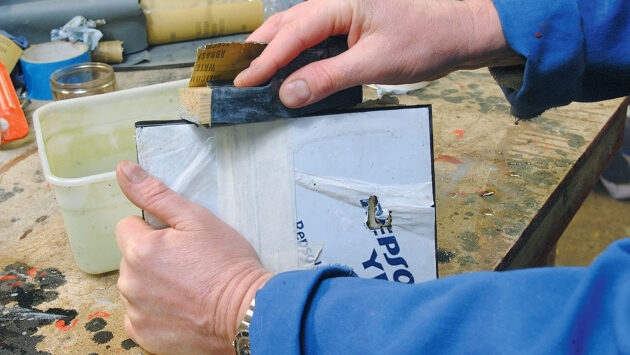
Polish out the sanding marks using progressively finer grades of wet and dry paper, used wet.
I begin with 400-grit, then 800-, 1,200- and finally 2,000-grit. At each grade, check the surface to ensure all the marks from the previous grade have been sanded out.
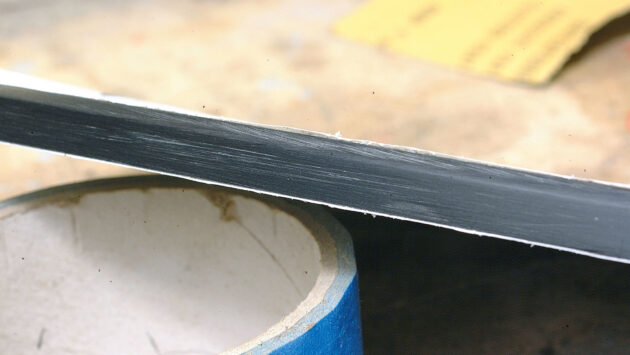
This is the finish after using 400-grit and shows a marked improvement over the belt sander marks – but still needs more 400a-grit work to remove all the belt sander marks before moving on to 800-grit grade.
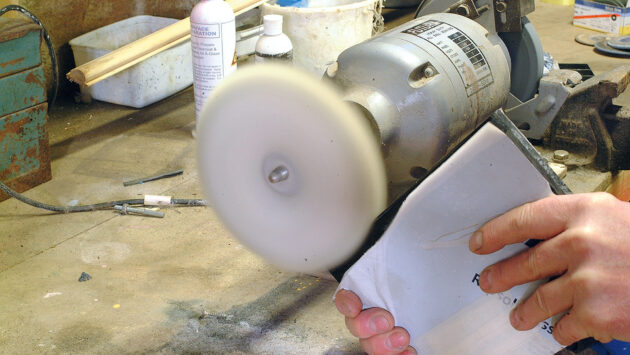
The final polishing phase is using a buffing wheel, preferably on a bench grinder although a buffer on an electric drill will also work.
A little fine polishing compound will provide the necessary cut to finish the job.
IMPORTANT: When using a polishing wheel, always wear eye and respiratory protection – the dust can cause severe irritation.
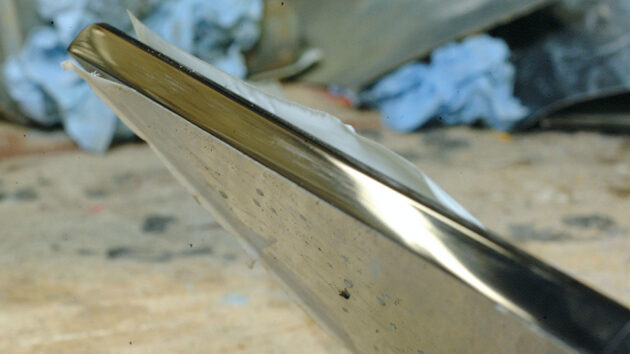
The final result – still not perfect, but good enough for this job!
Drilling, tapping and cutting slots in the Perspex switch panel
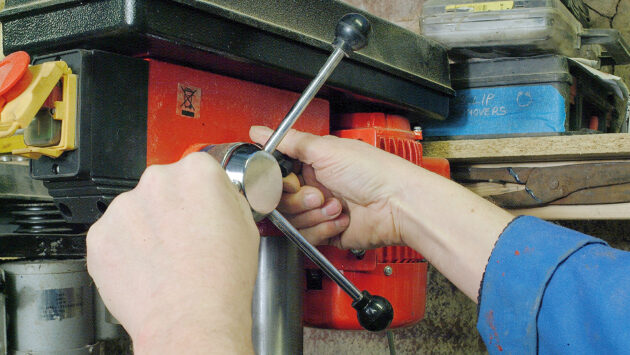
Next, I drilled four blind fixing holes for securing the panel into place.
This means setting the depth stop on the bench drill to prevent the bit from passing right through the panel.
You can carefully do this with a hand drill by taping the drill bit at the appropriate depth.
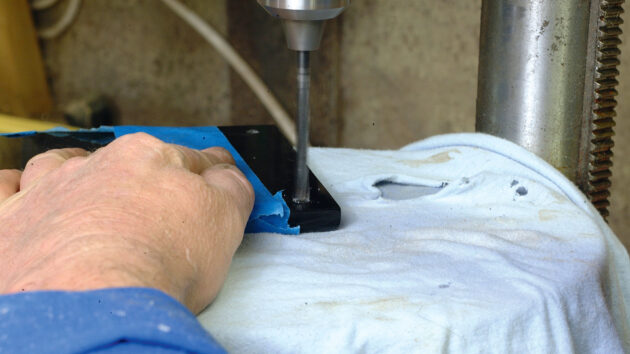
After marking the positions of the holes on the rear of the Perspex switch panel, carefully drill to the required depth.
A medium drilling speed is ideal for this material; about 500rpm.
Let the bit take its own time to drill the hole without applying excess force.
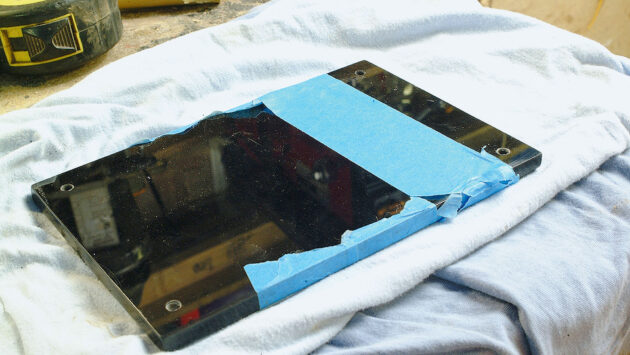
The four holes are complete on the rear of the panel and (inset) the front of the panel is still smooth without any holes showing.
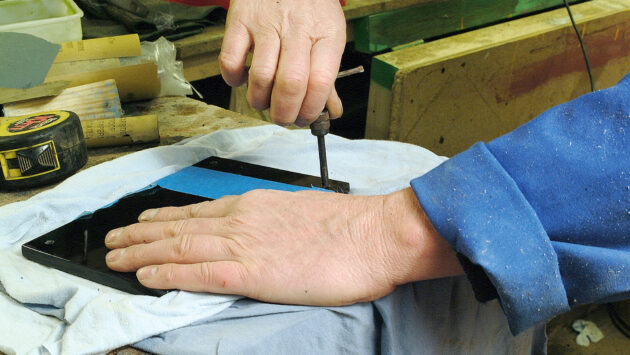
Now using a standard metal working thread tap, a suitable thread is tapped into the four fixing holes to allow stainless steel studding to be screwed in for securing the panel from behind.
Don’t force the thread tap tool, and stop when it tightens as you reach the bottom of the hole.
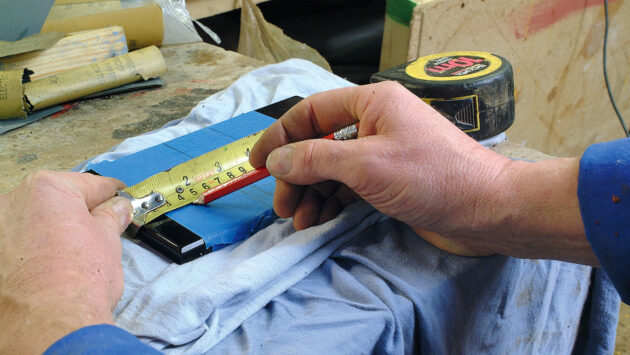
Marking out the position for the switches is next.
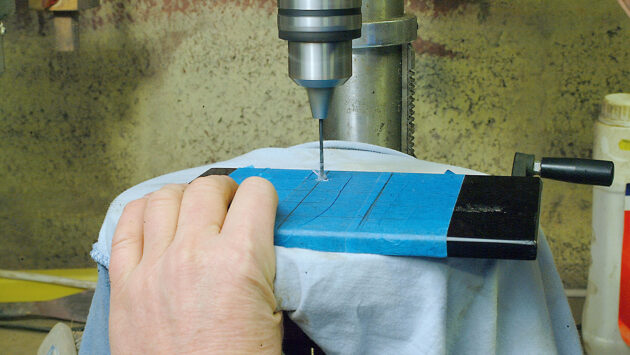
A small pilot drill is used to ensure that each hole is positioned as accurately as possible.
Once again, let the drill do the work and ease off the pressure before the drill exits the back of the panel to prevent splintering.
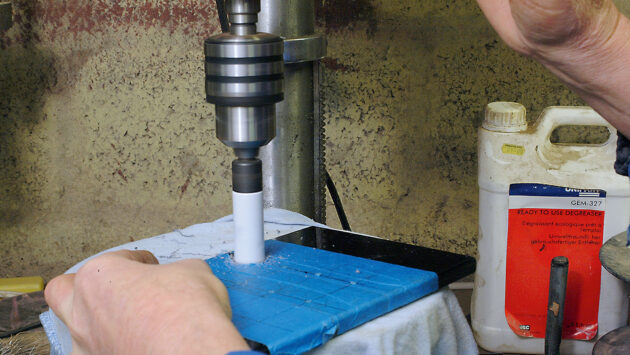
For this job I am using round switches so I needed to cut holes to suit the switch body diameter of 20mm.
I always try to use round switches for this sort of thing as it’s so much easier to drill a hole than make a slot.
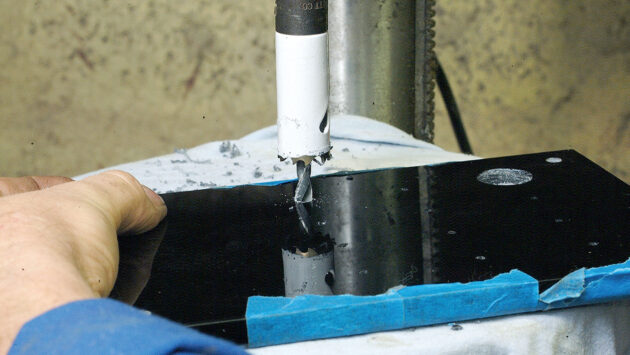
To ensure a clean finish on both sides of the panel without splintering of the hole edges, the hole saw is passed halfway through on the first cut and the panel is then reversed to finish the hole from the opposite side.
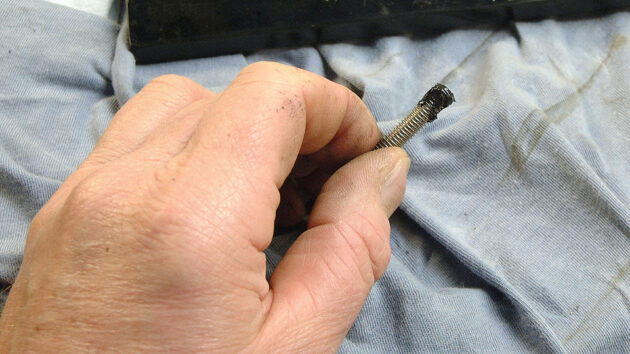
Returning to the fixing holes, the stainless studding can now be screwed into the threaded fixing holes.
A drop of polyurethane sealant (such as Sikaflex) is smeared onto the thread to give it a stronger grip.
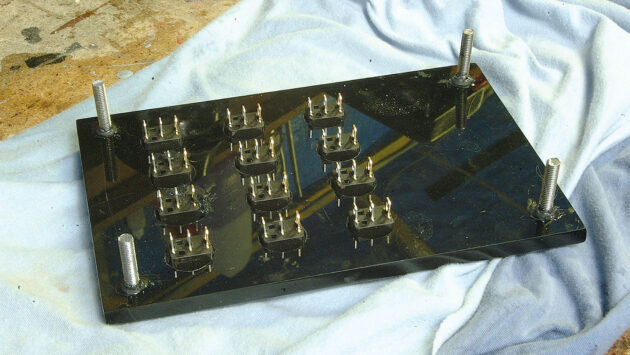
The four stainless steel studs were then screwed into the threaded blind fixing holes.
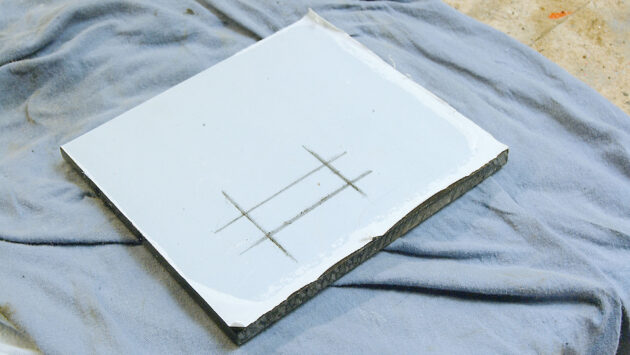
Obviously it’s not always possible to use just round fittings in a panel and it then becomes necessary to cut a slot in a panel.
So the first job is to mark the size and position of the rectangular hole you require.
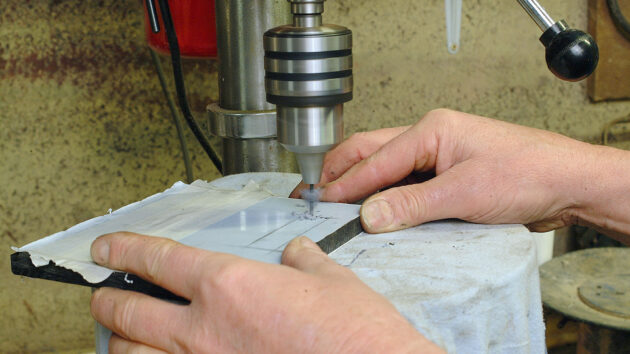
For a narrow slot, the easiest way to cut the short ends is to drill a line of small holes inside the cut line.
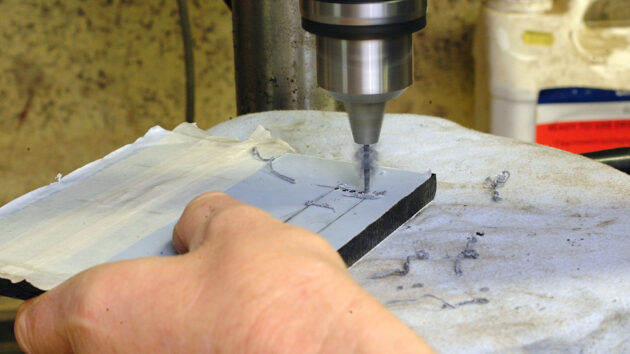
At this point, you can cheat a little and, using gentle side pressure on the drill bit, use it as a rotary file to join the holes into a slot (or use an actual small rotary file).
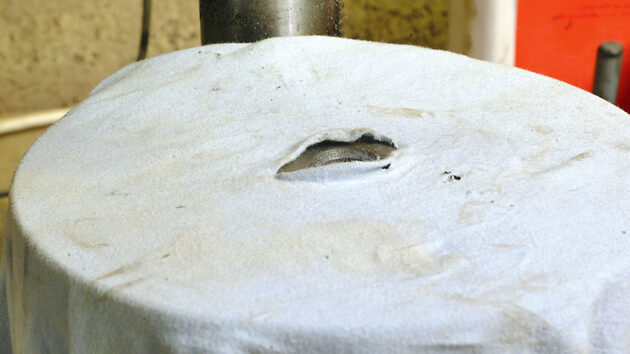
When working on an item that needs its face to be protected while drilling, always provide a clearance hole in the protective material, otherwise the bit will grab it and likely spin the work-piece out of control.
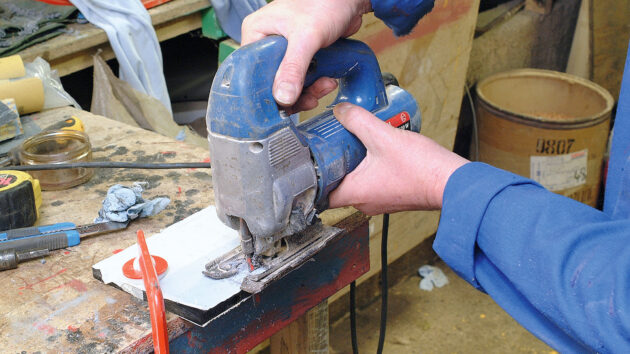
The same technique can be used to cut the access for a jigsaw blade.
A fine metal-cutting blade in a pendulum jigsaw running slowly will produce a clean cut, but let the blade do the cutting and don’t force it.
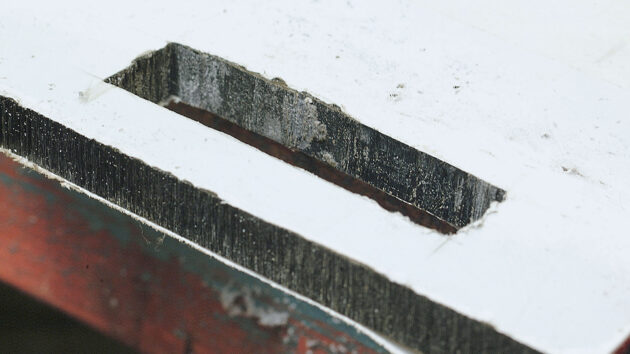
This side of the slot was cut from right to left.
The right half shows a clean cut where the jigsaw was running slowly.
The left half shows evidence of burning and melting of the plastic where the drill was run at high speed.
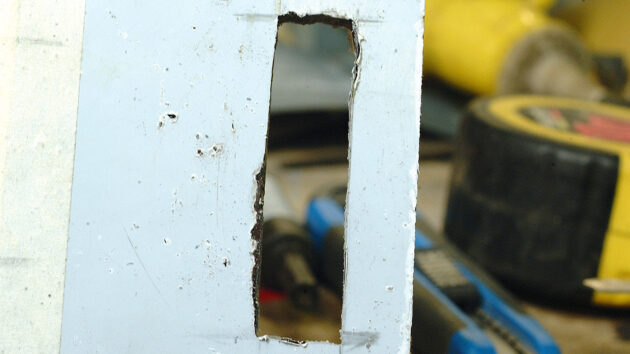
The top and top right here shows where the line of holes was drilled and then ‘filed’ out using side pressure on the drill bit, and the bottom left shows where the plastic overheated due to too high a speed of the jigsaw.

Wiring a marine dashboard panel on your boat
Computer engineer Stew Proud explains the ins and outs of how to rewire a marine dashboard panel with tips from…
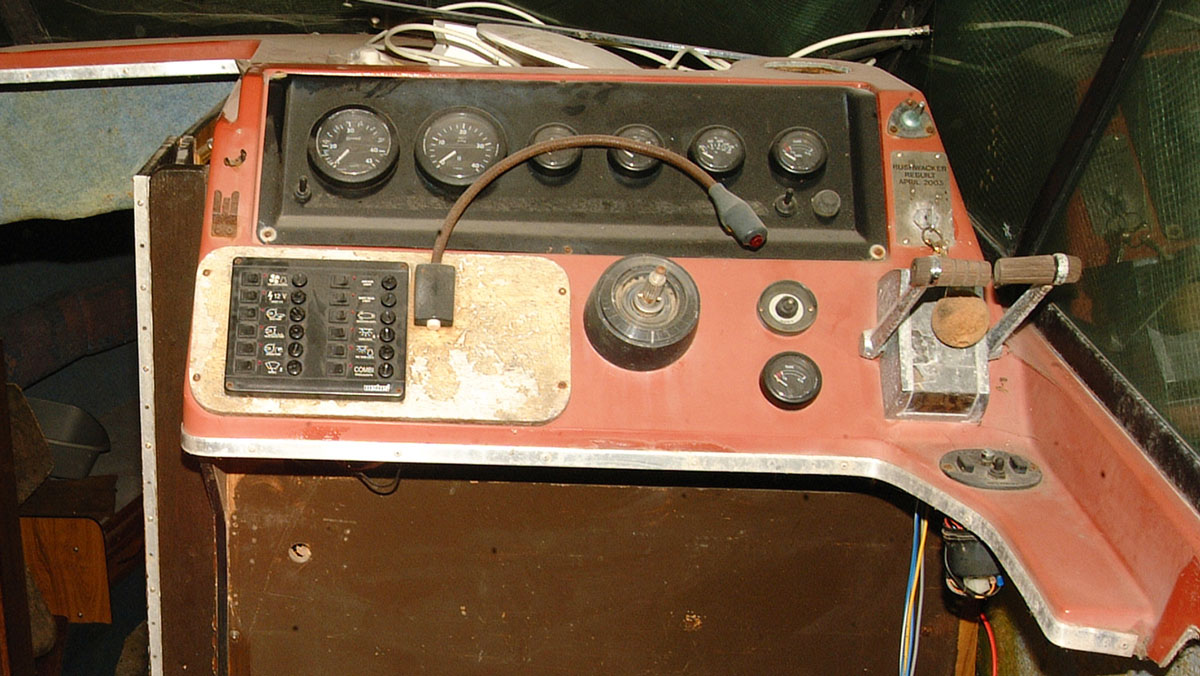
Boat instrument panel and helm refit: step-by-step
Tony Davies shows how he rebuilt the helm position and instrument panel on a 1970s Reinell V-204 sports cruiser

Understanding boat electrics: switches and relays
Pat Manley and Oliver Ballam demystify boat electrics, starting with switches and relays
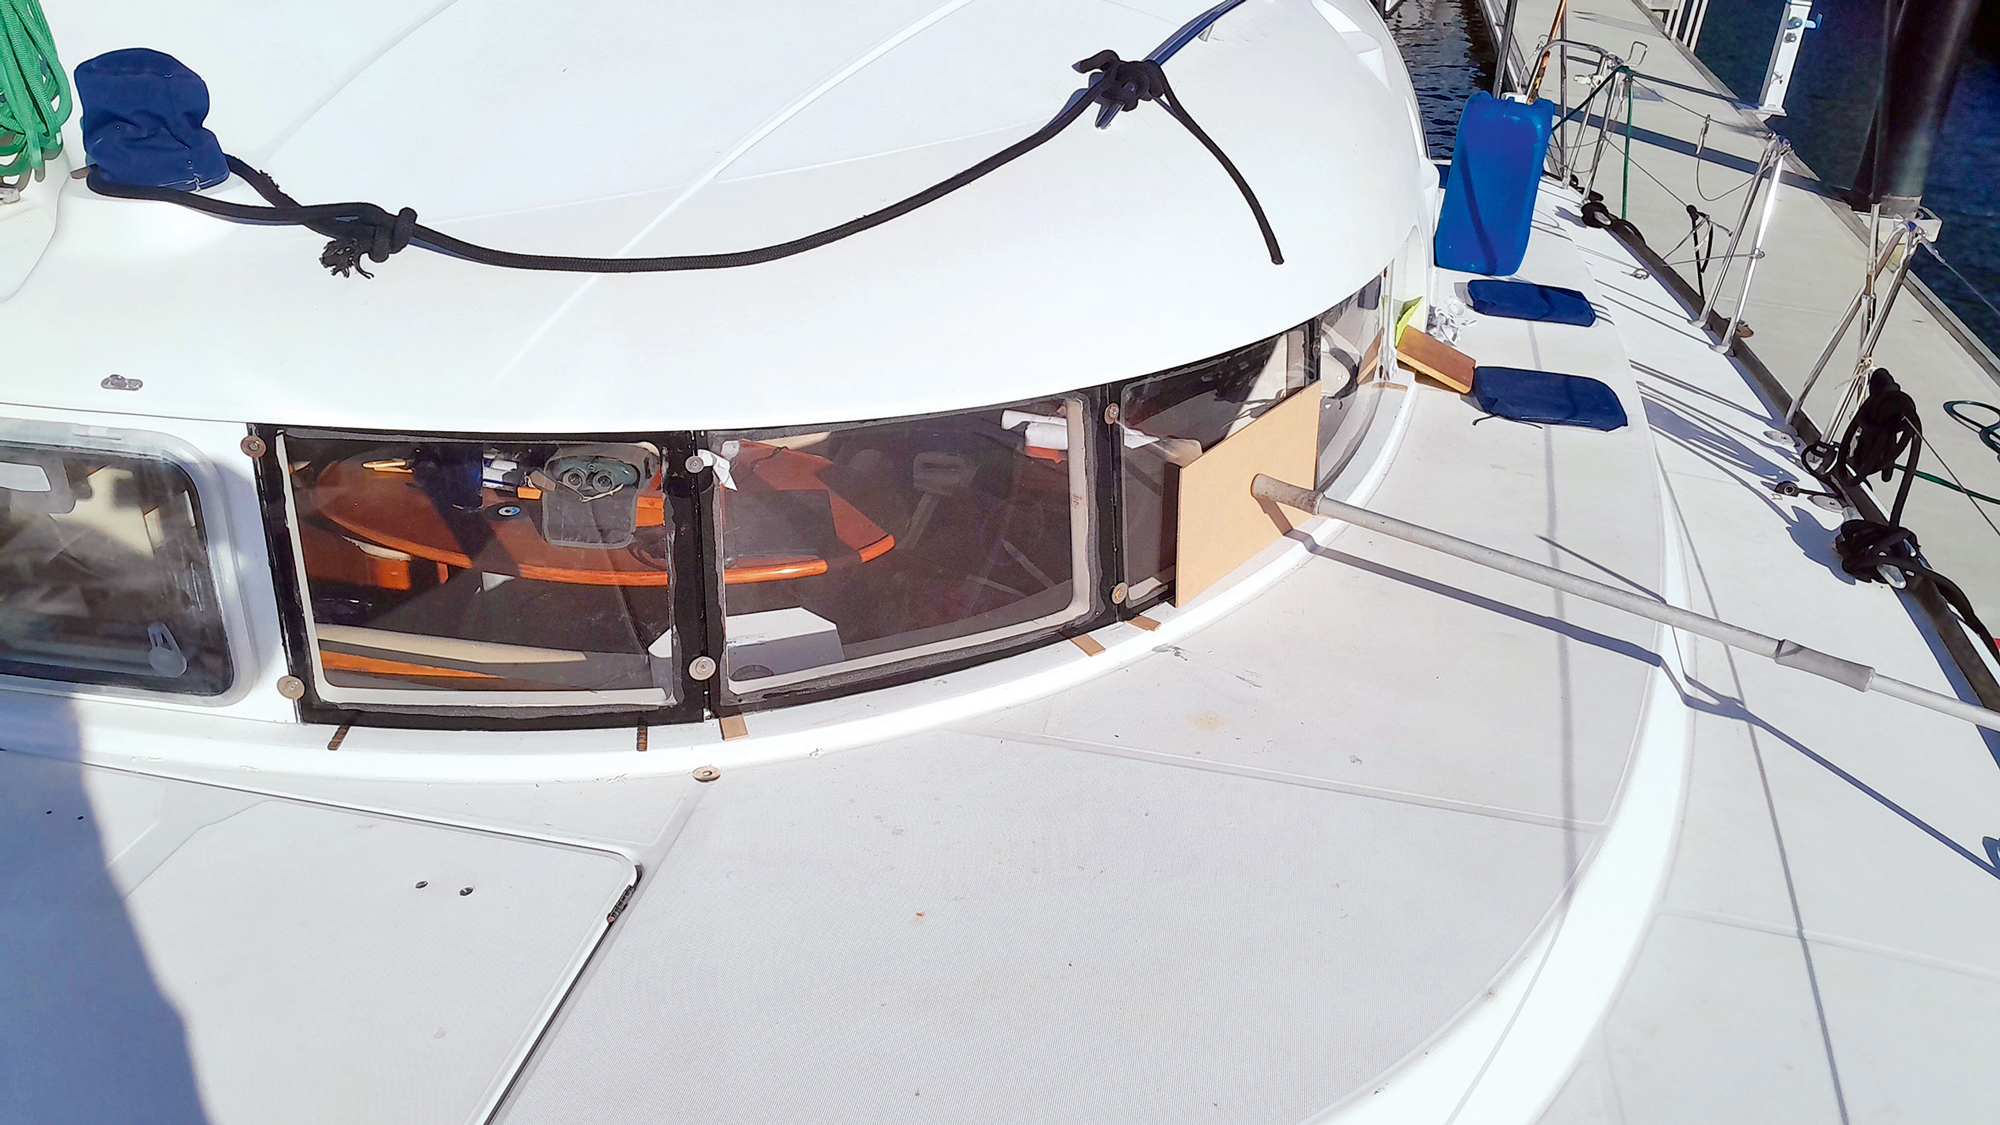
How to bend acrylic and change your boat’s saloon windows
Andy Pag shares what he learned about bending acrylic while replacing the curved windows of his Lagoon 410.
Want to read more articles like Making a Perspex switch panel?

A subscription to Practical Boat Owner magazine costs around 40% less than the cover price.
Print and digital editions are available through Magazines Direct – where you can also find the latest deals.
PBO is packed with information to help you get the most from boat ownership – whether sail or power.
-
-
-
- Take your DIY skills to the next level with trusted advice on boat maintenance and repairs
- Impartial, in-depth gear reviews
- Practical cruising tips for making the most of your time afloat
-
-
Follow us on Facebook, Instagram, TikTok and Twitter