
If it is set up properly, a plane can achieve a fantastic finish on wood that barely needs sanding. Julian Peckham explains how it’s done

There’s more to using a simple hand wood plane than first meets the eye. It’s not just a case of screwing a knurled knob in or out to adjust the blade depth. But by following these few basic tips for setting up your plane properly you’ll be able to achieve the finish you want. To work easily and effectively, the plane blade – or iron – needs to be super-sharp (see ‘Sharpening chisels and plane irons’, PBO April, for how to do this). You’ll also need to ensure the workpiece is securely clamped or against a bump-stop to prevent movement.

Anatomy of a plane
Common types of plane and their uses
Wood block plane

Old but remarkably effective for removing a lot of wood quickly. Lighter to use than a steel plane, but unlikely to achieve quite such a perfect finish.
Jack plane
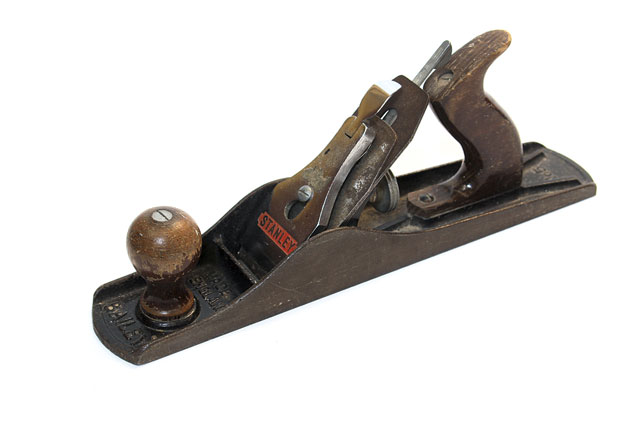
The steel version of a wood block plane can be fine-tuned to produce a beautifully smooth finish. Its long sole means it’s good for smoothing long or wide surfaces.
Smoothing plane

A plane suitable for a multitude of jobs: if you have only one hand plane in your tool box, this should be it.
Block plane

Perfect for smaller jobs or chamfering edges. Small enough to be used in the palm of one hand.
Setting up the plane – step-by-step
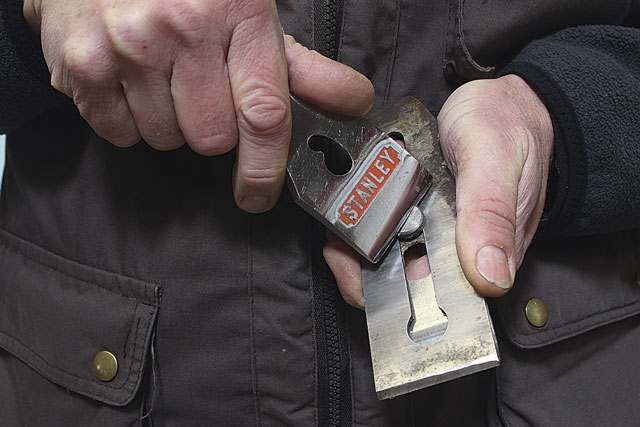
1. The sharp blade is clamped to the cap iron, usually with a large screw whose slot is conveniently sized to be done up with the end of the plane’s lever cap. The cap iron’s job is to curl or break apart the wood shavings immediately after the blade has made the cut.
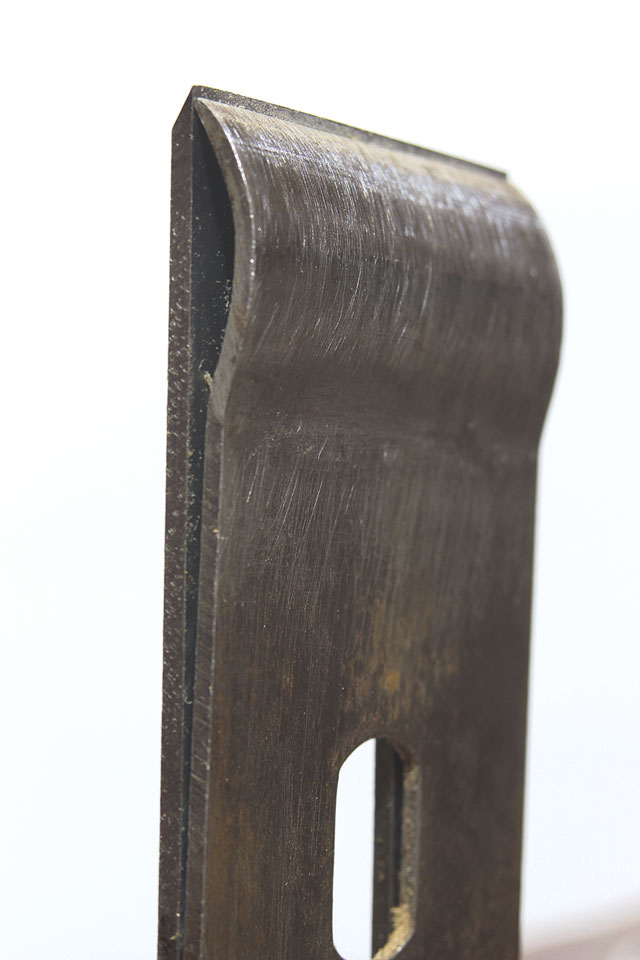
2. If doing fine work, you’ll want the end of the cap iron very close to the tip of the blade; around 1mm. For coarser work, removing lots of wood quickly, you’ll want it further away; say 2-3mm. The blade and cap iron are now clamped to the frog, the iron block that holds the blade at the correct angle, with the lever cap.

3. The frog is usually adjustable (before you put the blade in place) and this allows you to adjust the gap between the blade and the front of the mouth – the slot where the blade protrudes through the sole. You’ll want a narrow mouth for fine work, a wider mouth for coarser work. Frog adjustment is usually by a couple of set screws, allowing you to slide it forward or back.

4. Place the blade and cap iron on the frog, ensuring the slot in the blade engages with the cam of the lateral adjustment lever on the plane body, and that the plane blade is barely protruding through the mouth. Now place the lever cap on top, engaging its slot over the large screw in the frog. Adjust the screw so that when you push back the lever cap’s lever, the blade is clamped firmly to the frog.

5. Now you can use the knurled depth adjustment knob to lower or raise the blade through the mouth. Winding the knob forward retracts the blade, winding it backwards extends it.

6. Extend the blade out much further than you want so that when you look along the plane sole you can see if the blade is protruding uniformly from the sole. I’ve wound the blade out a long way for the purposes of this photo, and of course I’d really be looking along the sole the same way you are.

8. Hold the handle like a pistol, with your forefinger extended for an imaginary trigger. Grab the forward knob with your other hand, then use an even pressure on both to push the plane back and forth. Keep an easy motion. Unless you intend to plane at an angle, keep the plane level. Most people lean slightly to one side, and end up taking off more wood on that side. Keep the plane flat – and check the workpiece often with a set square.
Planing tips

Friction between the plane sole and the workpiece can make planing hard work. Apply a little beeswax to the sole – you’ll be amazed at what a difference this makes.

Look closely at the grain of the wood you’re planing. In this photo you can see the grain rises from the left and I’m planing in the same direction. Attempt to plane against the grain and the blade will dig in, bind, and the surface will chip and break.

Particularly when attempting to remove a lot of wood quickly, holding the plane at a slight angle to the piece you’re smoothing can often be easier.

An alternative to planing end grain is to plane a small chamfer on the edge you’re planing towards. Provided you take only small shavings at a time, you should be able to plane right down the bottom of the chamfer. Stop as soon as the chamfer is cut away, or you’ll split the edge.

If planing plywood, use a sharp blade and don’t take off too much at a time. Sharpen the blade often: the glue in plywood quickly blunts it. Use the fingers on your forward hand along the ply face to stop the plane drifting off the edge. When planing across the grain on the ply face, avoid splintering the edge by scoring along the marked line with a knife and plane down to the cut.

When planing end grain it’s all too easy to break away the edge of the workpiece. To avoid this, clamp the workpiece tightly against another sacrificial piece of wood the same thickness – that way it’s the scrap wood
that splits, not the project.