
Oliver Ballam and Pat Manley demystify boat electrics and explain the best techniques for soldering and de-soldering connections

Soldering is the technique of joining two metals together by melting another metal onto their surfaces as a form of ‘adhesive’.
Soldering doesn’t fuse the metals together as in welding.
For joining copper electrical wires, we use a solder of tin alloy, which has a relatively low melting temperature.
This used to contain lead but mostly doesn’t nowadays.
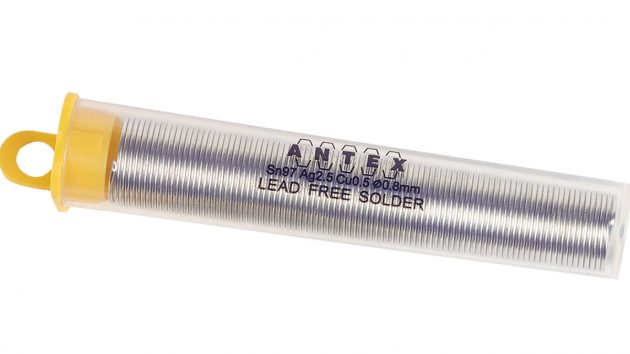
Solder wire. Credit: Fernhurst Books
The process of soldering causes oxidisation on the surfaces to be joined, and this prevents adhesion of the solder to the other metal surfaces.
For this reason, a flux has to be applied to prevent oxidisation.
For our purposes, the easiest way to do this is to use proprietary multicore solder, where an acid-free flux (‘rosin flux’) is stored in minute cores within the solder.
This solder is provided in the form of a wire.
For most applications, a thin grade should be selected.
Soldering irons
The heat to melt the solder is provided by a soldering iron. The size and power of the iron are important.
There should be only enough heat to raise the temperature sufficiently in the region of the joint.
Too much heat may cause damage to adjacent areas, such as the wire’s insulation; too little, and the solder will not melt.
Small electronic components, such as transistors and diodes, will be destroyed by too much heat, and even the smallest iron will be too big.
To get over this problem, a temporary heat sink is attached to the wire between the component and the soldering iron, and soldering should be accomplished quickly using a hot iron.

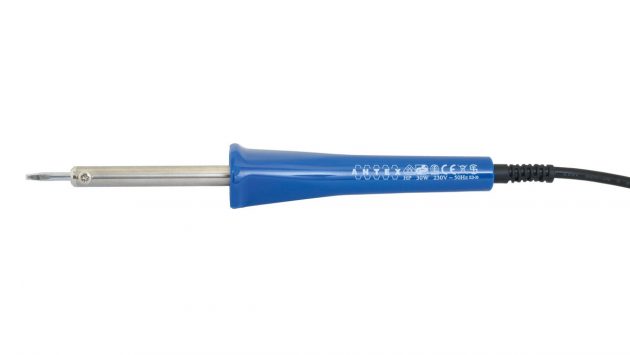
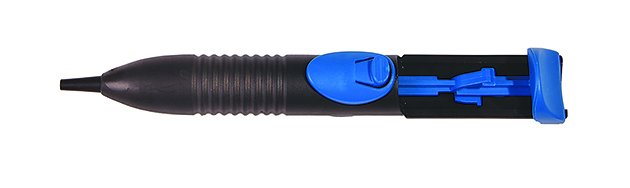
12V soldering iron. Credit: Fernhurst Books
The heat sink draws excessive heat away from the delicate component. A small crocodile clip with sufficient mass will do the job.
For most boat wiring, a 25W iron, or its equivalent, will be fine.
For soldering heavy-duty cables, this will be insufficient, but soldering may not be the best method of joining heavier cable anyway.
Electric soldering iron. Credit: Fernhurst Books
The size of the tip should be appropriate for the size of the job to be tackled.
On the boat, a 12V iron is very useful.
If mains voltage is available, a 25V mains-powered iron can be used, although a second, larger iron of up to 100W can be useful for some bigger jobs.
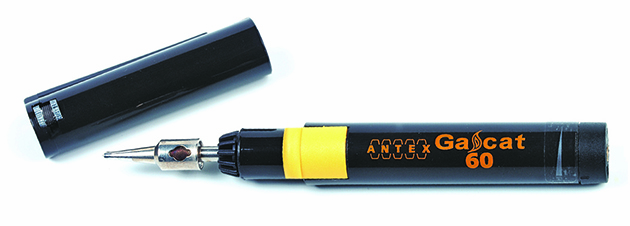
A gas-powered soldering iron. Credit: Fernhurst Books
A gas-powered soldering iron is very versatile, as it can be used for cutting, heat shrinking and sealing rope as well.
A word of warning here: the catalytic heater of cheaper gas irons can last for a very short time.
Using a more expensive ‘professional’ iron has no such problems.
However, be careful with gas irons as some of them have an exhaust and this can burn you or the surface you set the iron down on!
Troubleshooting
- If the iron’s tip has become burned and pockmarked, restore its condition using a file, and then thoroughly re-tin it.
- The surfaces of the area to be soldered must be clean and free of corrosion – this means they must be bright. Dull surfaces may be easily cleaned with wire wool or fine sandpaper.
- The surfaces must be tinned before making the joint – this is the application of a thin layer of solder to the areas to be joined. If the joint has a dull, crinkled look, it was not hot enough or the joint was moved before it had cooled – this is known as a dry joint. It will have high electrical resistance and poor mechanical strength and must be remade.
Give it a wiggle
If you are not sure about the joint, give it a good wiggle and check for excessive movement, this should prove if it’s a good joint or a dry joint.
Some form of clamping may be required if you run out of hands!
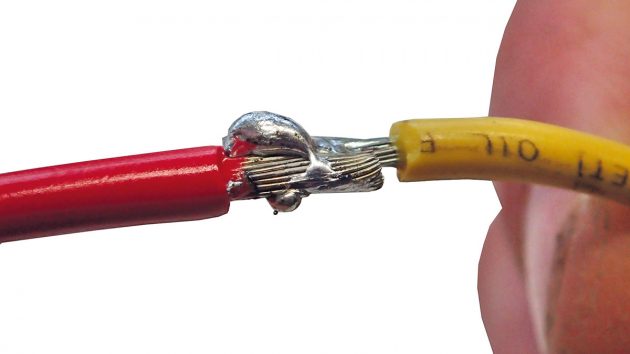
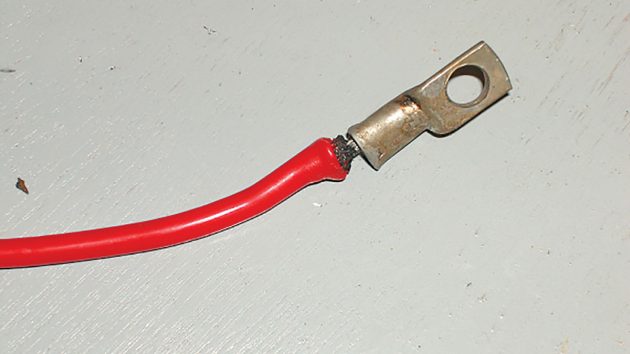
A poor, uneven join with little or no tinning on the red wire. Credit: Fernhurst
It’s also very useful to have a holder in which to safely rest the hot soldering iron.
Take care when heating the ends of the wire not to melt the wire’s insulation.
Heavy-duty joints
Soldering heavy cables may be achieved by using a gas blowtorch, as used for plumbing.
There’s a big danger of melting the wire’s insulation and a better option is (usually) crimping using a professional heavy-duty crimping tool.
Continues below…

Understanding boat electrics: switches and relays
Pat Manley and Oliver Ballam demystify boat electrics, starting with switches and relays

Understanding electrical wiring connections for boats
Pat Manley and Oliver Ballam demystify boat electrics and explain how to use and make secure electrical wiring connections

Understanding electrics: insulating & signal wire connectors
Oliver Ballam and Pat Manley demystify boat electrics and explain various types of electrical connectors and their uses on board
Mechanical strength
Soldered joints must not be relied upon to give mechanical strength. Support the wire on either side of the joint.
If more mechanical strength is desirable, twist the wires together before tinning them and then make the joint.
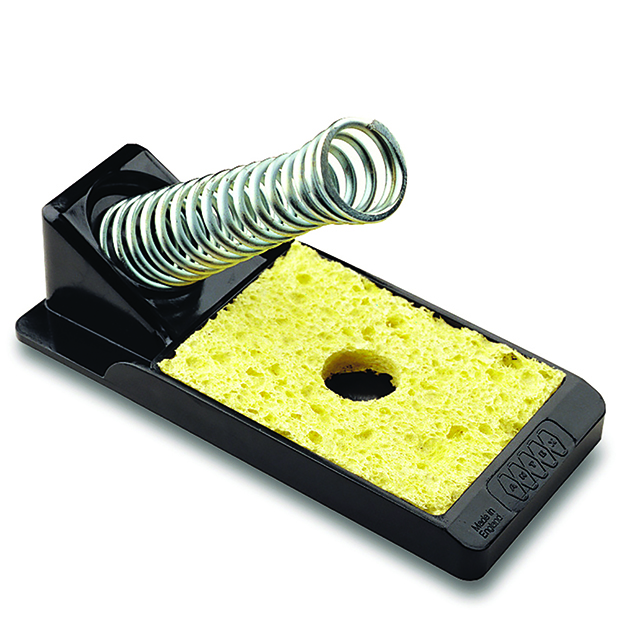
Typical stand for a soldering iron. Credit: Fernhurst Books
This will be difficult to unsolder if you need to break the joint. If you think you might need to unsolder it at some point in the future, don’t twist the wire beforehand.
Some electrical components have a lug with a hole in it, to which the wire is soldered.
Heavy duty cables may be soldered with a blowtorch, but there’s a danger of melting the wire’s insulation. Credit: Fernhurst Books
Loop the bared, untinned wire through the lug.
Now heat the lug and wire with the hot iron and apply the solder to the wire AND the lug together to make the joint.
Unsoldering joints
It is sometimes much easier to undo a soldered joint if most of the solder is first removed.
To do this you need a de-soldering tool.
A suction-type desoldering tool. Credit: Fernhurst Books
If you don’t have a de-soldering pump tool, melt the solder and pull the joint apart.
If there’s a lug with a hole, the hole will immediately fill up with solder again, so if you are going to remake the joint, trying to wipe the hot solder off with a wet rag is one option – but it’s better to buy the correct tool if you’re going to tackle this sort of job often.
Soldering techniques: step by step

1. Switch on the iron and allow it to achieve its full temperature before starting any work.

2. Check the soldering iron has reached temperature by touching the solder with the tip to make sure that the solder melts.

3. Clean the tip of the iron when hot on a damp sponge or cloth.

4. Apply a small amount of solder to the hot tip in order to ‘tin’ it.

5. Heat the wire with the iron and, with the iron still in contact with the wire, melt some solder onto the wire.

6. Repeat the procedure for the second wire that you’re going to join.

7. Now hold the two wires together and apply heat: the tinning on both wires should melt…

8 … and flow together to join the wires. With soldering iron removed, hold the join still for a second or two until the solder cools and solidifies.

9. If it’s necessary, apply more solder wire to the joint, not to the iron’s tip.

10. The end result should be a soldered joint that is bright and shiny.
Soldering to a switch or fuse: step by step

1. Strip the end of the wire as required.

2. Twist the bare wire to close up the frayed ends.

3. Twisting ensures the individual strands of the wire are bound together.

4. Thread the wire through the hole in the component’s lug.

5. Bend the wire round the lug and then twist it back on itself so it is looped in place.

6. Now solder the wire and the lug together.
Unsoldering joints: step by step

1. If you have a joint you need to unsolder…

2 … first heat up the solder with the soldering iron.

3 .Suck up the hot, melted solder with a de-soldering pump-type tool.

4. This will then allow the joint to be undone.
The third edition of Essential Boat Electrics (Fernhurst Books, £16.99) is available at fernhurstbooks.com.
Written by Oliver Ballam and the late Pat Manley, it’s a practical guide – with simple language and clear diagrams – to allow owners to tackle electrical jobs on board.

There are tutorials, from wiring a circuit, understanding switches and relays to troubleshooting electrical faults, all using easy-to-follow photo sequences.
The book also looks at tasks such as choosing solar panels and batteries and connecting navigational instruments.
Buy Essential Boat Electrics from Amazon (UK)
Buy Essential Boat Electrics from Amazon (US)
Buy Essential Boat Electrics from Foyles (UK)
Buy Essential Boat Electrics from Waterstones (UK)
Buy Essential Boat Electrics from Google Play
Note: We may earn a commission when you buy through links on our site, at no extra cost to you. This doesn’t affect our editorial independence.
Enjoyed reading Soldering boat wire: joints and connections? 
A subscription to Practical Boat Owner magazine costs around 40% less than the cover price.
Print and digital editions are available through Magazines Direct – where you can also find the latest deals.
PBO is packed with information to help you get the most from boat ownership – whether sail or power.
-
-
-
- Take your DIY skills to the next level with trusted advice on boat maintenance and repairs
- Impartial in-depth gear reviews
- Practical cruising tips for making the most of your time afloat
-
-