
When the old metal seacocks on Maximus are badly corroded Ali Wood calls in help from Navigators Marine and TruDesign to install new composite ones
Maximus, our PBO Project Boat, had four seacock fittings that need changing – three ball valves in the forepeak (1 x 1½in and 2 x ¾in) and one gate valve under the galley sink. All three valves (the sink discharge, head intake and discharge), skin fittings and hosetails were in poor condition.
In his boat survey of our Maxi 84, Ben Sutcliffe-Davies recommended replacing the whole assemblies.

Maximus’s old seacocks were corroded
Though not original to the 43-year-old boat, the problem was that the replacement zinc-plated brass seacocks had used the original skin fittings, which had bronze tapered tails, carrying the risk of thread incompatibility.
In the galley, the gate or ‘sluice’ valve looked to be bronze, which is much better, but it was completely seized. None of us could turn the handle and there was corrosion on the castings.
Gate valves aren’t serviceable, and you can’t tell whether they’re open or closed just by looking. Even when the handle turns on an old one, there’s a chance that the thread may have stripped and the handle is not actually closing the valve
Which seacocks should I fit on my cruiser?
I did some research into the different types of seacock and which materials are best for boats.
I was definitely tempted by SeaSeal’s smart new seacocks – which are designed to last the life of the vessel. Indeed, the engine saildrive seacock is a little stiff, so this might be an option if I decide to replace it at a later date.
However, budget was a constraint, and TruDesign’s composite seacocks are less than a third of the price of SeaSeal’s forged DZR ones (£40 for ¾in compared to £158).
The composite seacocks looked really smart and felt very solid (though more bulky than metal ones) and durable, while easy to lever back and forth. I also liked the idea of not having to do any maintenance other than exercising them from time to time.
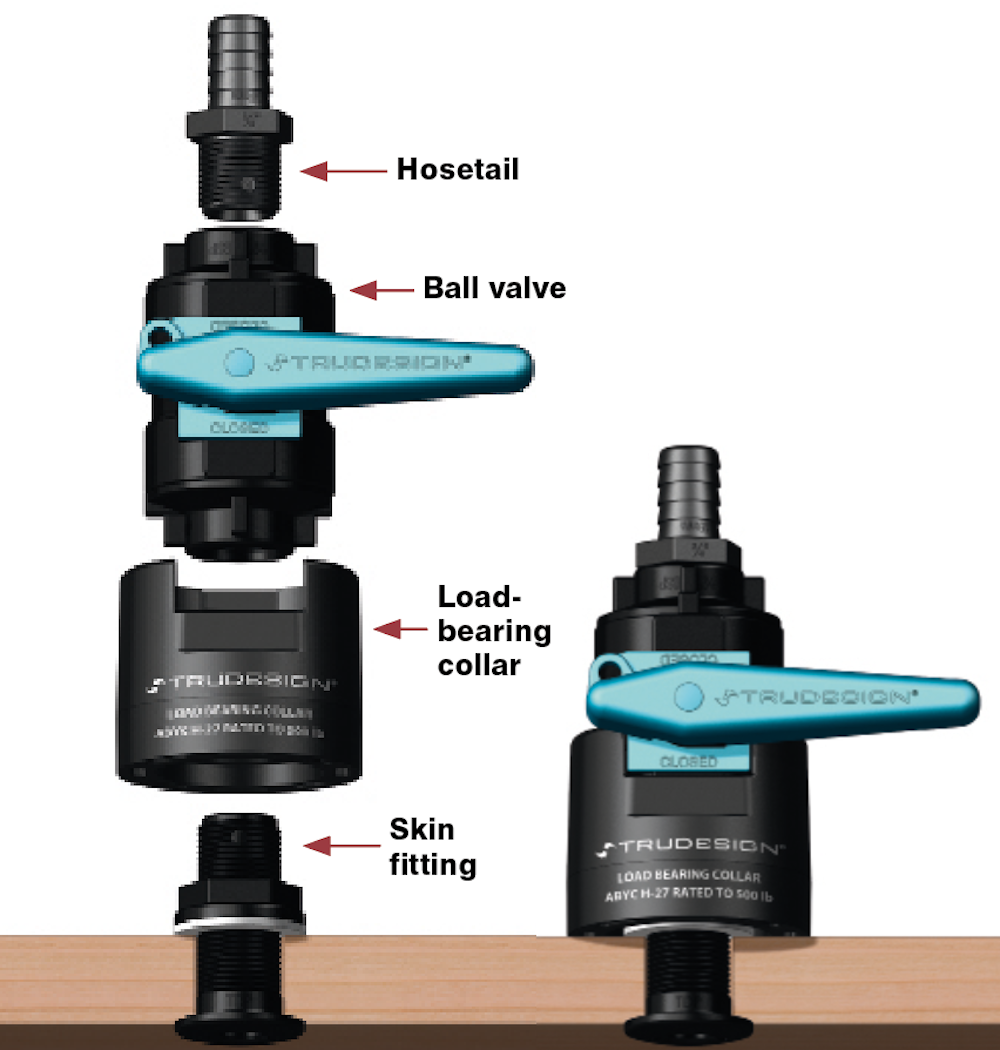
How the composite TruDesign skin fitting and seacock attach to the hull
TruDesign seacocks come with an optional load-bearing collar, designed to go between the skin fitting and the valve, which is ideal for use in areas such as a locker, where it might get a thump from an unsecured object in a rough sea.
On Maximus, where the seacocks were tucked out of the way, this wasn’t absolutely necessary, as they weren’t exposed, but I opted for the collars anyway so we could demonstrate how they’re fitted.
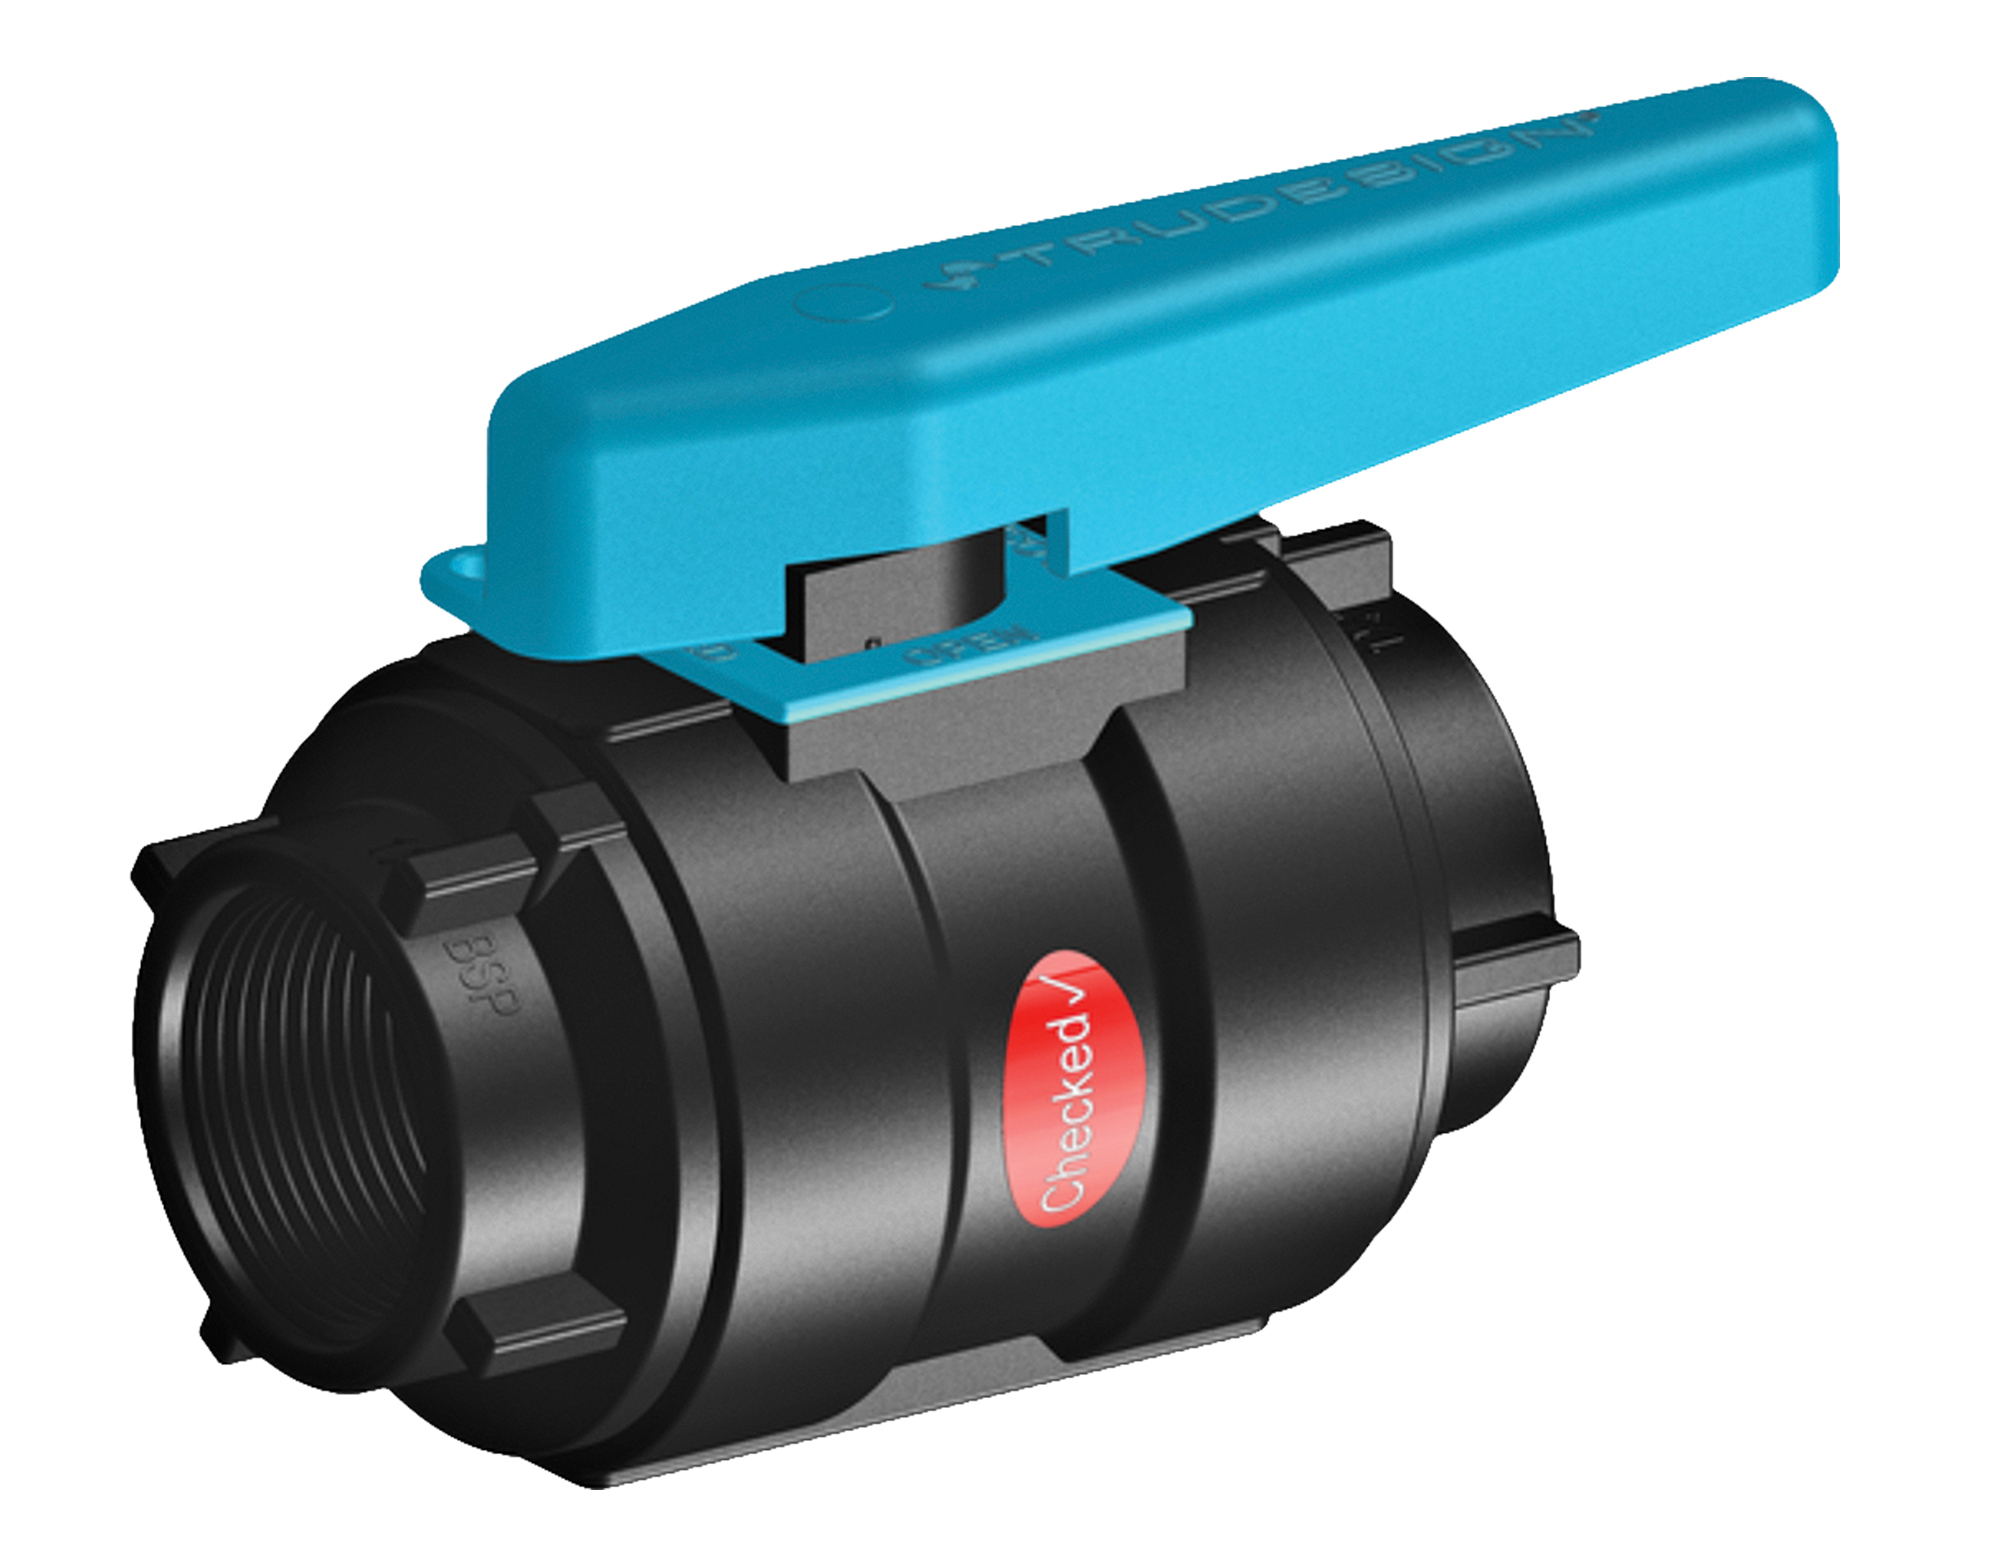
TruDesign composite ball valve seacock
Skin fitting and seacock shopping list
Where possible, I was advised to go for straight hosetails, as it’s much easier to free a blockage from one of these than a 90° one. However, it also depends on the space available. A shipwright should be able to measure up for you if you’re not sure. Here’s what we ordered:
- 1½in heads outlet with straight hose tail
- ¾in heads inlet with right angle hose tail
- 1in basin outlet with straight hose tail
- ¾in galley sink outlet with straight hose tail
- Load bearing collars for all of the above
Disposal of the hoses
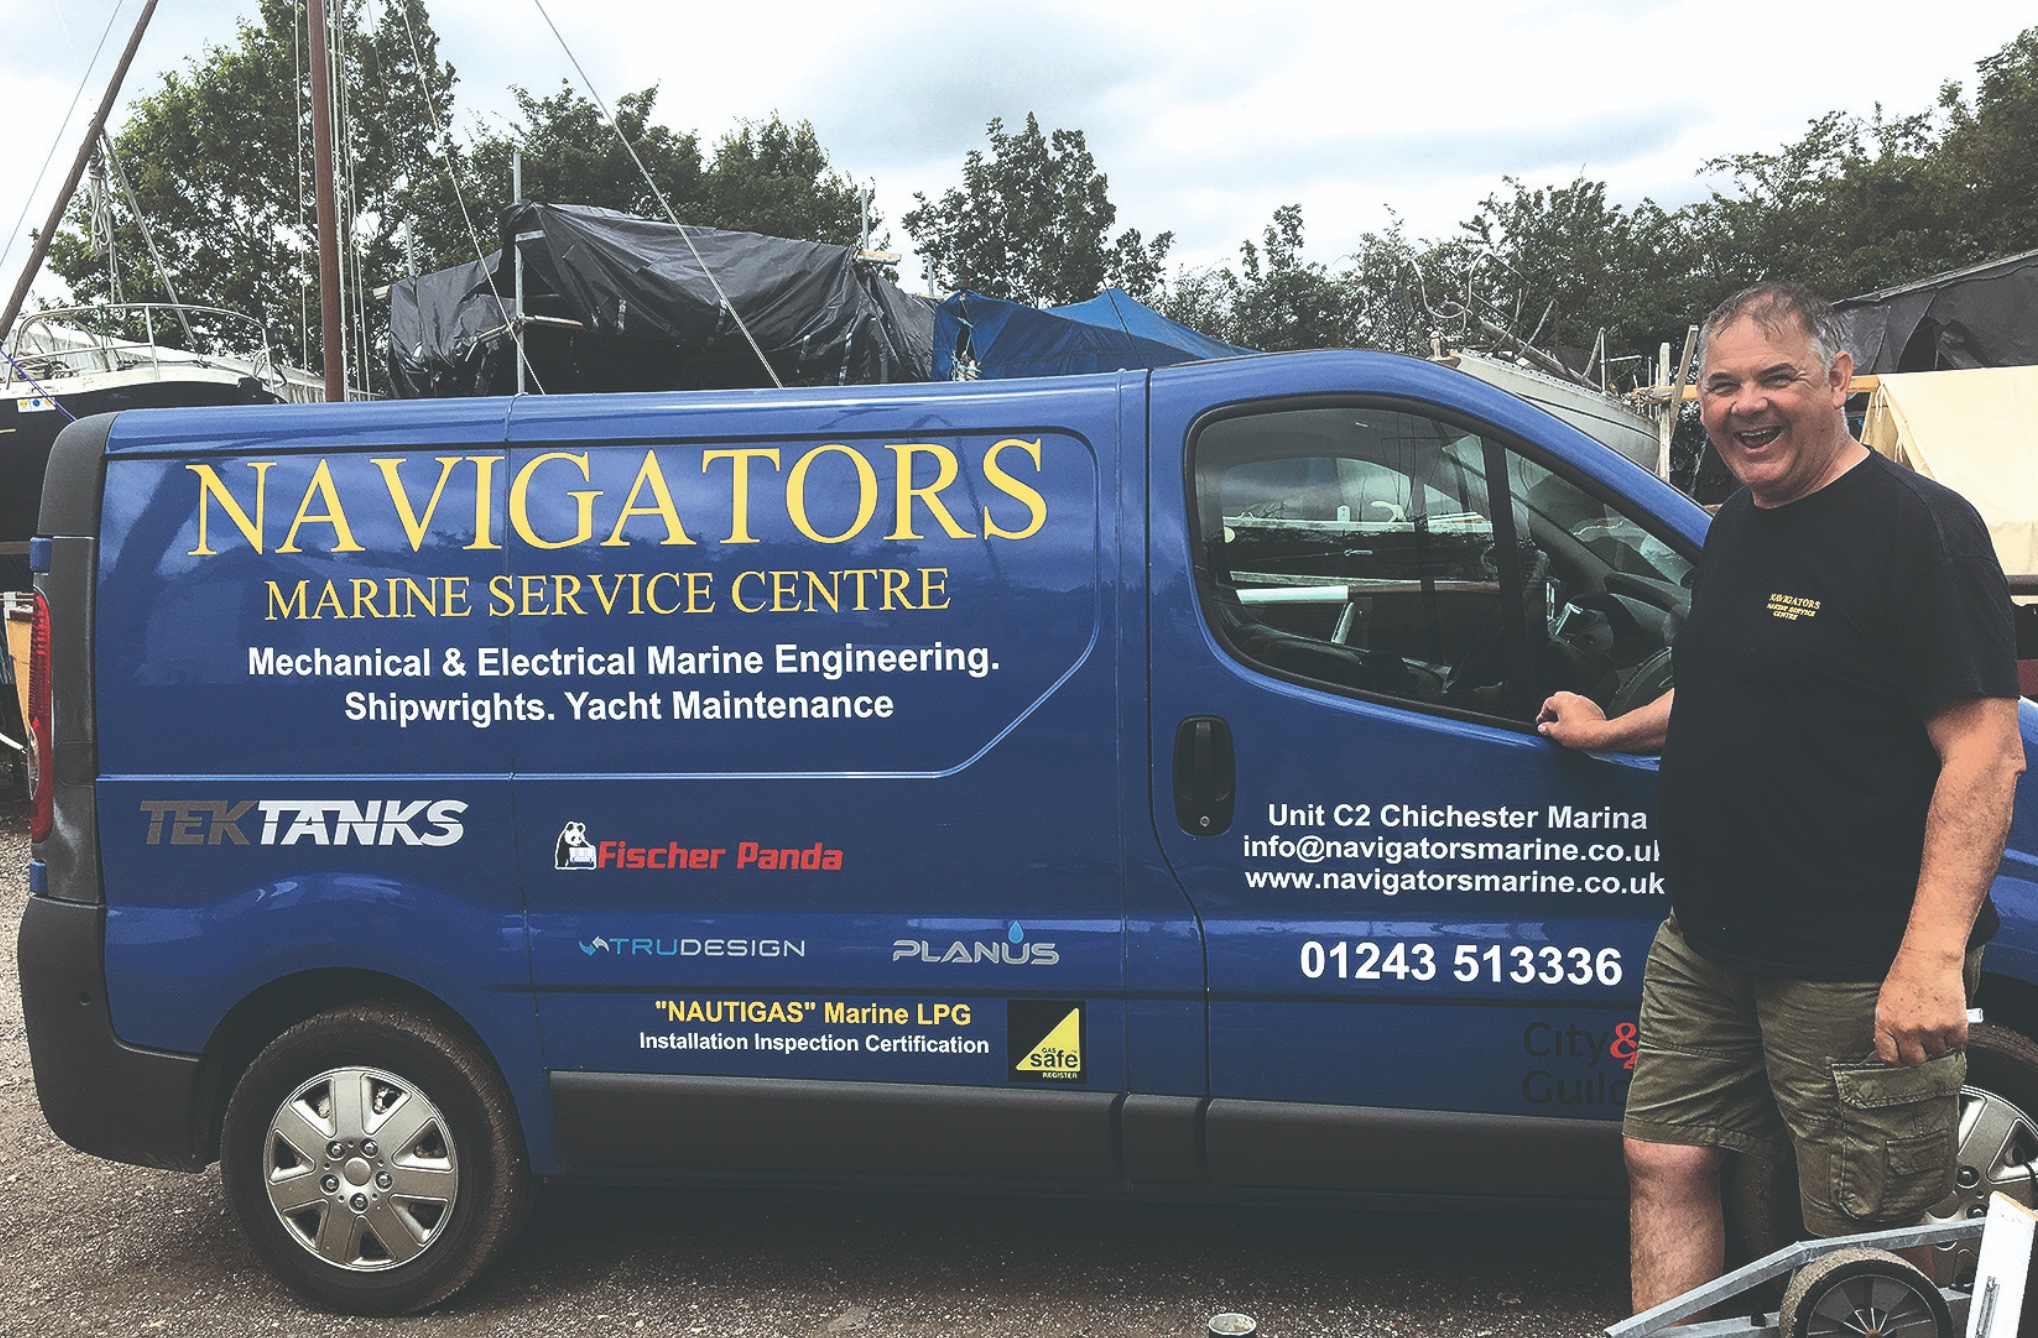
I got in touch with Peter Draper of Navigators Marine in Chichester, a certified TruDesign installer. He kindly agreed to come down to Maximus to show how to fit the seacocks.
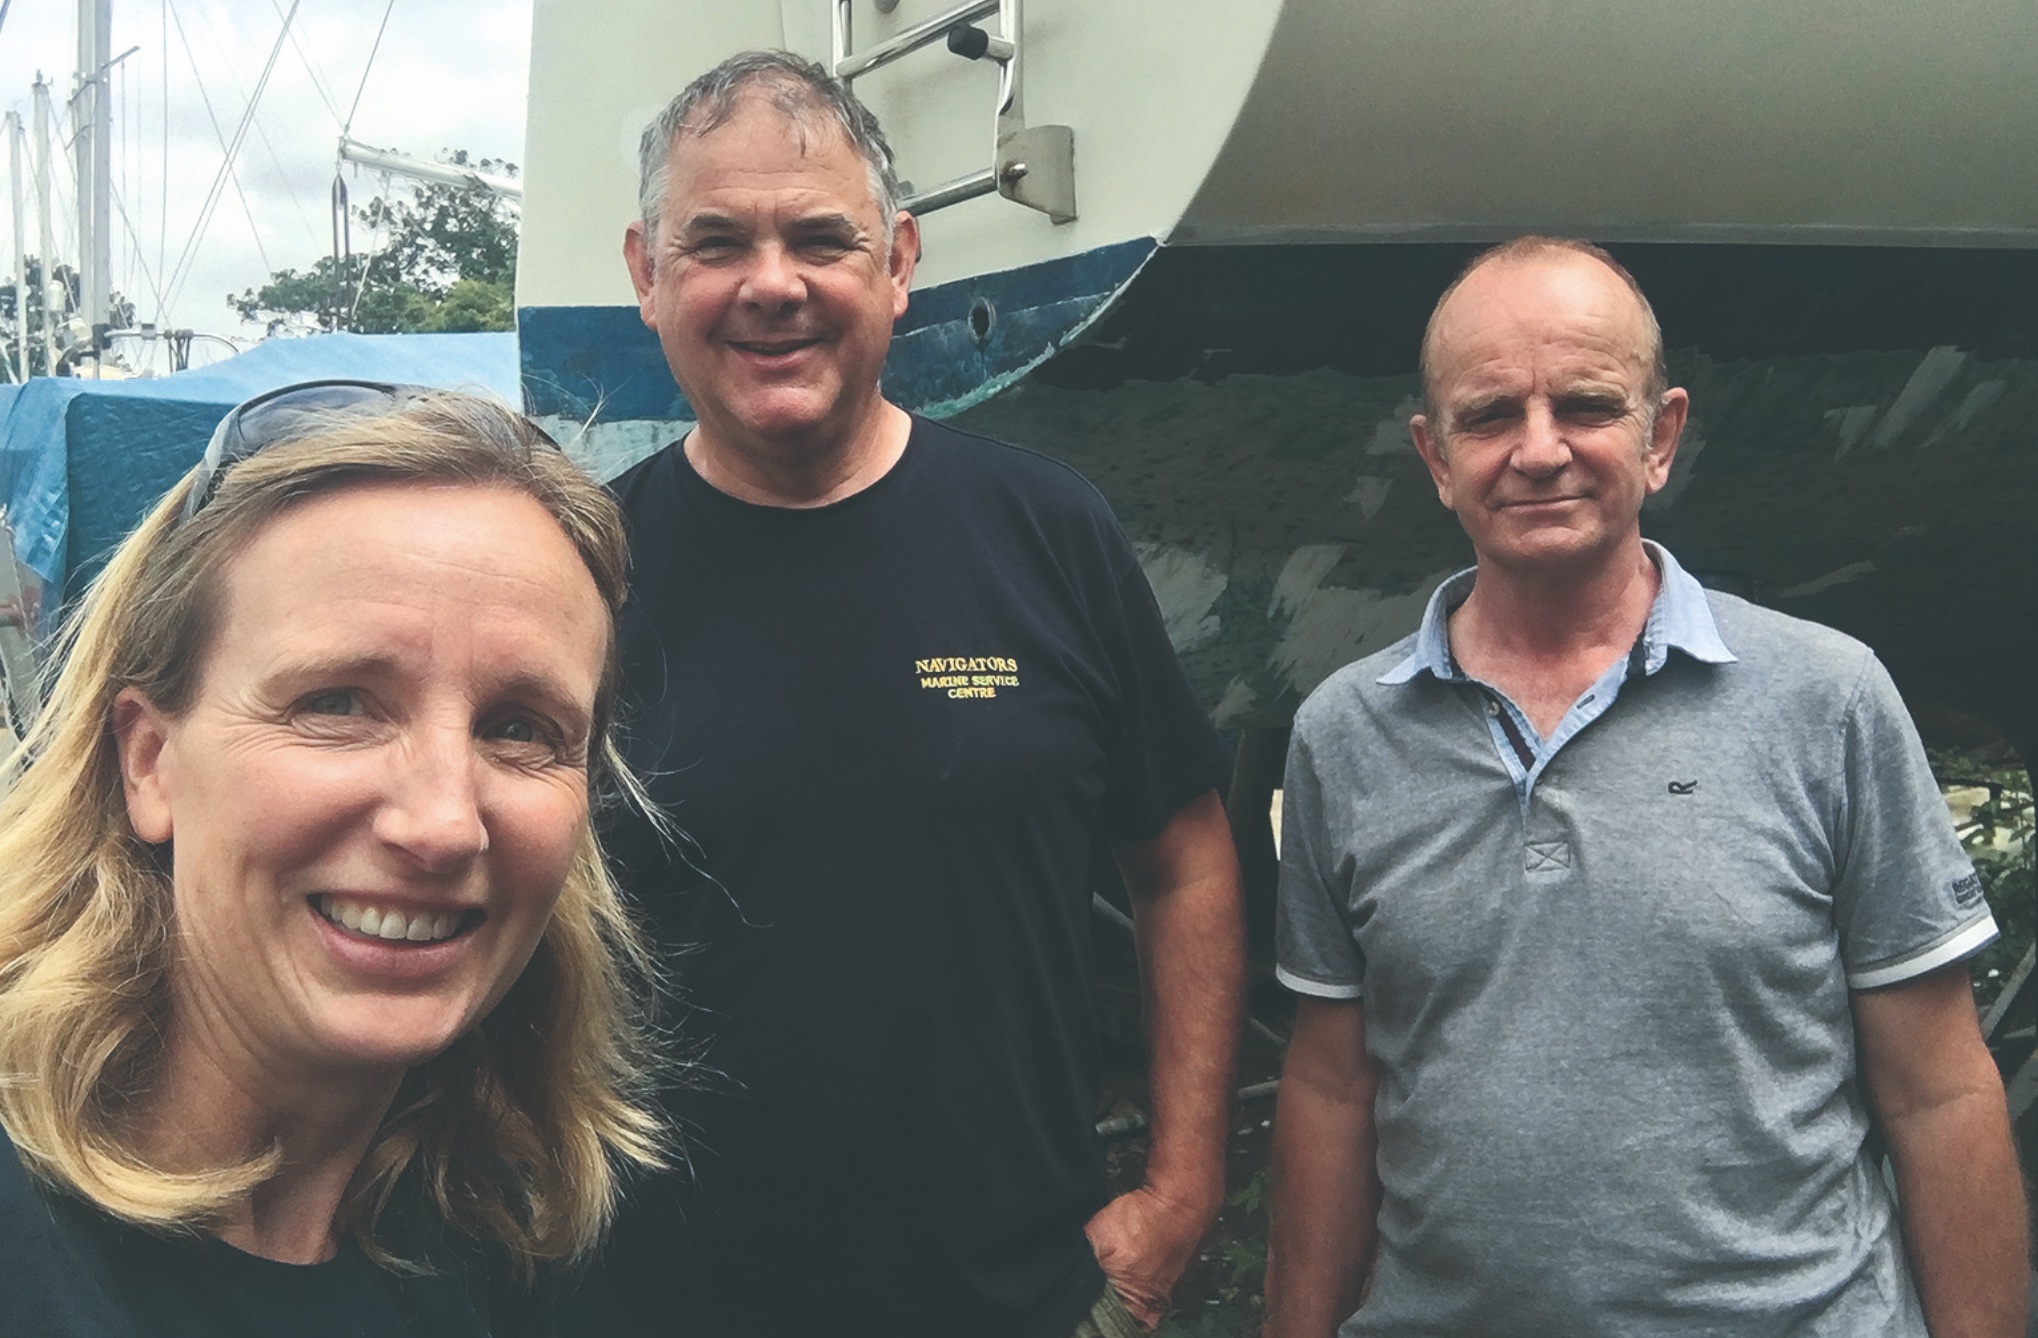
Ali Wood (left) with Peter Draper (middle) and James Turner (right) in front of the Maxi 84, Maximus
We were all set to go – James Turner from TruDesign was making an overnight trip from Devon – when, the day before, Peter asked me if I’d removed the outlet and inlet pipes from the heads and galley. No, I hadn’t! I’d assumed he’d be doing that as part of the installation, but he told me that health and safety legislation meant removal of contaminated grey and black water discharge pipes was not something he could carry out.
“Old heads pipework is contaminated with human waste, often very old rotting stinking waste and anything else that has been flushed down the toilet for years.”
Removal and disposal should ideally be done by a specialist, certified company, but even for a small boat the size of Maximus that could cost up to £2,000, Peter told me.
So in reality most owners remove the old pipework themselves or see if their boatyard is prepared to do it, he said.
Unable to get to the boat myself – it being a three-hour-plus round trip between school-runs – I called Dell Quay boatyard and begged them (not for the first time) to step in last-minute, which they did. Thank you, Dell Quay!
Lesson No1 – always ask a contractor, ‘is there anything else you need me to do?’ before booking in a job. I hadn’t considered the complications of removing the hoses.
Start with the skin fittings
Click to enlarge
Skin fitting and seacock installation is a two-day job as the skin fittings needed to be installed a day before the seacocks to allow the sealant time to dry. For the sealant TruDesign recommends using Sikaflex 291i or 3M 5200.
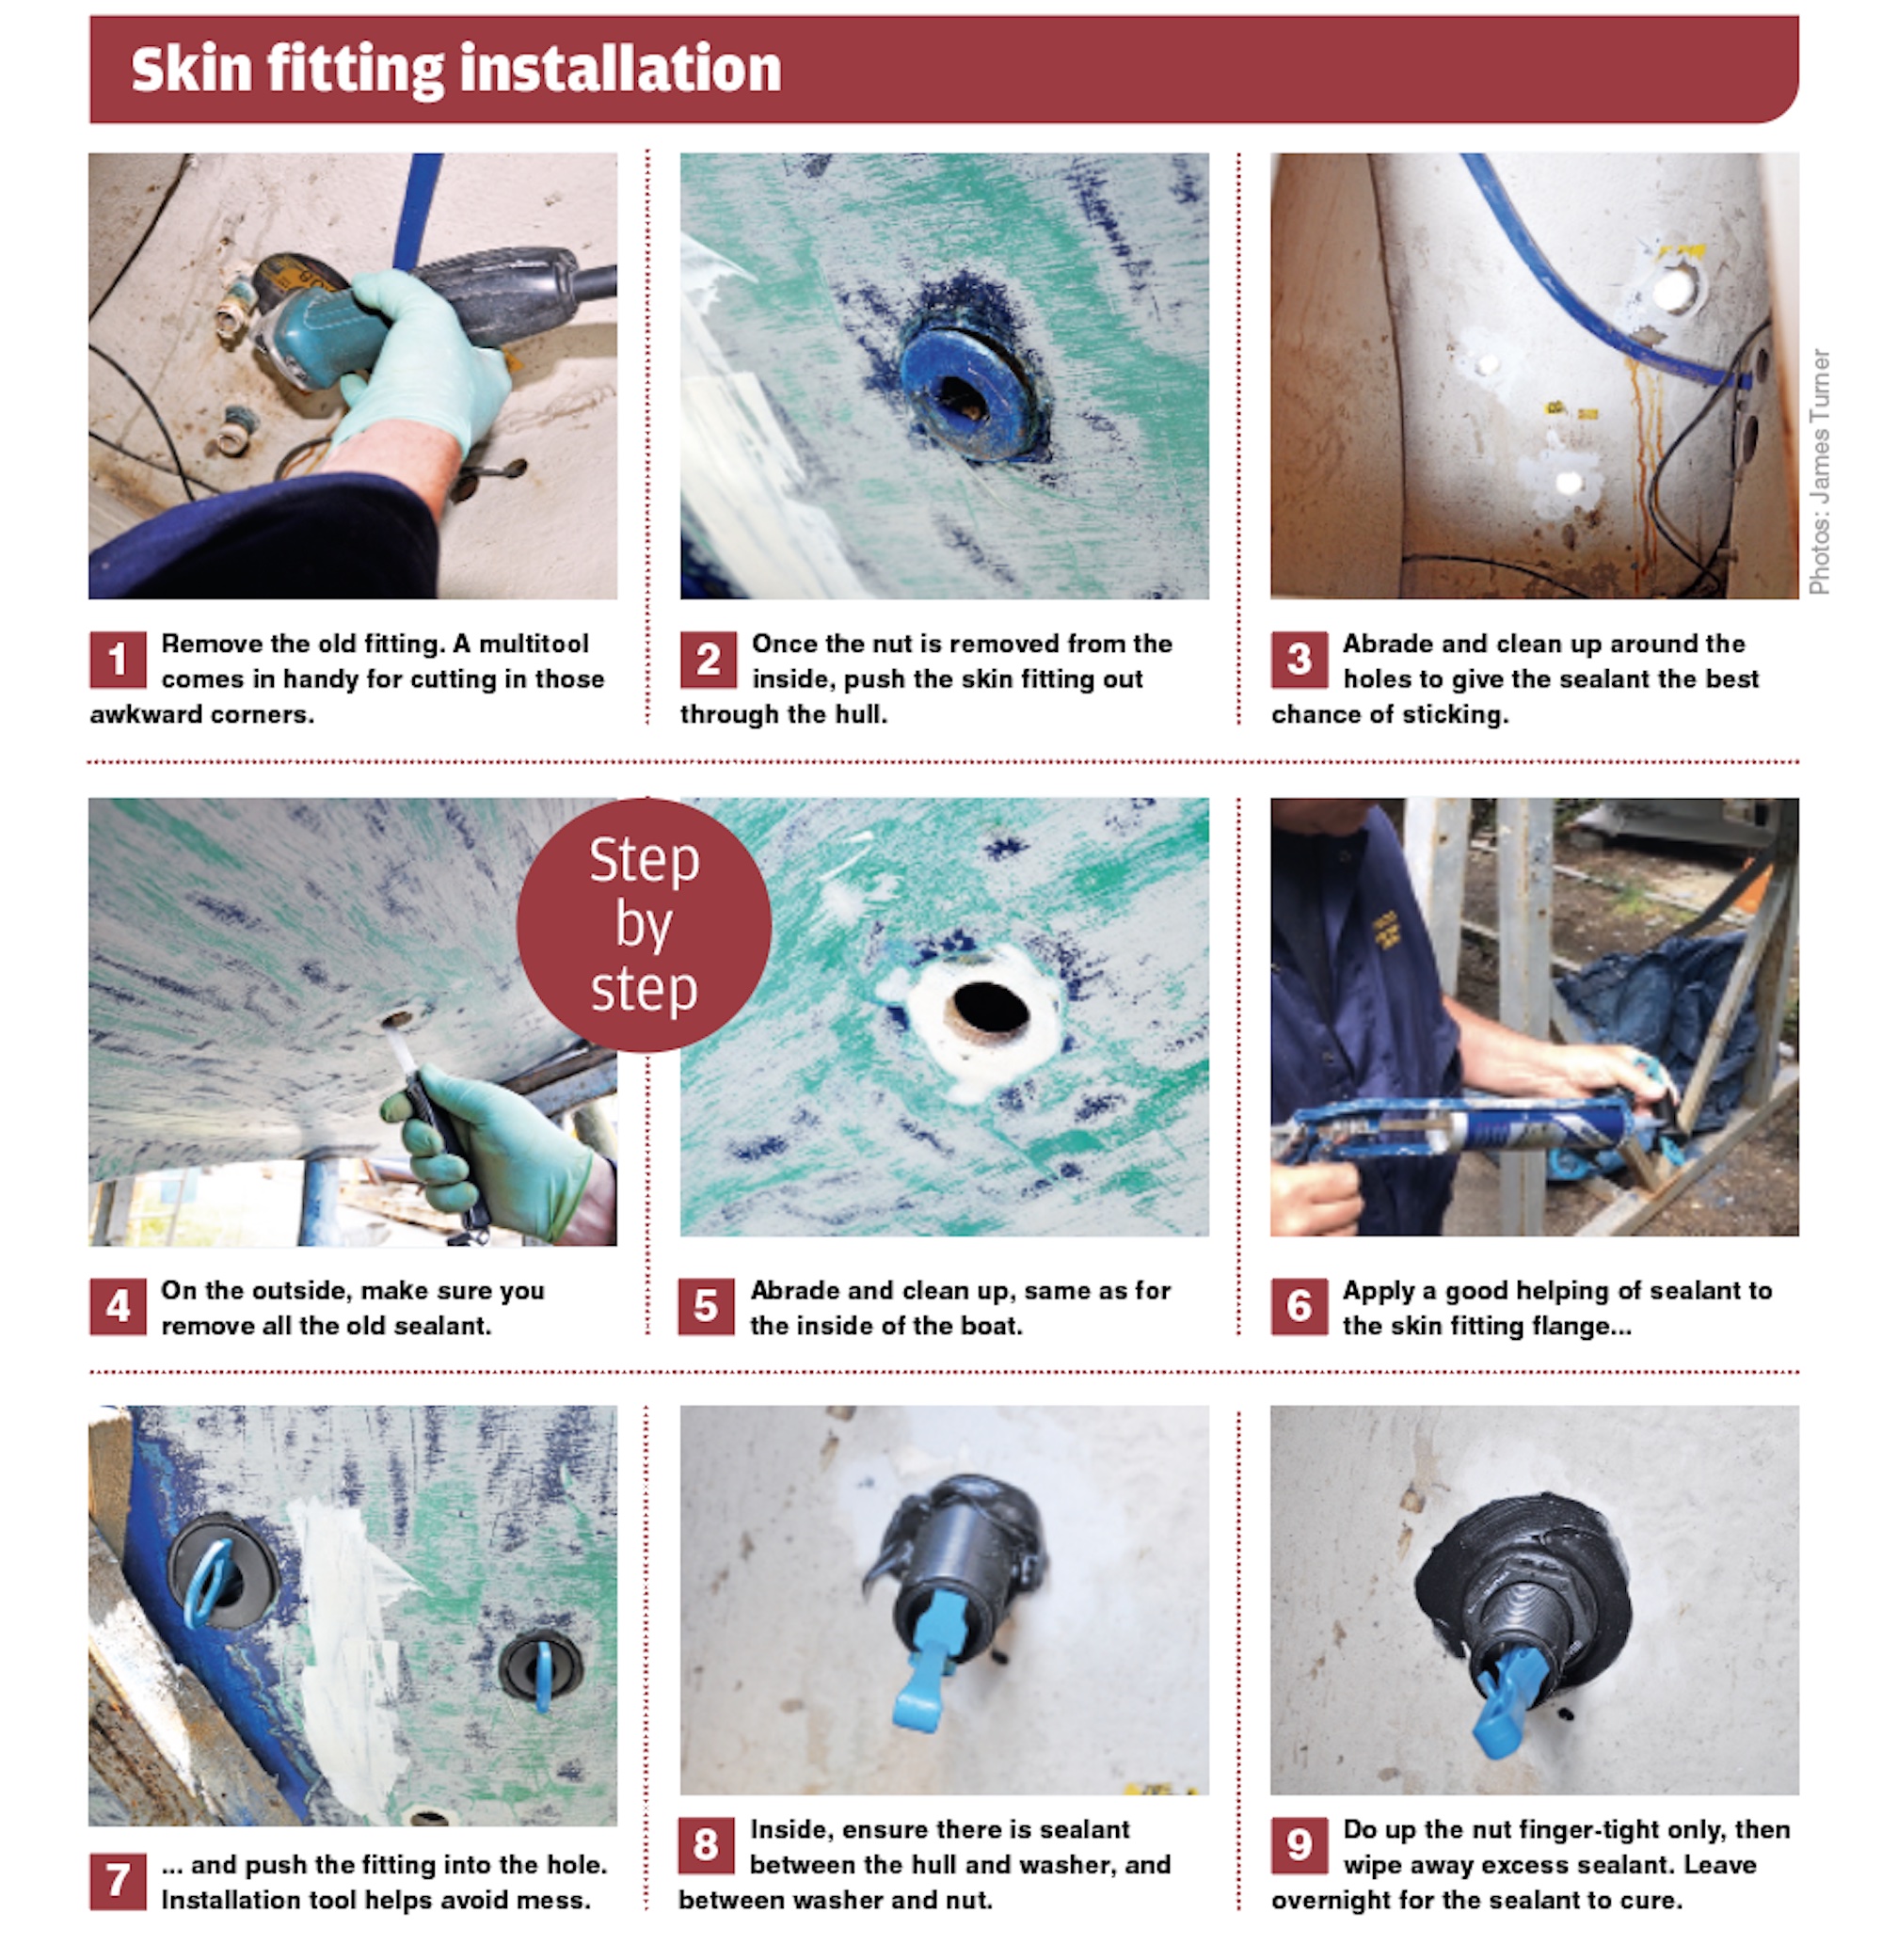
Peter started by cutting out the old fittings, using a multitool for the awkward corners. Once the nut was removed the skin fitting could be pushed out from the inside. It was interesting to see just how corroded the assemblies were.
Peter showed me the gate valve, which would have been the 43-year-old original fitting. He explained that the pink colouring was evidence that the zinc had disappeared from the alloy, suggesting the old gate valve wasn’t bronze as first thought, but brass and – now that the zinc had leached away – largely copper! It’s a good job it was replaced as it could have disintegrated at any time.
Peter cleaned the holes thoroughly to give the sealant the best chance of adhering to the laminate. He then abraded the area inside, outside and across the laminate and applied a good helping of sealant.
Using the installation tool, Peter placed the fittings in the hole and then removed the tool. Rather than wiping away the excess sealant, he left it to cure, ready to be cut away in the morning.
It’s important there’s sealant between the hull and washer and between the washer and nut, so to ensure this the nut need only be finger-tight so it doesn’t squeeze all the sealant out, allowing the sealant to do its job.
Now for the seacocks
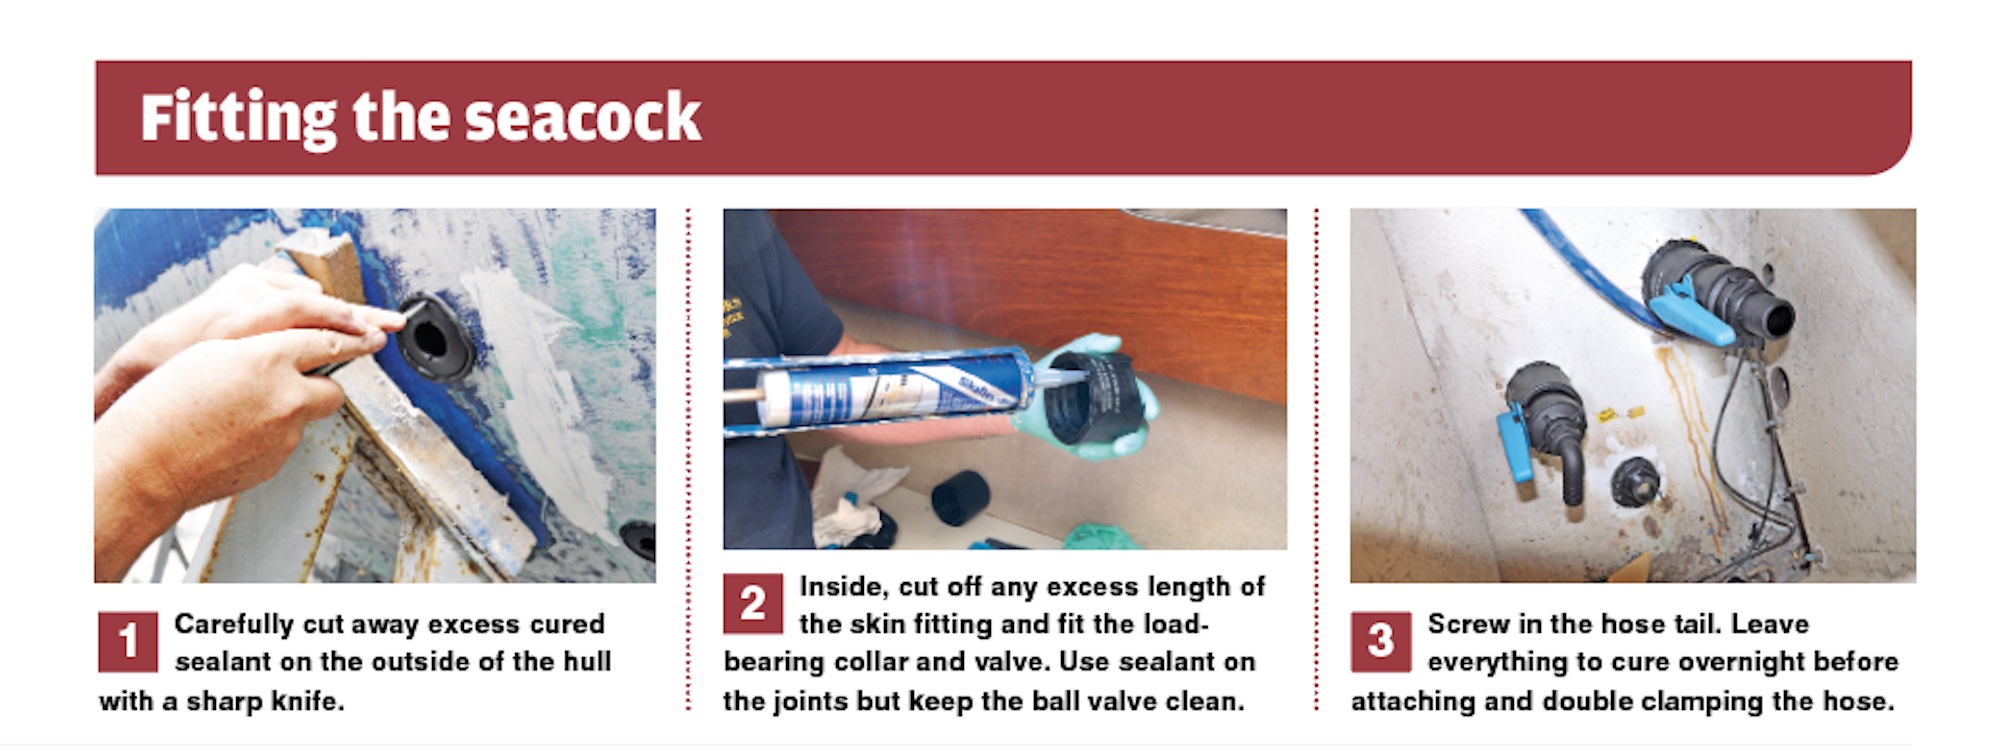
The following morning the sealant had cured nicely and Peter cut the excess away with a sharp knife.
Again he used the multitool, this time to cut away the excess length of the skin fitting; as you never really know when dry-fitting how much thread will be left inside the hull it’s best to leave this job until after the sealant has cured.
Next came the load-bearing collar and seacock. Although the TruDesign seacocks are much chunkier than the metal ones that had gone in before, the skin fitting is the same size, as it’s a BSP standard. They were either ¾in, 1in or 1½in diameter.
The valves in the heads went in easily enough, but it was certainly a fiddle for Peter trying to replace the old gate valve in the galley, which was positioned underneath a tiny drawer with barely inches to move around.
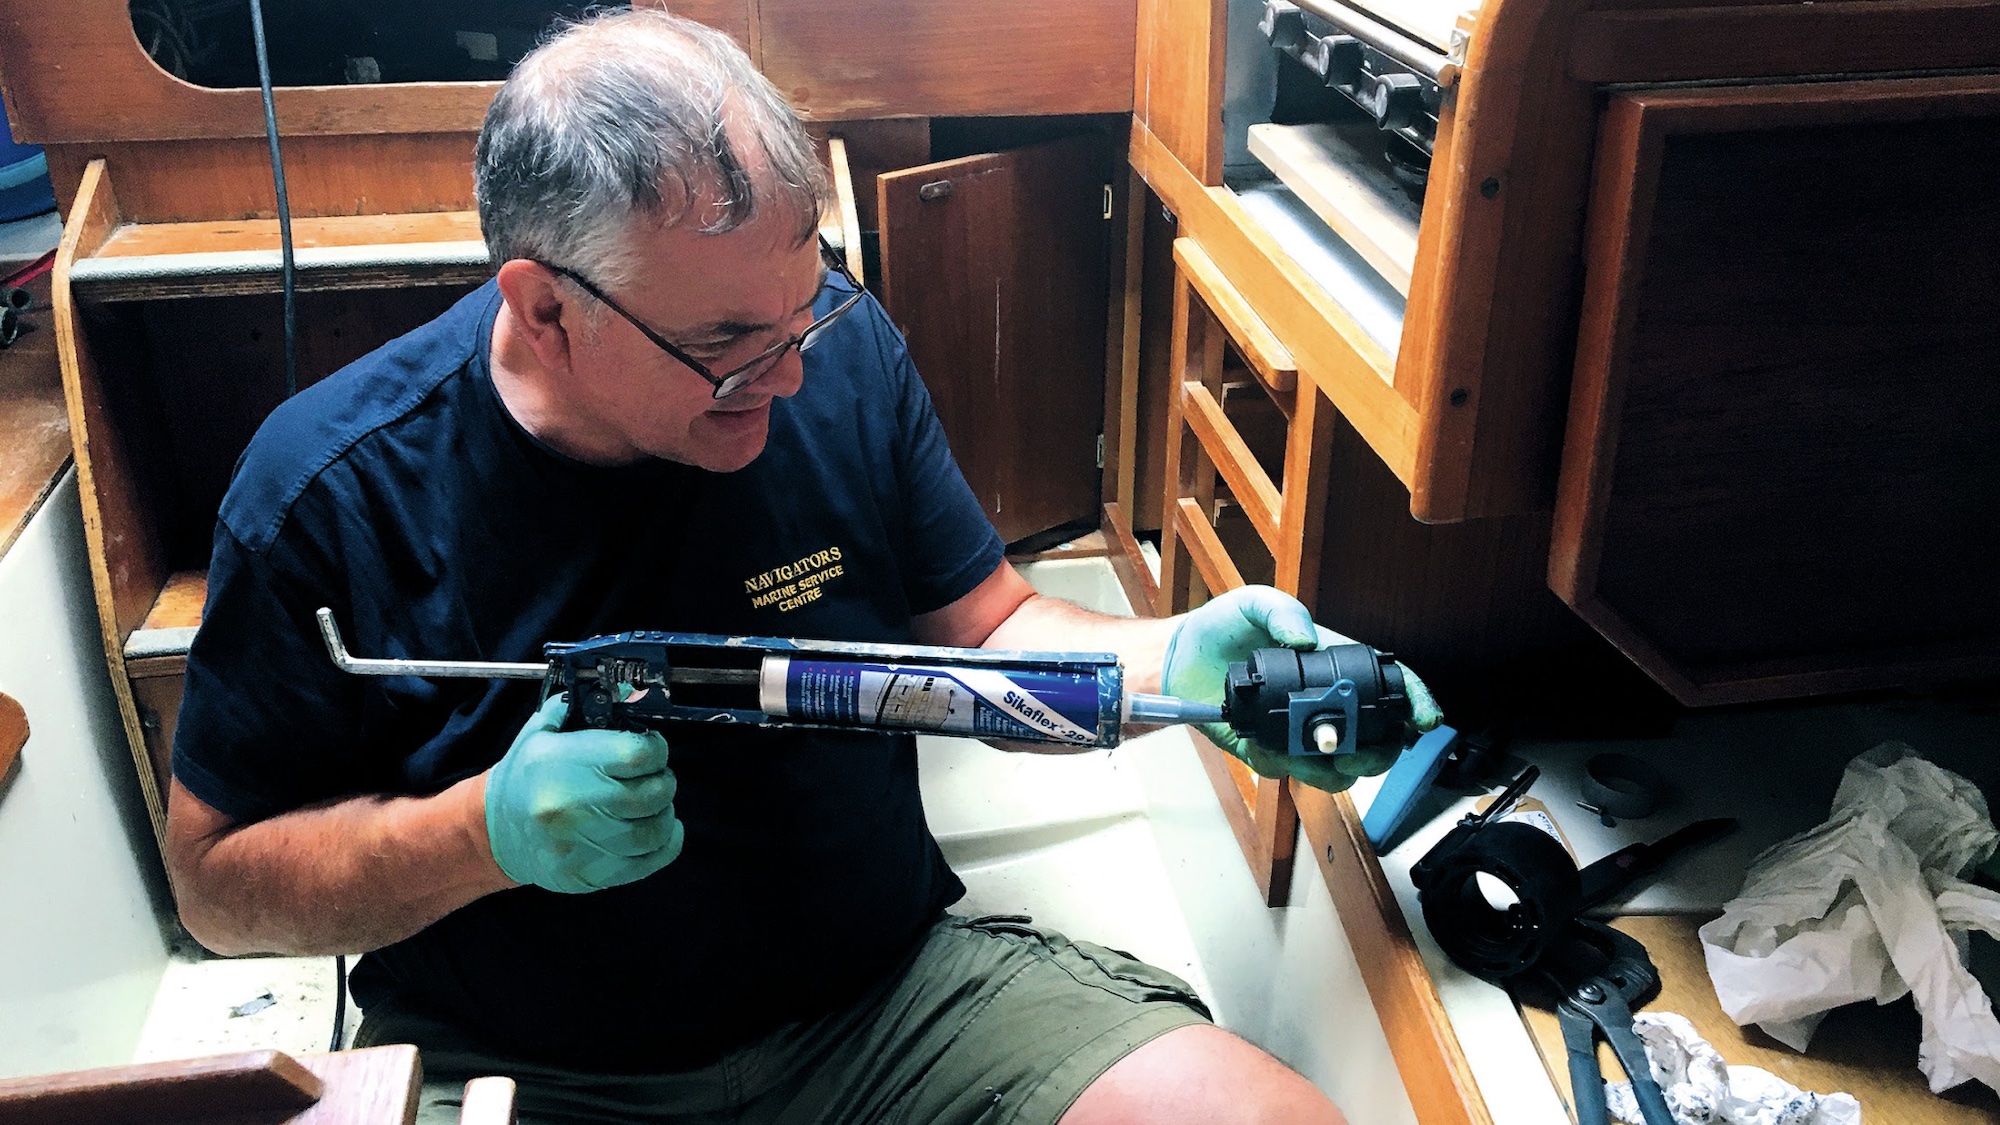
Peter Draper of Navigators Marine installs the TruDesign seacocks
“Everyone knows that boatbuilders make boats to be difficult for future owners,” said James. “This has never been more true than for the valve in this locker!”
Still, he managed. He used sealant for all the joints, but was careful not to get sealant into the centre of the valve where it could clog up the smooth operation.
Finally he fitted the hose tails and we were done. What an informative day it had been. I was glad to have been there to witness the seacocks coming out and going in, and to fully understand why they needed to be replaced.
Getting locked in Peter’s van provided much amusement
There was one small hitch, however… the 10 minutes I spent accidentally locked in Peter’s van!
Feeling rather helpless with the installation itself, I tried to be helpful by finding him a wrench. I was looking for the tool when the wind blew the van door shut, and with no access to the driver’s seat, I fumbled around in the pitch black for several minutes, sweating buckets and trying to think what fictional hero Jack Reacher would do.
Just as I found the door-release, Peter and James came looking for me, realising the banging wasn’t just ‘ordinary boatyard noise’.
Lesson No2: don’t climb into vans on a windy day!
We then needed to wait 24 hours – again for the sealant to fully cure – before replacing the hoses.
Before we launch we’ll be sure to attach some tapered wooden bungs with lanyards to plug the hole in case the skin-fitting ever fails.
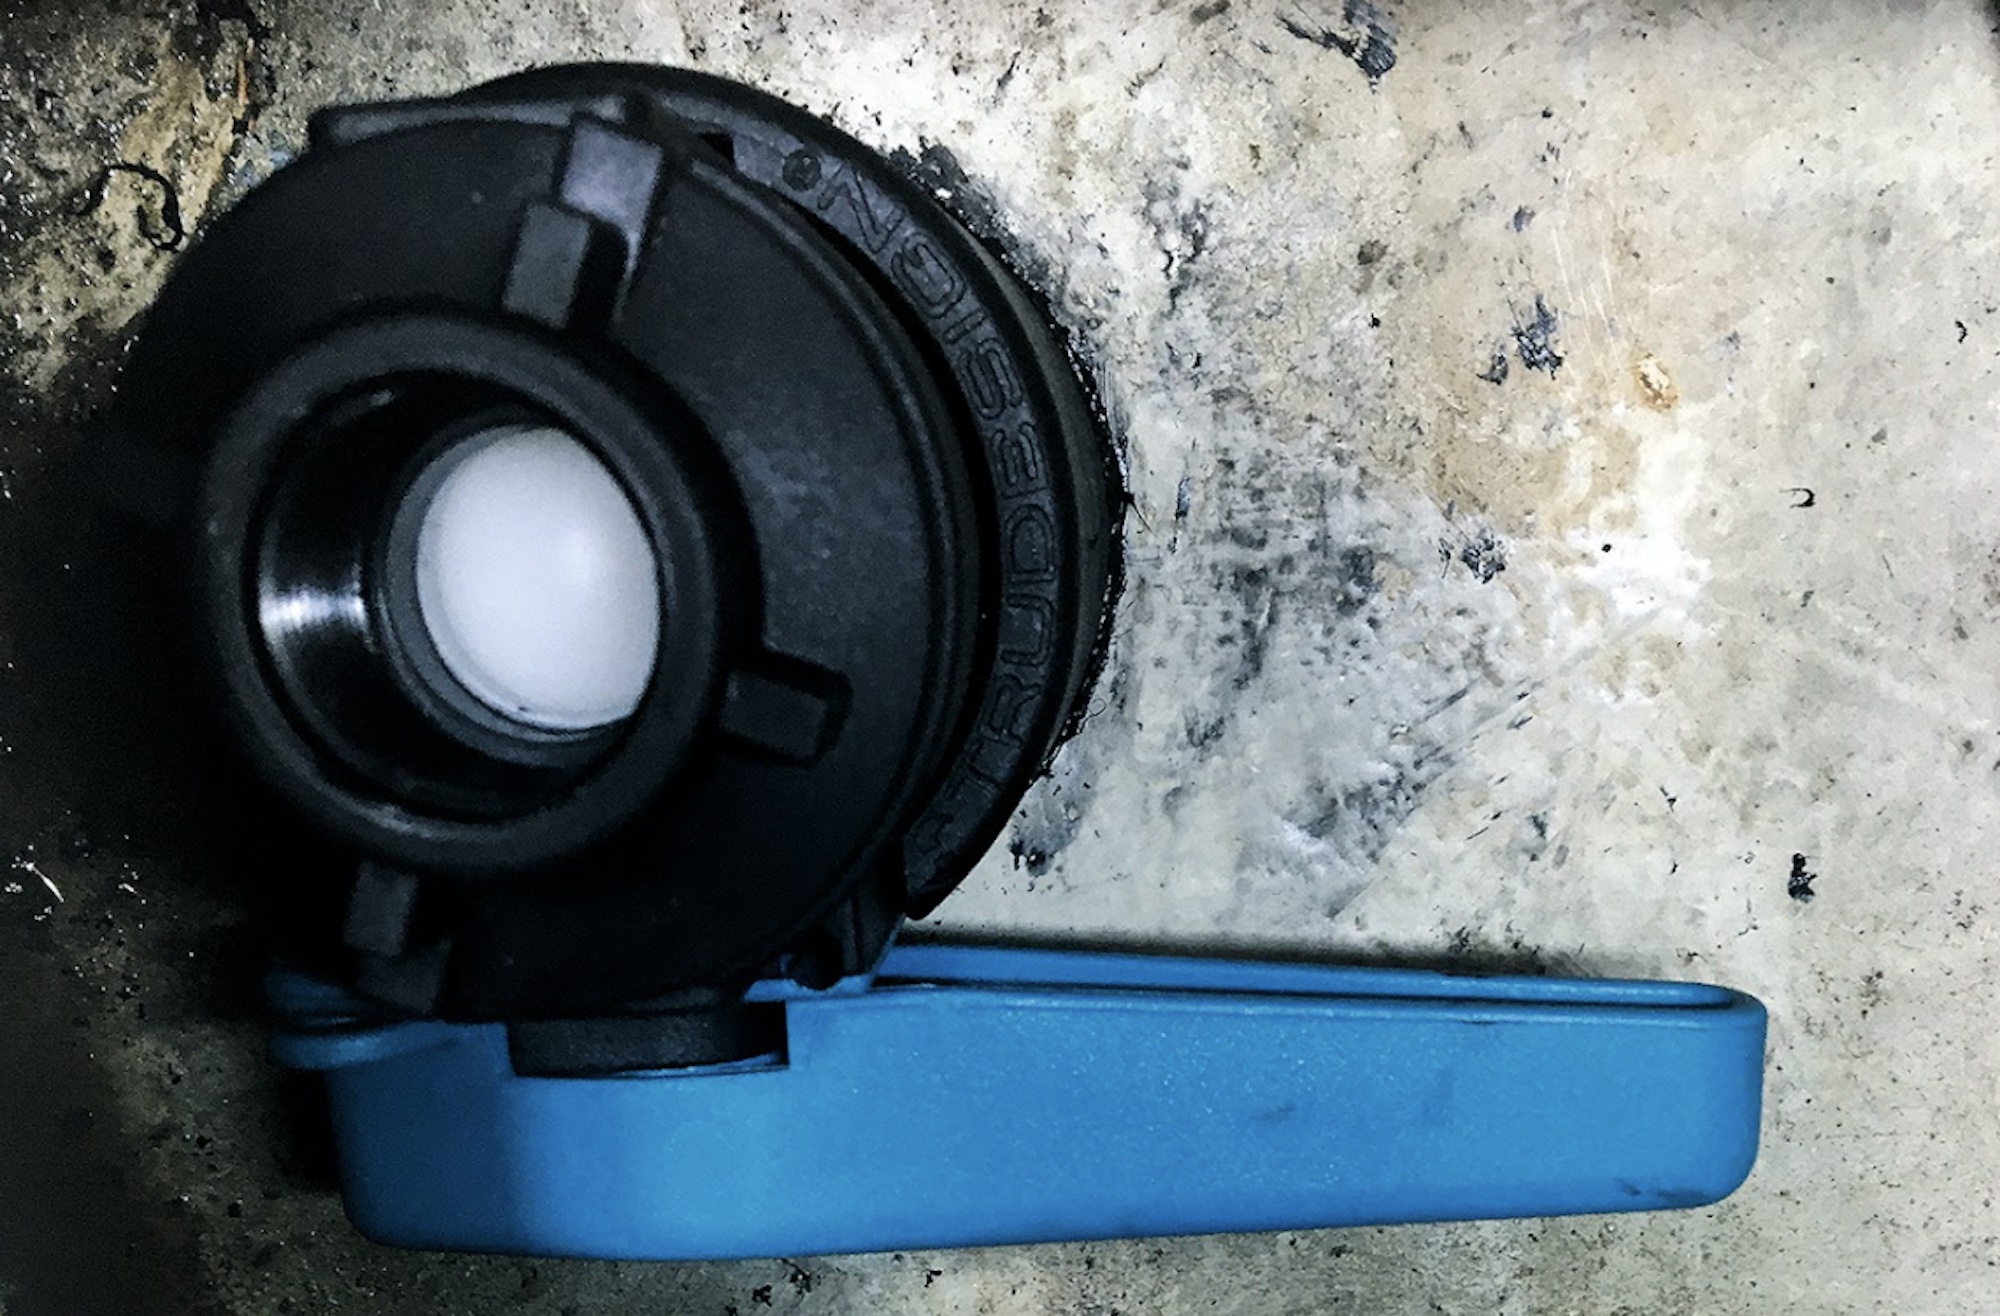
The TruDesign ball valve seacock in situ. You can see the white ‘ball’ which stops water getting in when the seacock is closed
With no hoses attached, it was quite good fun to open and close the ball valves, and see first-hand how they work. When you see daylight streaming in from under the boat, you realise just how important these little fittings are, and why it’s important to keep them in good nick!
Thanks to
James Turner, Dell Quay Marine, TruDesign, the RYA and Navigators Marine, info@navigatorsmarine.co.uk
Thanks to our Project Boat Supporters

Dell Quay Marine, Osculati, Raymarine, Shakespeare Marine, TruDesign, Screwfix, Coleman Marine Insurance, MDL Marinas, Premier Marinas, seajet,, Clean to Gleam, West System, Farécla, Navigators Marine, RYA, Aqua Marine, Ecobat, Victron Energy, Scanstrut, T Sails and XP Rigging.
Why not subscribe today?
This feature appeared in Practical Boat Owner magazine. For more articles like this, including DIY, money-saving advice, great boat projects, expert tips and ways to improve your boat’s performance, take out a subscription to Britain’s best-selling boating magazine.
Subscribe, or make a gift for someone else, and you’ll always save at least 30% compared to newsstand prices.
See the latest PBO subscription deals on magazinesdirect.com