
There’s no need to send an inflatable tender to landfill when the floor or transom comes unstuck. Jake Frith explains his method for inflatable boat repair…

The ‘service life’ of the adhesive used to attach floors and transoms to the tube collars of most small inflatable boats is generally agreed in the industry to be 10-15 years, but this is an issue that can usually be fixed.
Firstly, let’s consider how our typical single-layer, flexible-floored dinghy was constructed. The inflatable part (or collar as it is known on larger RIBs) on the majority of boats will have been PVC heat-welded together in an industrial manufacturing process.
This means that the airtight joints will be as strong or stronger than the areas of fabric between them. So the collar itself is only scrap if sun damage is causing it to leak in pinholes all over or if required repairs are multiple slashes or large areas of abrasion that are not patchable. It’s therefore usual for the tubes to significantly outlive the rest of the boat.
So, if we only have an adhesive attachment problem, our boat might not be destined for landfill for a few years yet. The usual areas of trouble are as follows:
The single layer floor is typically made from the same PVC as the collar, but is most often glued on, usually reinforced from the inside with a folded and stitched strip of the same material. This glue is the stuff with a finite life.
Article continues below…

Best inflatable boat: 9 compact tenders put to the test
Inflatables are everywhere: paddleboards, canoes, kayaks, tents, kites and wings – and inflatable boat technology has long been a practical…

Choosing a boat dinghy – top tips for buying and maintaining tenders
From getting on and off the yacht to collecting supplies, visiting friends or simply going fishing, tenders play an important…
The transom, whether it is made from plywood, GRP or lighter composite material is glued to the collar and floor via rubberised plastic joining mouldings each side. There are several different adhesives and dissimilar materials going on here, any of which can let go over time.
Rubbing strips and other external components such as oarlock pads and D-rings are often attached with the same adhesive, so can also let go on an ageing dinghy. Because of the loadings of heavy driver and engine, and the regular rigours of rolling the deflated boat around its transom it’s usually the transom area that goes first.
Whenever looking at a second-hand tender, or evaluating your own at the start or end of the season, have a forceful poke and prod about in the bottom rear corners of the floor and transom.
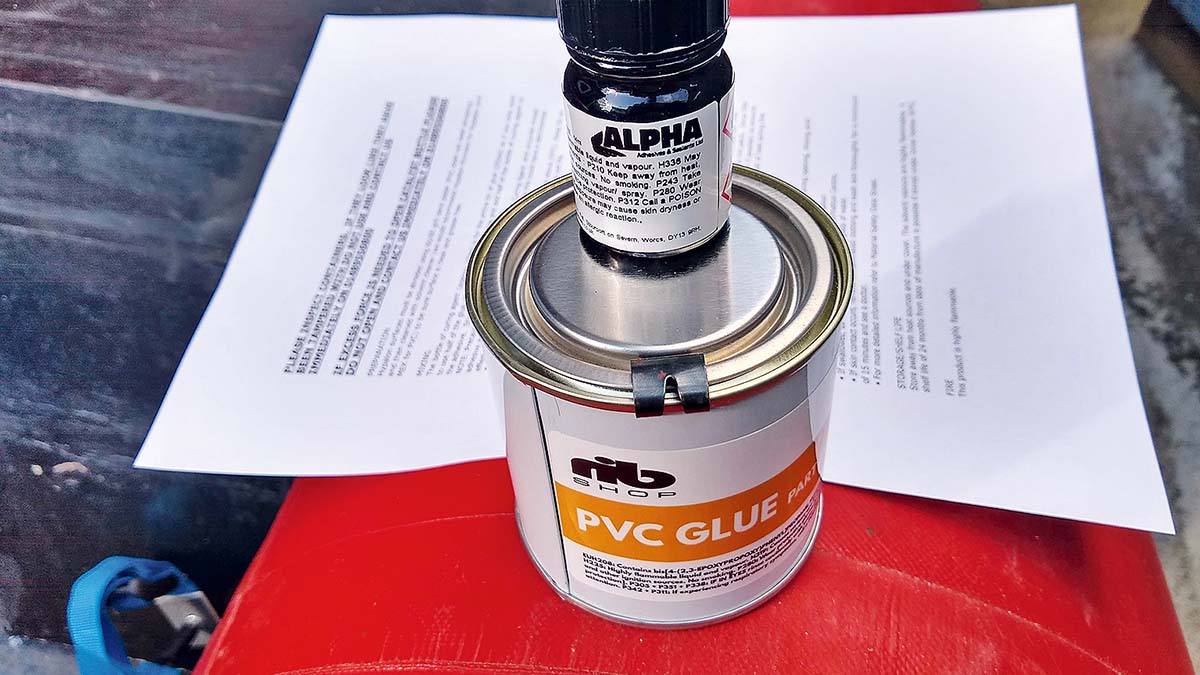
Using the correct adhesive is essential. I bought all consumables from RIBShop at Hamble Point
Glues and glues
The boat’s glued joints will have been constructed with a two-part industrial adhesive, specific to the fabric, and that’s what we’ll be repairing it with. The prospect of having a floor or transom come away completely in the water with the outboard running is not to be taken lightly, although fortunately they tend to zip off gradually giving the crew a wet bottom long before they go through the prop.
Single part repair glues are available, some branded for use in repairing such boats, and often your boat will have arrived new with a patch kit and a little tube of such glue. PVC SUPs, inflatable kayaks, paddling pools, lilos etc. come with the same stuff and it will hold a patch on a lilo for a while.
This glue is to be considered only for temporary patching. It’s handy as a ‘get me home’ if you get a small puncture in the collar or floor when on holiday, extended cruise etc, but it’s not the answer for permanent patching and even more definitely not for structural repairs like reattaching a floor or transom!
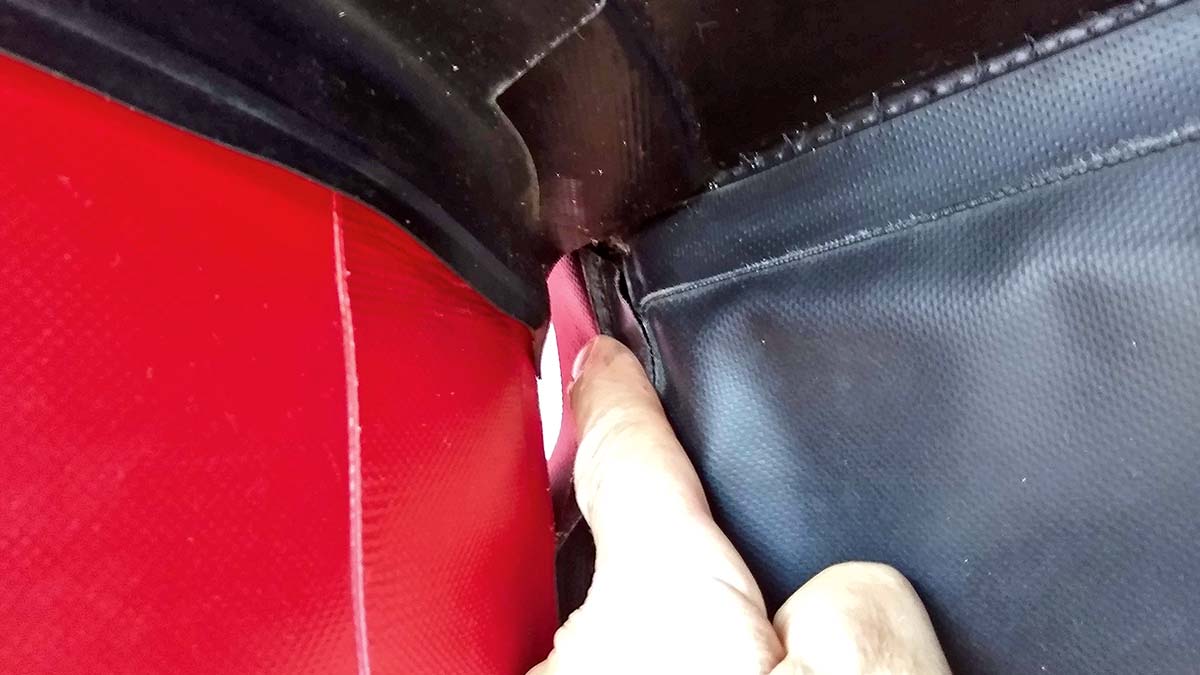
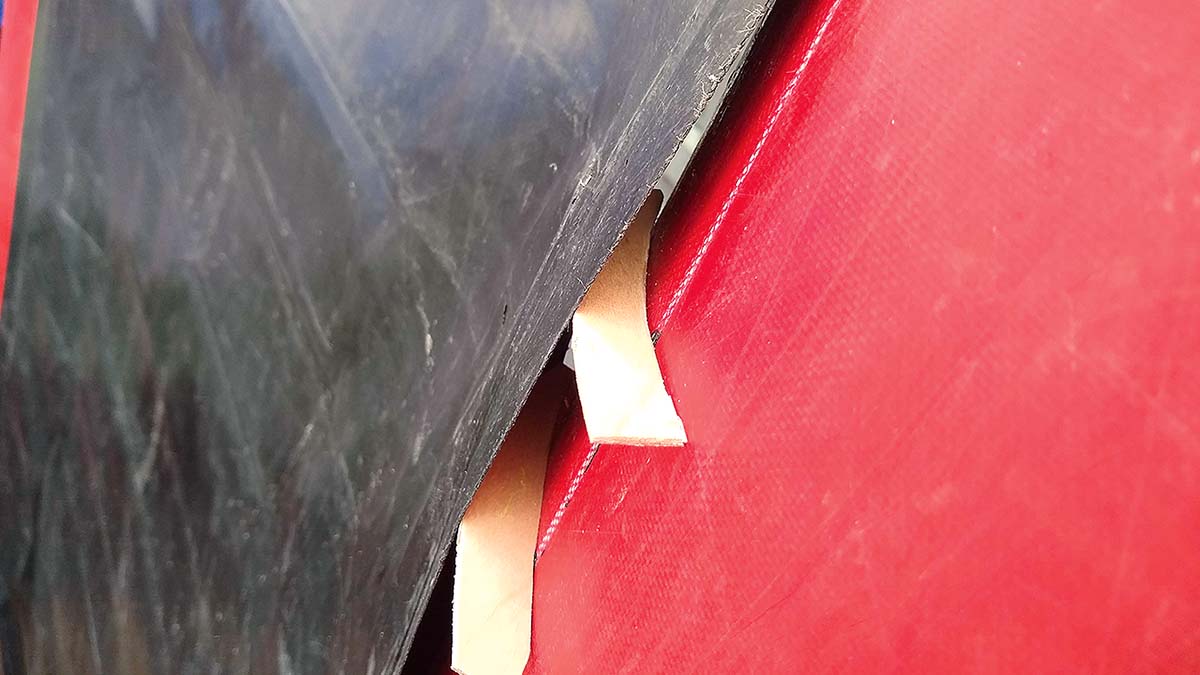
Seeing daylight between floor and tube is never a good sign
Inflatables of this type are largely made from one of two materials – Hypalon or PVC. The vast majority of smaller boats without solid GRP RIB hulls will be PVC boats. It’s cheaper, quicker for manufacturers to work with and produces a lighter weight boat than Hypalon.
Hypalon or PVC?
To ensure you’re using the correct two-part glue, you need to know what material your boat is made from. Hypalon is a more rubber-based material and like other rubbers, with age it dulls, even becoming chalky. Many early Avons were Hypalon, which is part of the reason a lot of them are still in use. It lasts much longer than PVC. If you scratch a
Hypalon boat with your thumbnail and give the scratched bit a hearty sniff it often even smells rubbery – like your dad’s old waders.
Hypalon is dull, matte and ‘rubbery’ in feel
PVC is the far more likely material for the smaller, more modern dinghies such as the two Zodiacs featured here. PVC retains a sheen to its surface even after many years, and its internal scrim fabric material can be seen printing through the top surface of the material much more than it can be observed with Hypalon, which is usually smooth and thicker.
With age and sun, PVC eventually goes hard and cracks, at which point repairing it is pointless. If in doubt as to what your boat is made of, ask the manufacturer or the repair specialist you are buying the glues from who should be able to make an educated guess based on the manufacturer, age and size of the boat.

PVC is more ‘plasticky’ – note how this 30-year-old, scratched-up PVC boat still appears shiny
It’s important because the two-part glues used for Hypalon and PVC are chemically different and the procedure also differs. As all my inflatable boat repairs have dealt with PVC and about 95% of boats of this size are PVC, I’ll assume PVC from now on.
The methods are similar, just follow the Hypalon glue timings and instructions for that material.
It’s a job that works best in clean, dry conditions, i.e. a clean workshop or similar. As with any adhesive process dirt, salt, moisture or foreign bodies in the repair will affect the result.
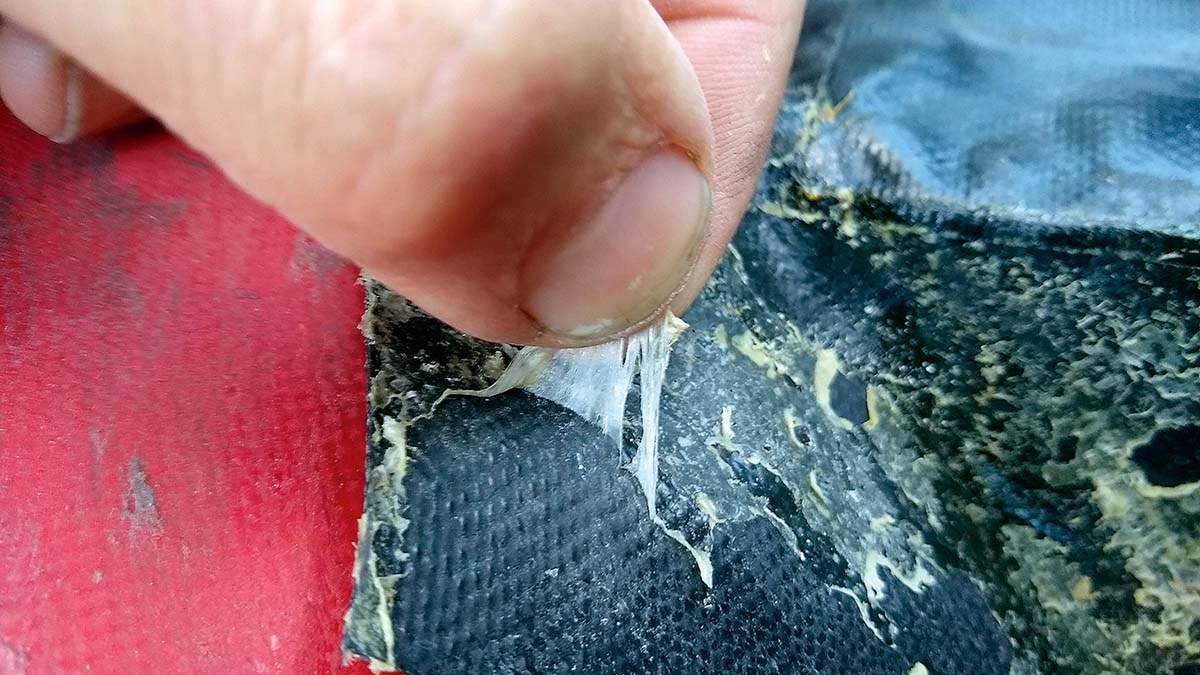
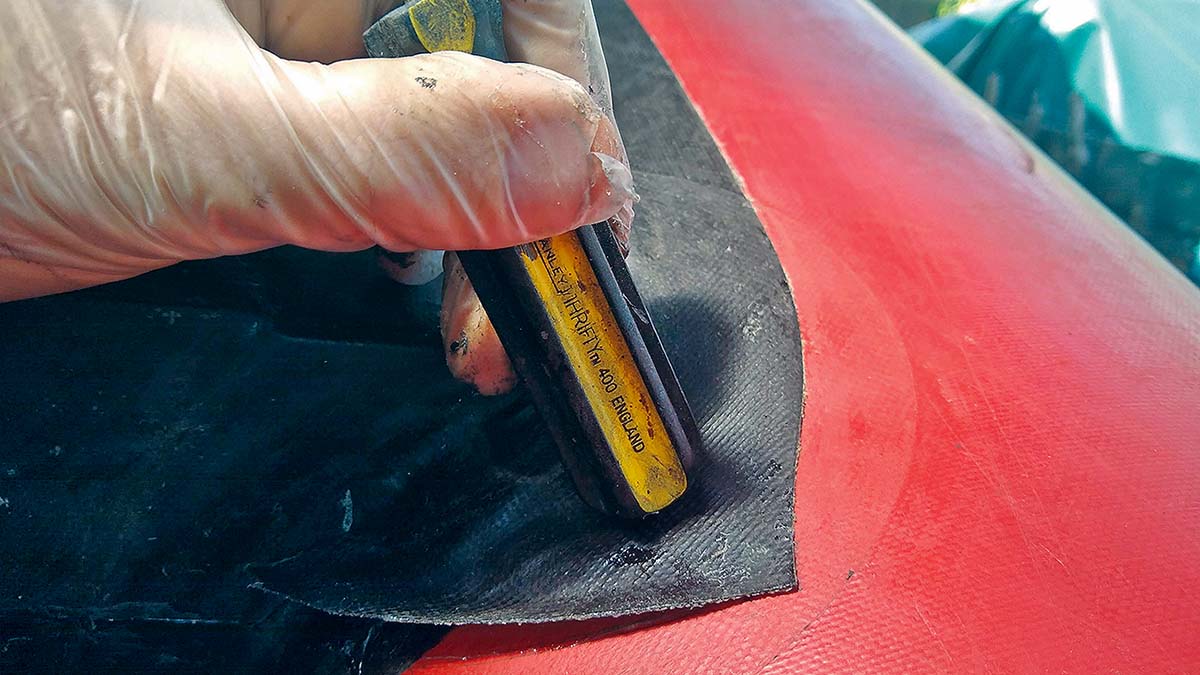
Whatever the fabric, preparation is key to success with the adhesive. Irritatingly, all remnants of old glue must be removed before re-gluing.
This is by far the hardest part of inflatable boat repair and can be helped by scrubbing with a stiff brush and a 50/50 acetone/MEK (methyl ethyl ketone) solvent mix.
Sanding is often the only way though, but note that the new glue does not adhere well to the mesh reinforcement encapsulated within the PVC fabric, so be careful not to sand back too far.
Once the old glue is gone, the bonding area is cleaned and prepared by rubbing with MEK. It’s worth marking the extent of your repair and new glue application area.
MEK is more controlled, harder to get and more expensive than many other solvents and well worth not breathing in, but allegedly only MEK fully prepares the surface, actually softening it and aiding the bonding.
It is worth masking off the repair, as any excess glue sets eventually into an unsightly yellow mess.
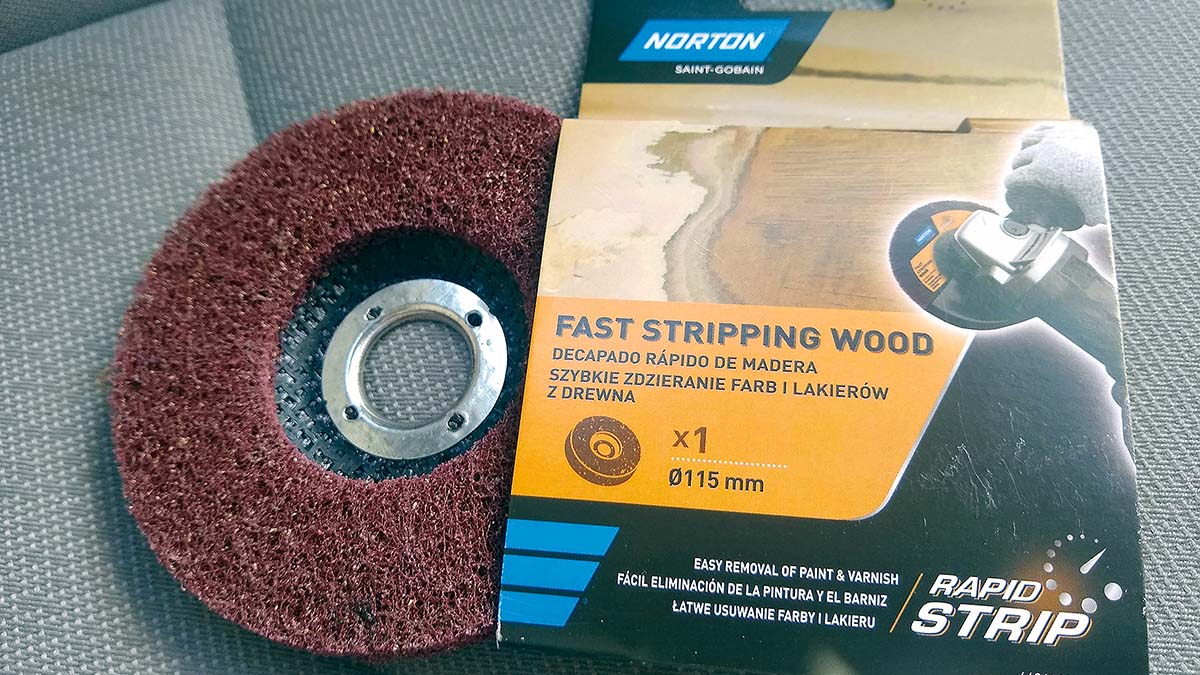
Some repairers swear by a paint removal disc in a grinder at slow speed to very rapidly sand off the old glue. Gulp! I bought it but didn’t dare use it
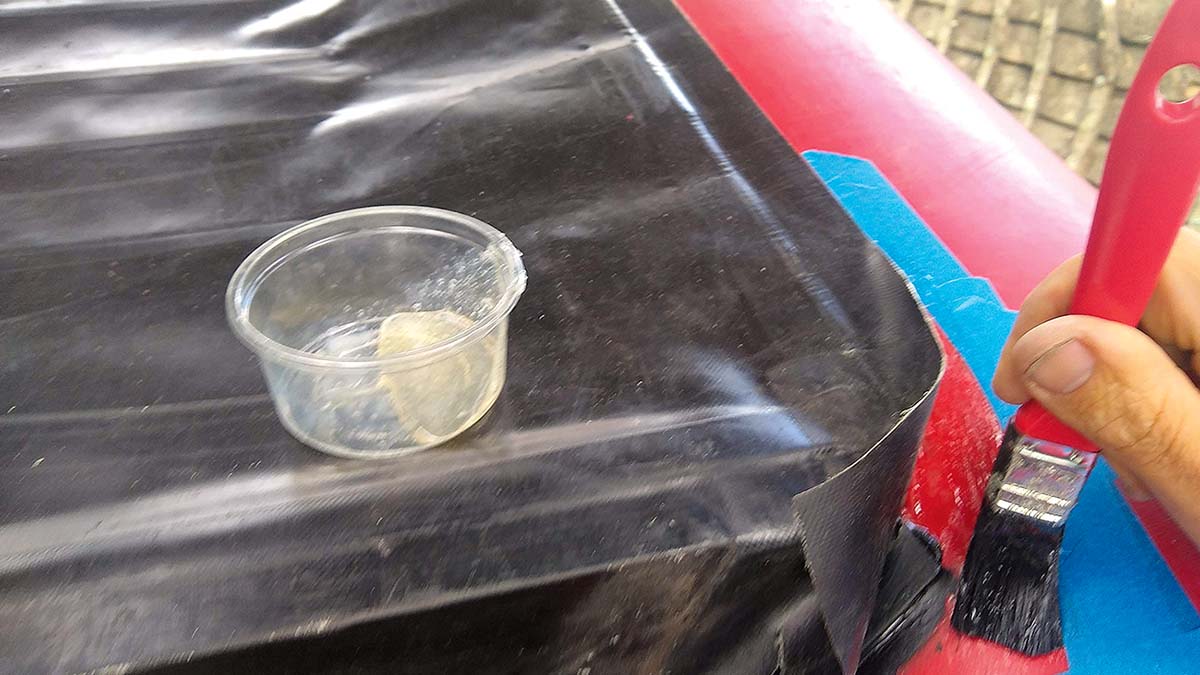
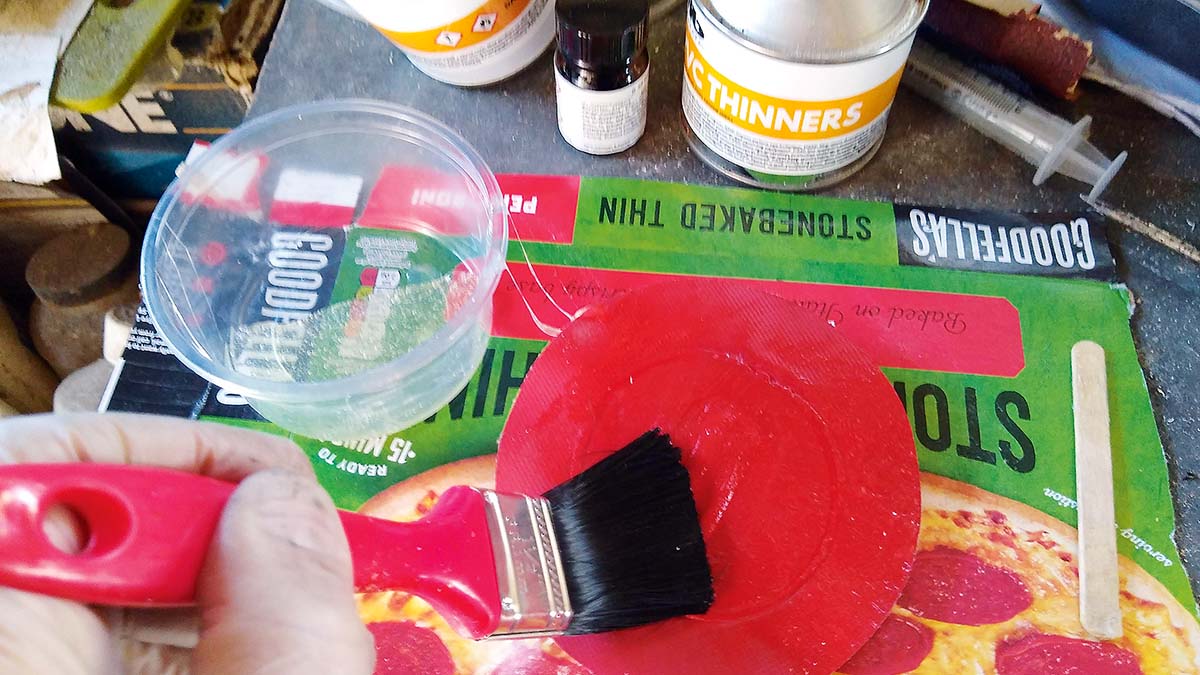
The glue application is a two-stage process. Following mixing up the two parts of the glue according to the instructions, the first coat is applied to both surfaces and left up to an hour. Less is more with this, and a flat palette knife or brush with bristles cut down helps limit the amount of glue going on.
As long as it’s a complete layer of glue without gaps in it, it’s enough. After an hour the glue is dry to the touch, at which point a second coat is applied, again thinly to both surfaces, and this activates the first coat. Just five minutes later the surfaces are finally pressed together for good.
Pressing the surfaces together is a one-hit process. This glue is NOT repositionable! With that in mind, mark all components beforehand during a dry run with no glue, and work out how the parts can be rolled together at the correct orientation without touching prematurely.
The glue joint is then rolled together with a small metal roller to squeeze out any air and force the joint together. I didn’t have a roller, but anything hard and rounded that can apply pressure will do – I used a screwdriver handle.
At this point new excess glue outside of the repair can usually be rolled off with thumb pressure within the first few hours following application.
Floorless performance
Because the glued surfaces need to be kept apart for up to an hour and be given a second activating coat, joint strength will be diminished significantly if this process is not conducted correctly – for example if the glued surfaces touch prematurely before the glue has been allowed to partly set or before it has had its second coat.
The problem in this case is that it will ‘sort of work’, but the repair will not last. This is why you have to really think about tearing off the floor completely at the start, or perform the more fiddly task of applying the glue mix to a partially attached floor. Bitter experience here tells me to be very rough with the floor at this point, and remember it was Old
Father Time who was the enemy of this adhesive joint and the glue in the boat is likely all the same age. If the floor, or any other glued-on fitting for that matter, can be completely torn off with your bare hands, you really need to do so.
I’ve never heard of glued components being removed, ripping or puncturing the tubes, by the way… unless of course you’re pulling off a repair patch.
Total floor removal means the preparation of surfaces is easier to do properly – you have complete access to all sides of all joints. If the boat has only certain areas where the floor is losing its attachment and a hefty tug to other areas doesn’t pull the floor off, you can get away with partially deflating the boat – just so it retains its shape – then carefully inserting little wooden props, wrapped in parcel tape so they’ll not stick – to keep the sides of the joint apart until they’re ready to be finally joined.
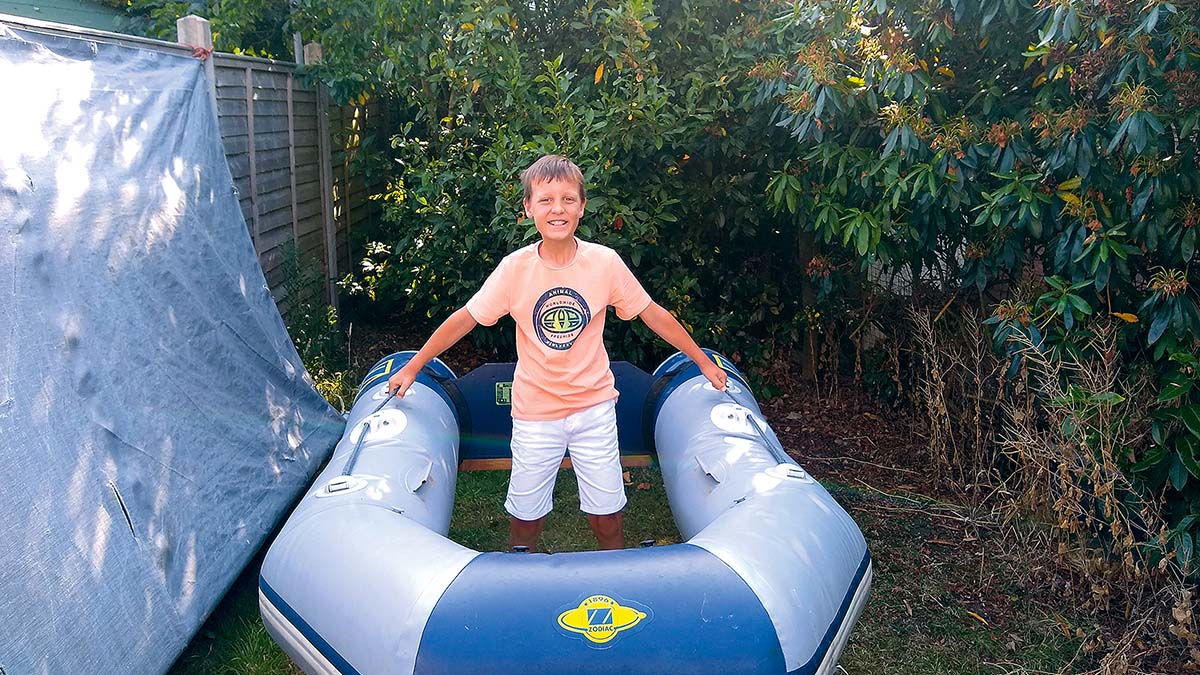
I performed this partial gluing trick on the red and black Zodiac here, but a sharp tug at the floor of the blue and grey one (above) pulled the whole thing off with one hand. Still, some tepid amusement partially compensated for this blow as my son and I got to run around the garden ‘driving’ the dinghy with our legs out of the bottom like The Flintstones.
… if the Flintstones had a boat!
If you have only partially reattached the floor and not removed the whole thing, it might be worth getting hold of some strips of repair material about 2in (50mm) wide and gluing them over the whole floor-to-tube joint on the outside.
If I have further problems I’ll probably go this way and sacrifice the PVC loops that hold the wooden floor slats to cut into patches, as they’re the right fabric, in the right colour and I usually leave the floor slats at home anyway as they are extra weight for little benefit.
Because you will have complete access to both sides of this reinforcement repair, you can better obey the rather detailed adhesive instructions and achieve a very strong and satisfactory outcome. Even if the whole original floor joint was eventually to let go, it would not matter if fully encapsulated by this additional patching.
While I always use and would always recommend the correct two part adhesive for joining PVC to PVC, I have had some success with flexible high modulus adhesive sealants such as Sikaflex 291i (or similar) or even stickier but more expensive Sikaflex 292i for joining the dissimilar materials such as the rubberised joining piece between plywood transom and PVC tubes.
Again, preparation is essential with a pre-application sanding off of all old glue residue and wiping down of all surfaces with MEK.
Note: We may earn a commission when you buy through links on our site, at no extra cost to you. This doesn’t affect our editorial independence.
Inflatable boat repair: A step-by-step guide to structural work
1. All old glue must be removed first. I was lucky as some of mine just picked off fairly easily.
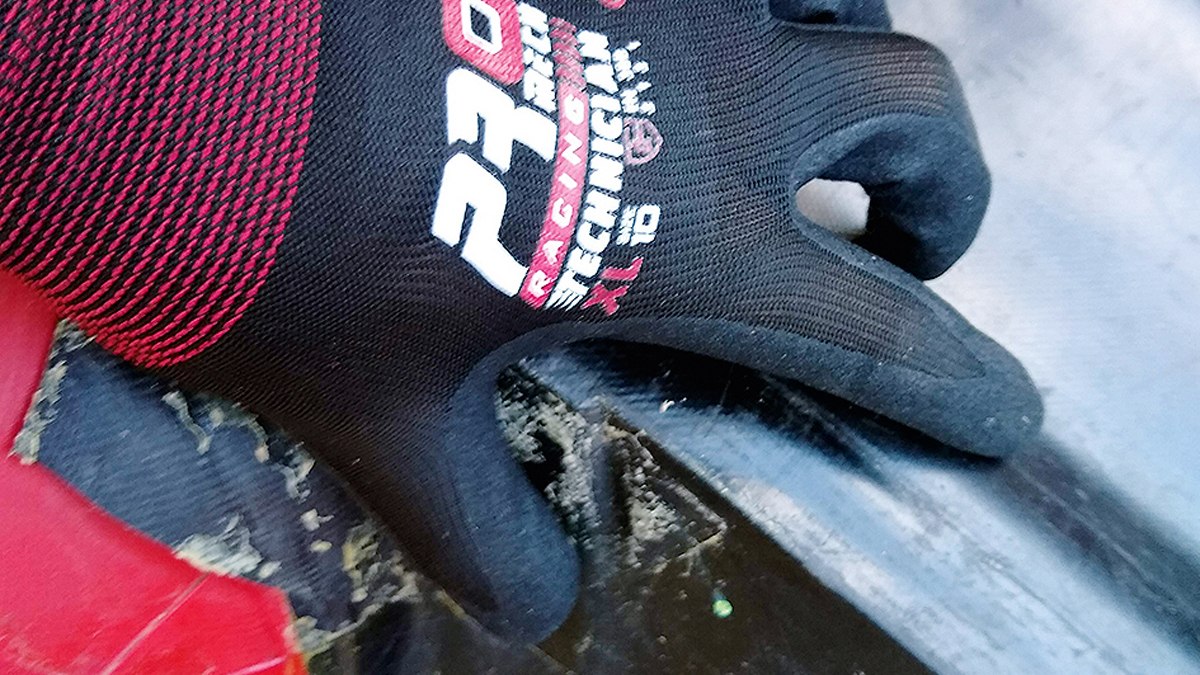
2. Some old glue was forcibly rolled off while wearing grippy rubber DIY gloves and with a ‘can do’ attitude.
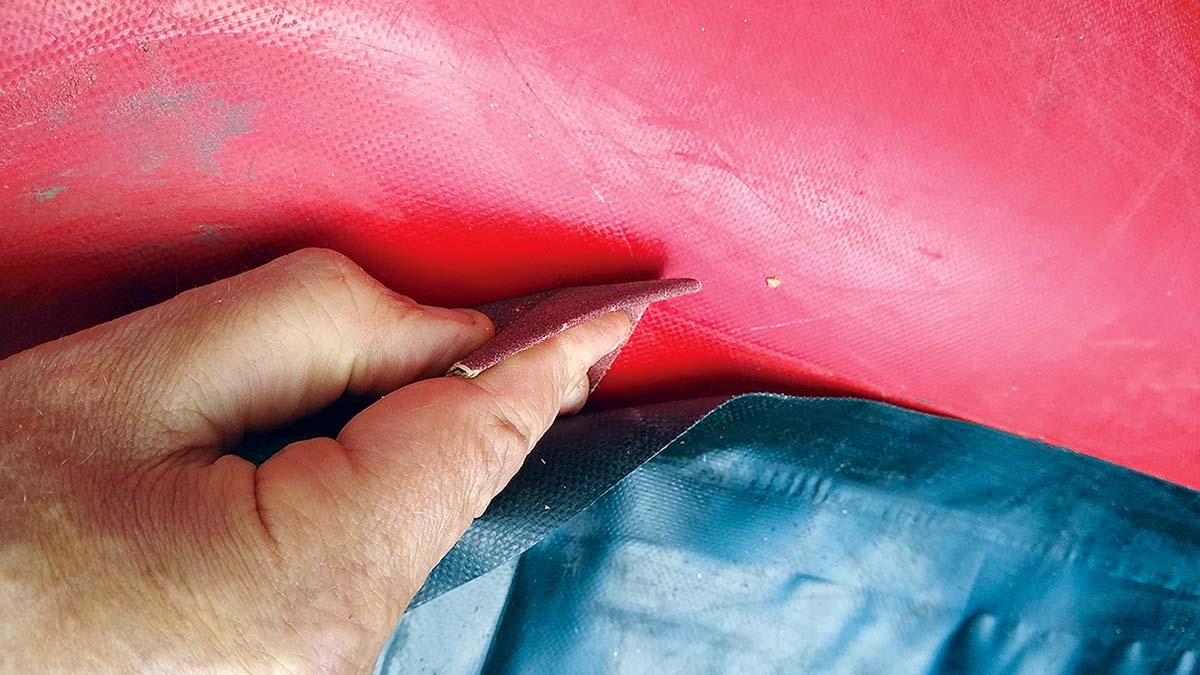
3. The rest was removed more laboriously by careful hand sanding with 60-grit sandpaper.
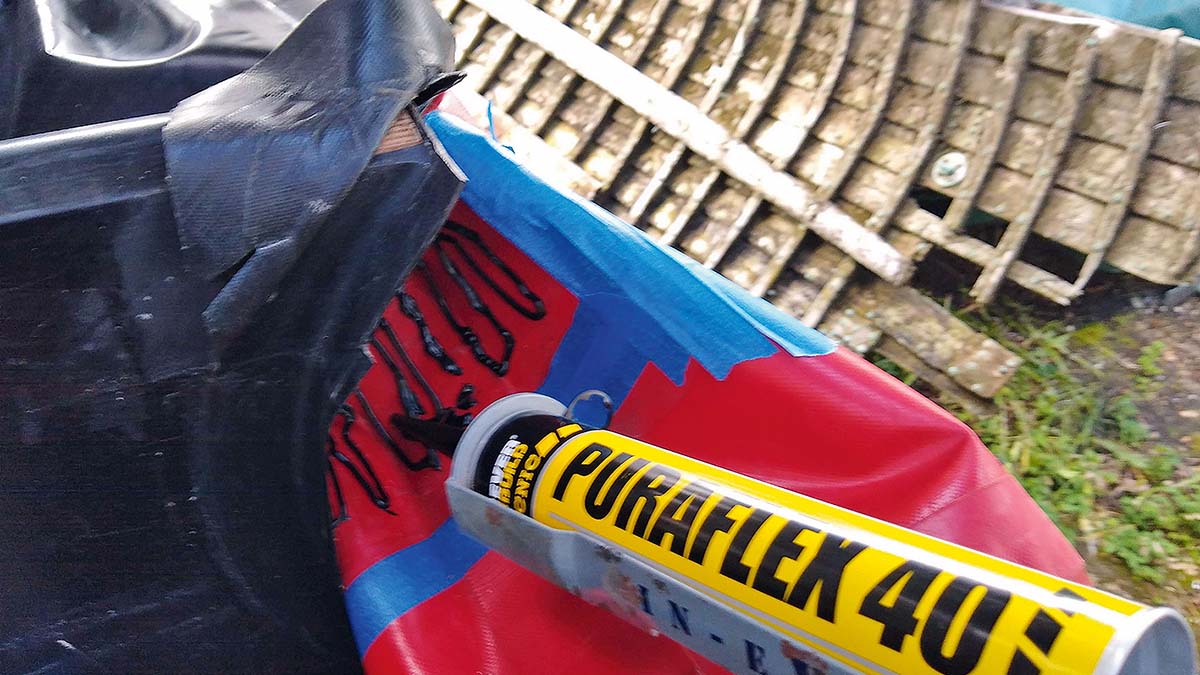
4. For structural jointing of dissimilar materials, such as the transom gasket, I used a high modulus PU adhesive sealant.
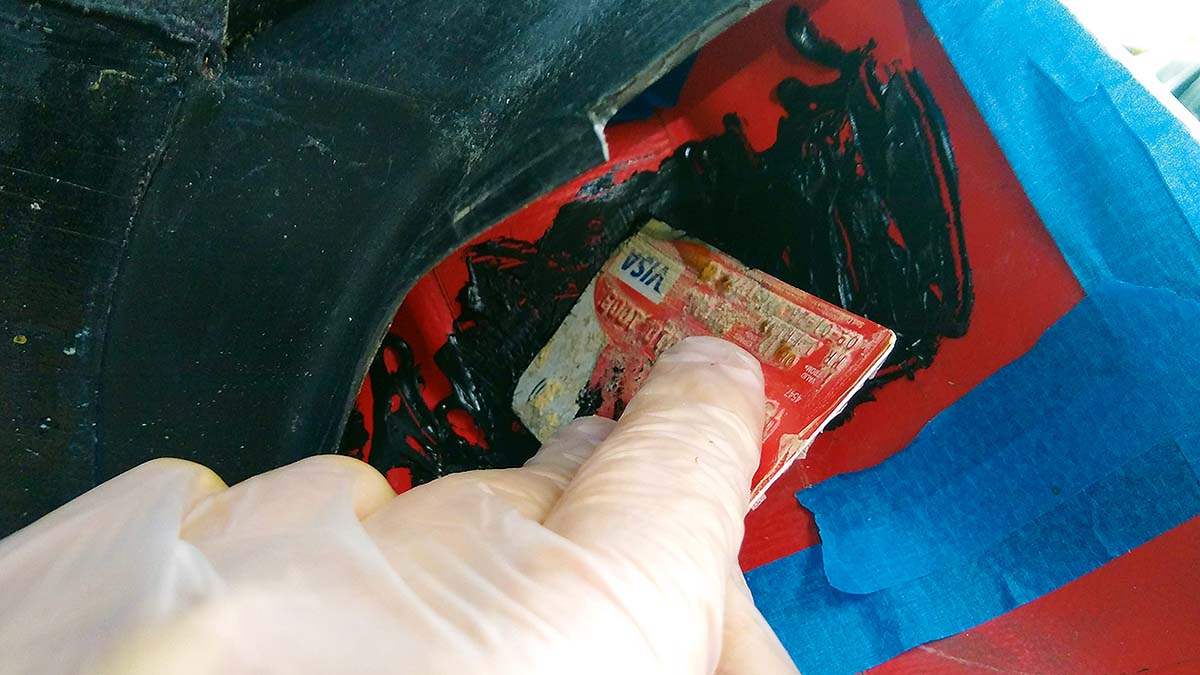
5. Once applied to the tube I spread the sealant evenly over the area using an old payment card.
6. Glue application – this was before I learned the trick of cutting down the brush bristles for more control.
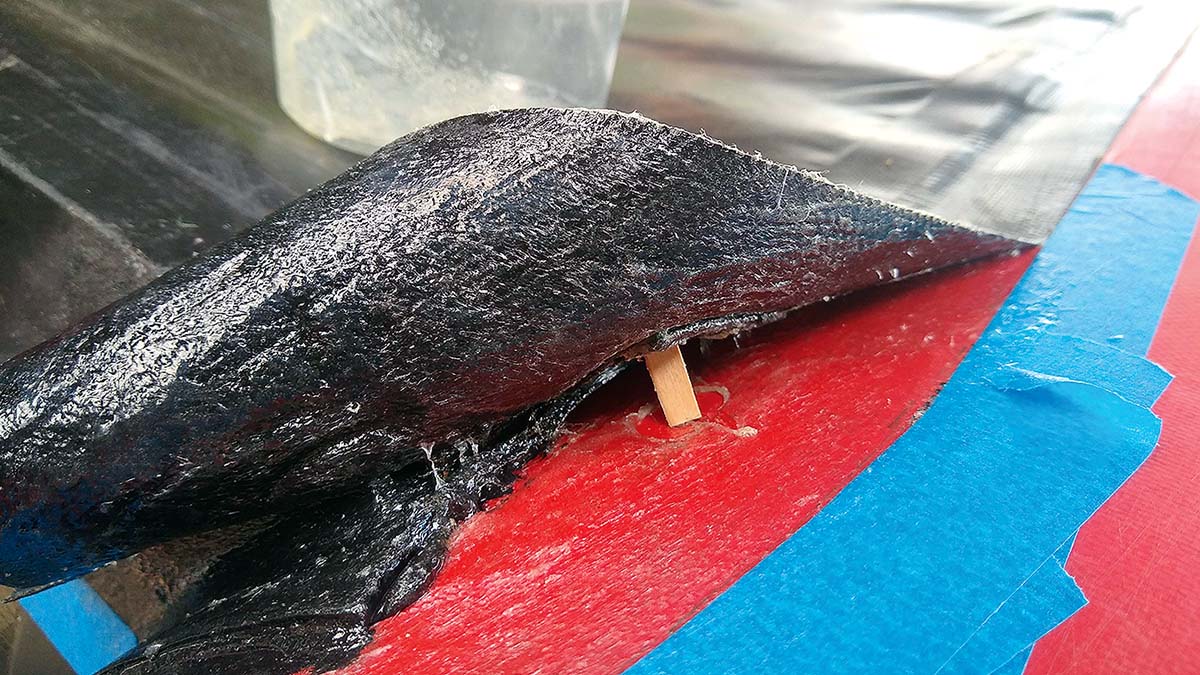
7. You might need spacers to keep the surfaces apart while pre-curing if you aren’t doing a full ‘floor off’ repair.
8. For the tighter gap between floor and tubes I cut these spacers out of 1.5mm ply to the exact radius of the tube.
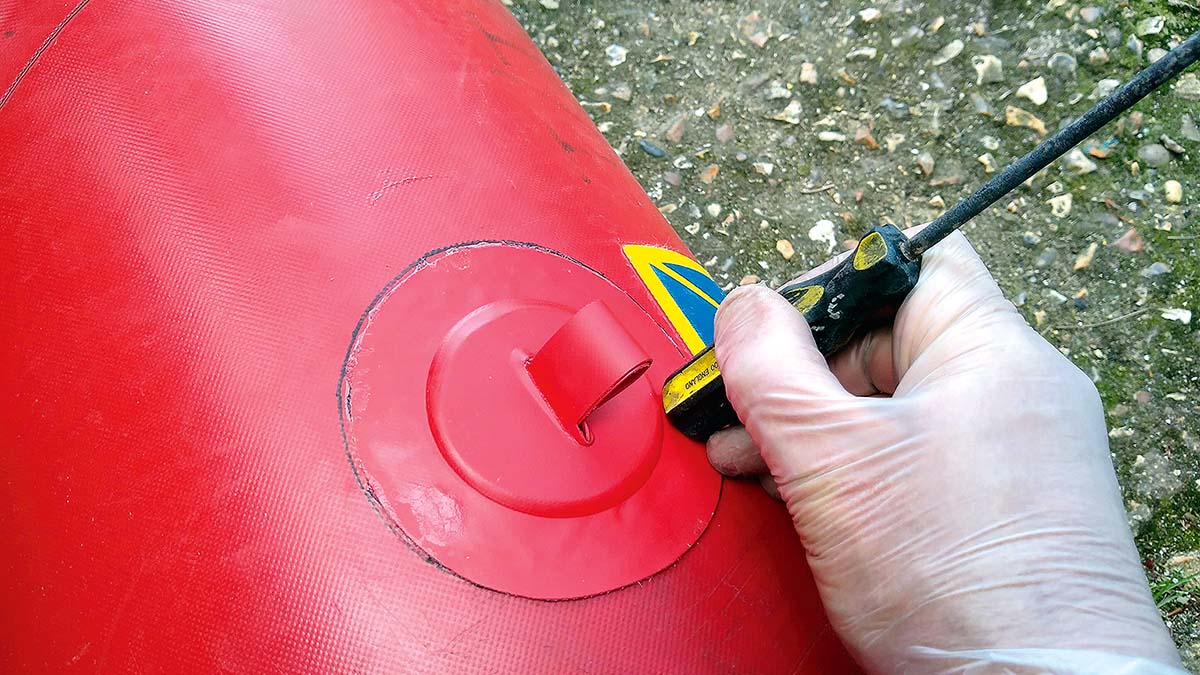
9. Once stuck down, the instructions call for a metal roller to roll out any air bubbles. A screwdriver handle worked fine for me.
Inflatable boat repair: Fitting a patch or accessory step-by-step
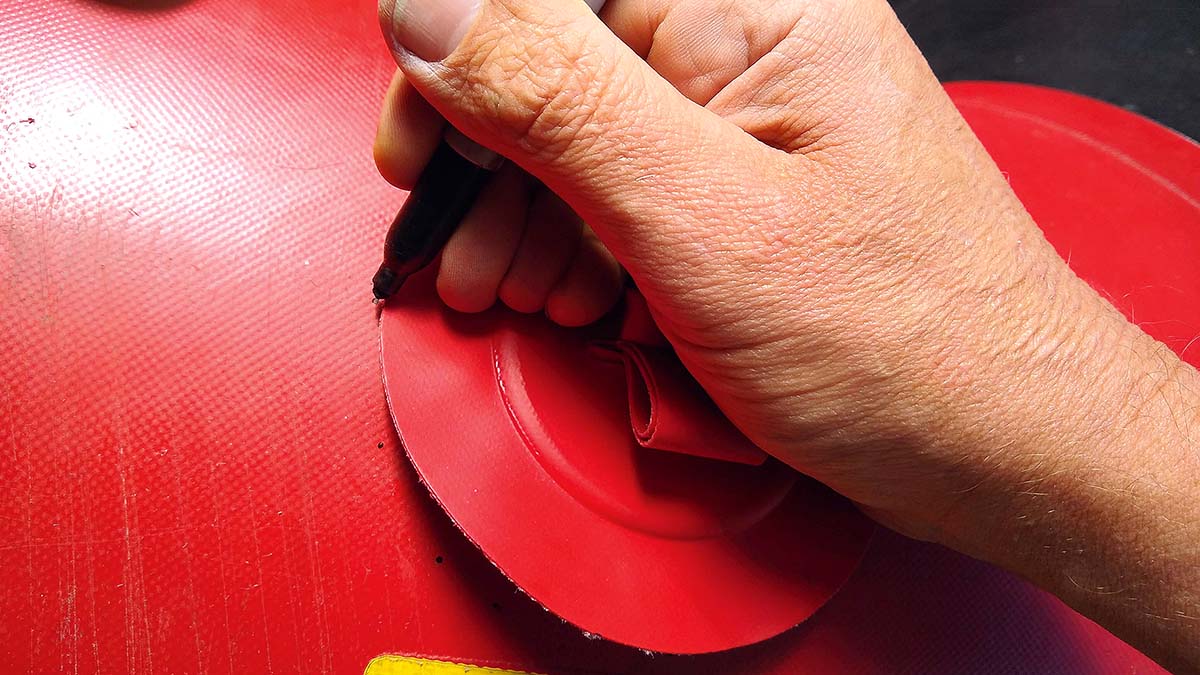
1. Drawing round the patch is the first thing to do before masking off the surrounding area.
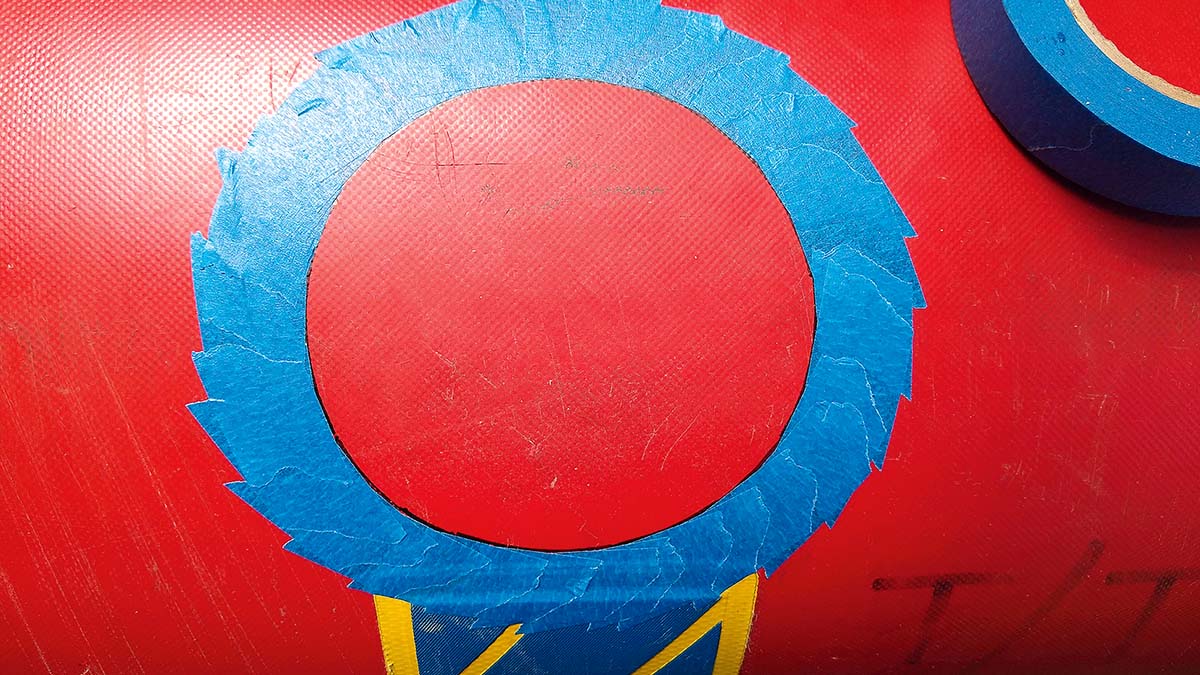
2. Fine line masking tape that does curves would have been quicker to apply than these 37 squares!
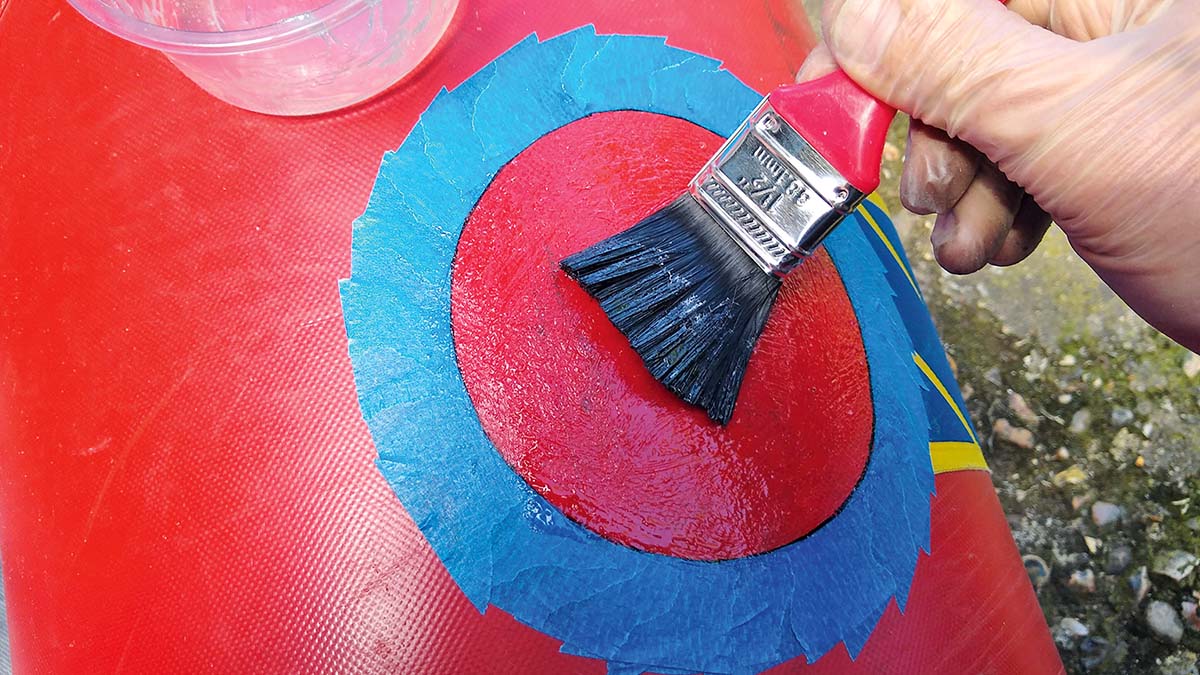
3. Next apply the first and second coats of adhesive, starting with the area on boat itself…
4. … and then the patch. I should have cut the brush bristles down – this coat is going on a bit thick.
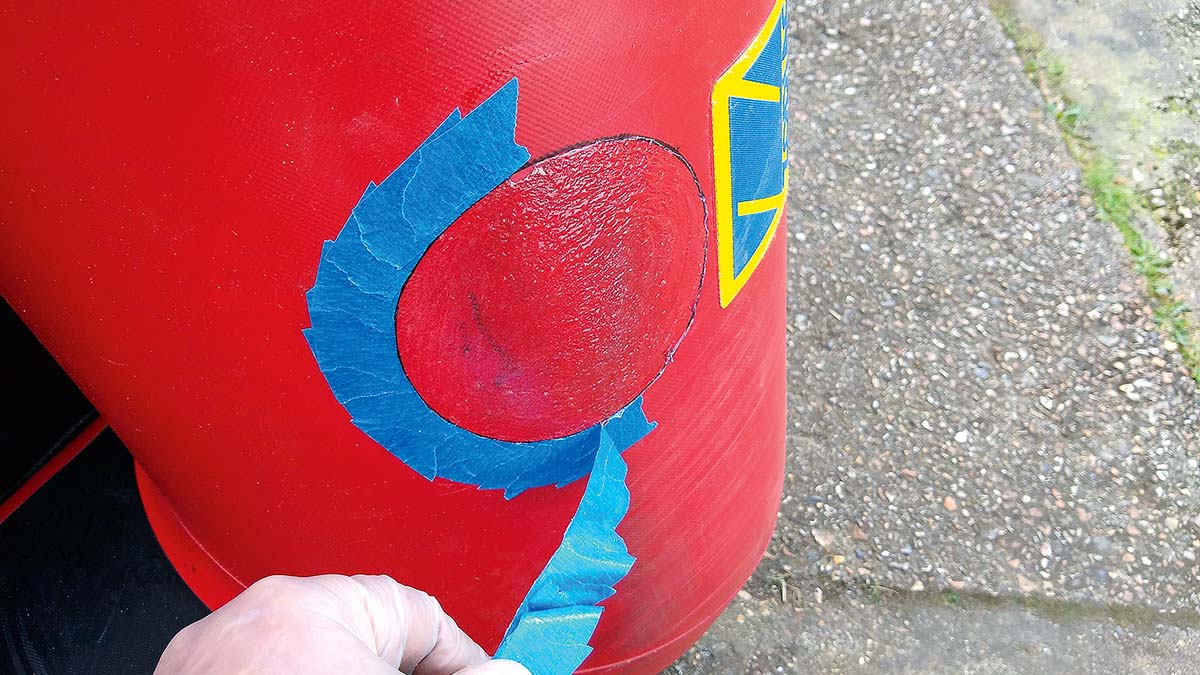
5. Pulling off the masking tape – an inward pull of the tape means any loose strings of glue fall inside the repair.
6. Having rolled the patch carefully into position I pressed it down hard, working outwards from the middle.
Why not subscribe today?
This feature appeared in the November 2022 edition of Practical Boat Owner. For more articles like this, including DIY, money-saving advice, great boat projects, expert tips and ways to improve your boat’s performance, take out a magazine subscription to Britain’s best-selling boating magazine.
Subscribe, or make a gift for someone else, and you’ll always save at least 30% compared to newsstand prices.
See the latest PBO subscription deals on magazinesdirect.com