
Sponsor Content created with International Yacht Paint
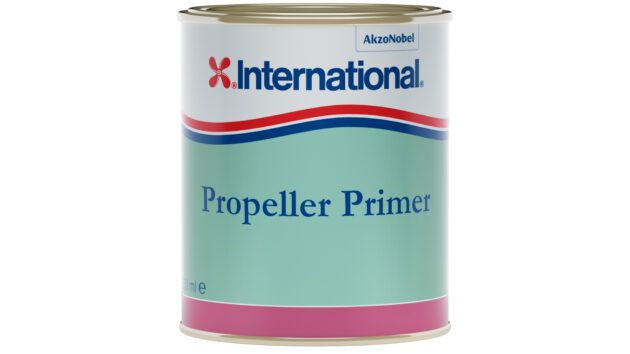
Practical boat owners who want to paint the propeller of their boat like a professional can do just that with an application of International Propeller Primer. Read on for simple and quick steps on how to get the job done.
Here we’ll go through the process that represents the best way to apply the Propeller Primer.
It almost goes without saying, but make sure you choose a good time to execute this task. It’s not just about whether it’s raining or not. Consider the temperature.
It should be a minimum of 10°C. That’s critical for how long the product will take to dry, in its various stages.
Also there’s humidity to think about. Selecting the appropriate time will make sure the work is of the highest quality.
And of course you also need to be well-prepared yourself in terms of suiting up in protective gear, acquiring proper gloves along with eye-goggles and a face mask.
Having made these preparations, it’s also best to make sure you then have enough time to allow for completion of the project itself. Protecting your propeller in the right way is not a job where you want to hurry.
Look over the propeller
Don’t skip an examination of the surfaces before you start. It’s much more difficult to repair or examine anything once the boat’s back in the water, so take the opportunity now for close observation and feel things over with your fingers if you can’t get a direct view of the propeller’s every paintable surface.
Clean down
Make sure to wash the area down thoroughly before sanding. You don’t want to be pushing contamination into the substrate with sandpaper.
Sand
For a full paint job, the surface must be prepared correctly. Refer to the Technical Data Sheet (TDS) to identify the appropriate sandpaper grade for your substrate.
Wash down
To have confidence in your final result, a cup of International Super Cleaner will remove grease and grime. It’s specially made for metal parts that go underwater. Start at the uppermost blades and work your cloth smoothly over the surfaces and into every corner and crevice, finishing at the bottom edges.
Mask up
Tape over anodes and rope cutters, also not forgetting the propeller shaft. This stage will ensure your paint is going on the right places and you’ll be quicker to finish up the job.
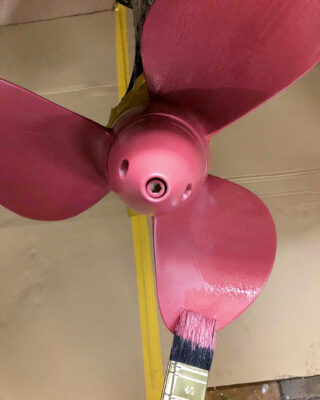
First coat
Shake the Propeller Primer thoroughly to ensure a homogeneous mixture. Legs, drives and gear will appreciate the unblemished coverage. With not too much on your brush, and bristles pointing upward to minimise drip down, start with the top blade edge and work down to tackle any runs. Apply finishing strokes smoothly with little pressure in one downward direction as you would with varnish.
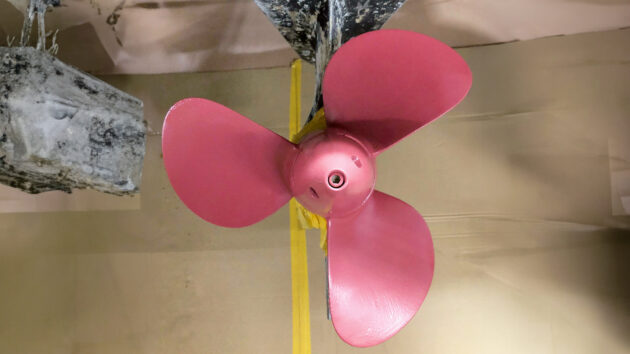
Second coat
The drying formulation means you will have to wait at least two hours before applying the second coat. As with step 6 apply evenly to ensure a smooth finish. Preparation is everything. The product’s Dual Activated Bonding Technology supplies that extra adhesion you need.
First coat fouling control
After the recommended curing time (this would be four hours at 10°C) apply your first coat of Trilux Prop-O-Drev.
Second and third coats of fouling control
The underwater environment is harsh, so it’s essential that the paint cures fully between coats and before immersion. Don’t be in too much of a hurry. Following up the aerosol application with short even strokes with a brush will finish your work. The paint has to provide protection in a harsh underwater environment. That’s even more the case when that water is turbulent and constantly churning around the propeller area.
Remove masking tape and grease propeller as required
Congratulations, your propeller is looking ready for action!