
James Brooking builds booster seats for his cockpit from inexpensive roof insulation foam encapsulated in GRP to raise his eyeline sitting at the helm and make sailing more comfortable
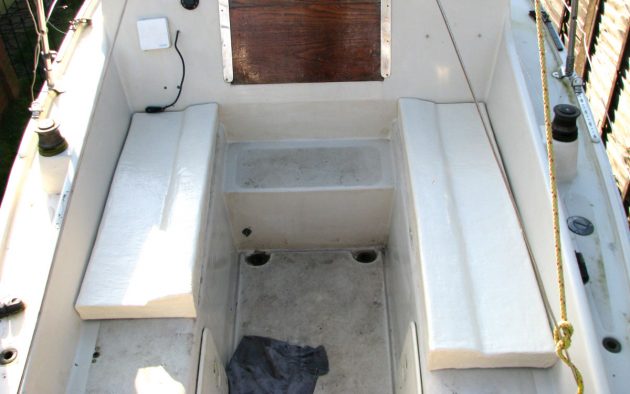
When checking out the boats at Southampton Boat Show – sitting in the cockpits and studying the interior layouts – I look for inspiration for improvements to my Four 21 yacht Opal Spray. On one yacht of a similar size I found a very attractive cockpit where the seating was angled so that when the boat was sailing and heeling, the seating position was nearly horizontal.
Opal Spray has flat seating that gets uncomfortable after long periods at the helm. To overcome this I’d made two 4in-thick foam cushions, but when sitting my view ahead was obscured for some distance by the cabin roof. This was not a problem out at sea, but made life tricky coming onto moorings.
During the winter lay-up I looked at ways of raising the seat and also changing its profile. After determining that an increase of 2-4in in height would be suitable, I made a rudimentary seat from wood offcuts to see if I was on the right track, and then bought a child booster cushion made of polystyrene. Having a bigger posterior than a child I reshaped it to something more comfortable, then had a profile I could replicate.
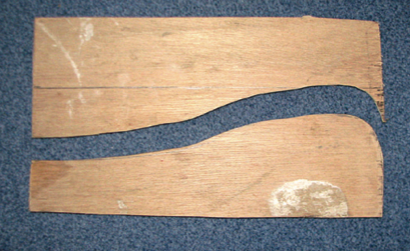
The plywood template for the cockpit ‘booster’ seat
Still looking for a suitable material from which to make the seats, I saw some 120 x 50 x 6cm blocks of roof insulation foam in a builders merchants. The foam is light but strong and does not give easily to finger pressure. I realised that if I made seats from this material they’d make good buoyancy aids in an emergency. I contemplated inserting grab handles but this would complicate things, so I decided that a strap could be fitted afterwards.

The sheet was cut to form a base and the offcut shaped to provide the contour I required. The foam is easy to cut with a sharp, thin-bladed knife and can be smoothed with a Surform plane or a sanding disc, but protection from the dust is needed. The foam is strong enough to sit on so tests can be carried out to see if the cut shape is comfortable.
For durability and appearance I wanted to encapsulate the foam in a GRP layup: I made a trial sample to ensure the foam would not be melted by the resin. The result was satisfactory: there was a little erosion, but not enough to distort the shape. I used a combined mat: a woven mat with chopped strand on one side. This would give enough strength and only need one layup.
Without using a mould I felt it would be hard to get a finish to match the cockpit colour, but a gelcoat flowcoat was the answer. I ordered it pre-coloured.
I laid up the top, front and back first, let it harden then turned the seat over and finished off the base and ends. When this was set the edges were smoothed and a strip of 50mm tape applied to seal the joints. The finish depends on careful sanding and removing all dust: tack-free wipes were used as a final wipe-over.
The topcoat can be applied like a thick paint: I applied it in stages so the seats didn’t have to be handled.
Some undulations could still be seen after the topcoat had set, so the surface was sanded to remove high spots before a second application of topcoat.
I spent around £120, but only used half the materials. The rest can be saved for another job.