
The propeller and shaft on Zoran Glozinic's motor cruiser had been seized up and calcified for over a decade. Here's how he built a DIY propeller puller to free them up.
Removing a propeller from your sail- or motorboat doesn’t always translate to smooth sailing, even on a well-maintained yacht.
Imagine doing it on an old wooden motor cruiser which was sitting neglected at her mooring for more than 10 years, and then on a hard for almost two years!
I acquired Marabou a few years ago – she’d not had any care or maintenance for more than 10 years and it is only due to the first class materials she was built from that she was still worth saving when I found her at the end of 2022.
In 2023 she was hauled out and I started to work on her. It is a slow-going process, particularly as she’s on an island about 400km from my farm.
The main goal of my last trip was to remove the propeller and main shaft so they could be inspected and either overhauled or replaced.
Shaft slot being cut in puller back plate. Photo: Zoran Glozinic.
Preparing to make a propeller puller
I had a fairly good idea what I needed to do, but wasn’t sure if everything would go as planned.
The propeller, shaft and the big nut holding the prop on the shaft were full of calcified marine growth.
On my previous trip, I had cleaned off as much of it as I could to find that the big nut on the propeller shaft had holes drilled through each of its six flat sides, and there was a solid 4mm (diameter) stainless steel pin driven through the prop shaft and the nut.
I knew from experience that when you ‘squeeze tight’ two parts made from stainless steel (the pin and the shaft), you will often end up with a joint that is impossible to take apart.
Keep that in sea water for 10 years, and then bake it in the sun for two more years… good luck with driving that pin out!
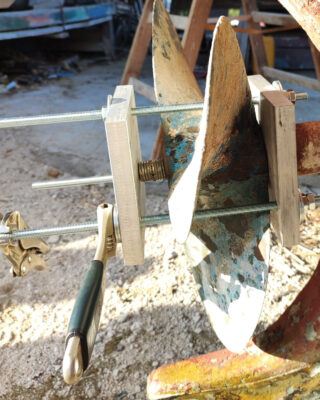
The puller mounted and tensioned on the prop. Photo: Zoran Glozinic.
So aside from buying a brand new set of pin punches to complement the collection already in my tool box, I also packed some additional tools for plan B.
I took good measurements of the propeller, the shaft diameter and the length of the exposed shaft between the propeller hub and the stern tube bearing.
My idea was to come up with a simple propeller puller design that I could make myself.
Not knowing when exactly I’d come to do the work and also not knowing if I’d be able to borrow it when needed, I discarded the idea of trying to borrow a propeller puller from someone on the island.
Making the propeller puller
At first I planned to make the propeller puller with three arms and a central screw used to pull the arms, but after browsing the internet I could see that there are some much simpler solutions. So this is not really my own design, just a variation on an existing theme.
In my junk pile of various metal parts, I located two thick aluminium plates and a length of 10mm threaded bar. Some nuts and big washers completed the necessary parts.
The plates were 2cm thick and measured 15×15 cm square. After verifying my drawings and measurements of Marabou’s propeller, I was happy to see they would be of sufficient size.
I marked and drilled three holes on the metal plates, located in a circle and 120° apart.
It was important that the three holes on one plate can ‘see’ their corresponding partners on the second plate when puller plates are in place – meaning that threaded rods can pass between propeller blades and be parallel to the prop shaft.
This is important in order to ensure a balanced pulling force along the propeller shaft direction.
It is equally important that threaded rods do not touch the propeller blades in the process.
On one plate, I marked and cut a slot so it can sit on the shaft next to the back of the propeller hub.
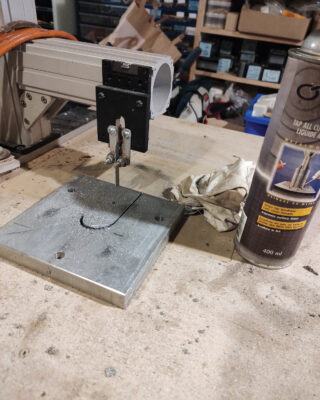
Photo: Zoran Glozinic.
The shaft diameter is 35mm, so I made the slot 36mm wide. The other plate was left with just the three holes drilled to pass the threaded rods through.
The threaded rod was cut into three pieces long enough so the plates can be mounted – one behind the propeller hub and another one in front, pushing against the shaft end.
Slowly tightening each of three threaded rods should result in the propeller sliding off the shaft… at least that’s the theory!
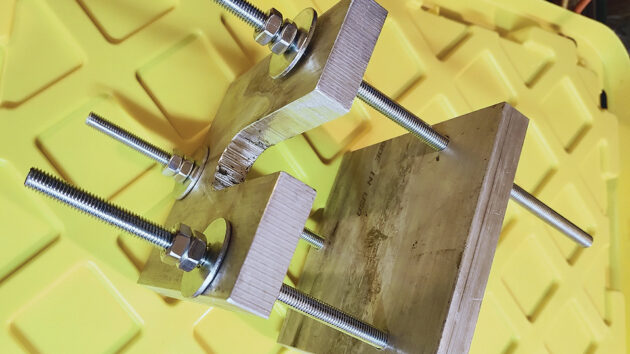
The assembled prop puller. Photo: Zoran Glozinic.
The moment of truth
With the propeller puller made and ready, I packed my tools and drove through the night so I could catch the first morning ferry to the island.
The next day, I attacked the big nut.

Testing the puller fit (prop nut not yet removed). Photo: Zoran Glozinic.
As expected, the pin did not move at all.
Various penetrating concoctions and/or heat did not make any difference.
So, I moved to Plan B… with an oscillating tool using bi-metal cutting blades, I made two deep cuts – one on each opposite side of the nut. Then, using chisels and a hammer, I managed to split the nut into two pieces.
As a result of this ‘barbaric’ approach, there was some damage visible to the shaft threads, but this will be easily fixed. At worst, I will have a smaller diameter thread cut on the shaft – and I will need a new nut to be made anyway.
With the nut out of the way, I was ready to mount my propeller puller and find out if it would work or not.
Before mounting the puller over the shaft and prop, I did my best to clean the surface of the visible shaft between the propeller and the stern tube.
I also cleaned the back side of the propeller hub. Using a very sharp O-ring puller pick hook, I scraped the joint between the shaft and prop hub, on the back side of the hub.
I wanted to heat the prop hub and the shaft to apply molten wax, which should then seep between the prop hub and the shaft via capillary action – helped by the downward angle of the shaft.
I spent a better part of one hour heating the hub and the shaft, then pushing the white candle around the shaft next to the joint with the prop hub.
The candle was slowly melting, but I had no idea or any indication how much of the molten wax – if any – crept inside the hub/shaft joint.
When there was almost nothing left of the candle, I stopped and then mounted the puller over the shaft.
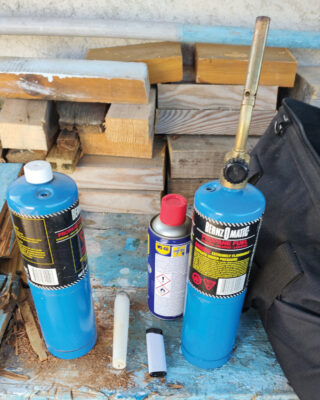
Gas for heating the shaft and prop, and a candle for applying molten wax. Photo: Zoran Glozinic.
If memory serves me right, it took three rounds of tightening the nuts on the puller and then hitting the front puller plate right to the centre with a hammer (after each round of tightening), where it was located over the shaft end.
On the third round, the prop pinged loose. Now I was able to see that my hot candle wax treatment actually did work.
Small ‘rivers’ of molten wax could be clearly seen on the shaft and inside surface of the hub.
The next job was to clean the shaft, remove the shaft/prop key and polish the visible part of the shaft.
This way, I was sure there’d be no damage to the stern bearing surface when pulling the shaft out.
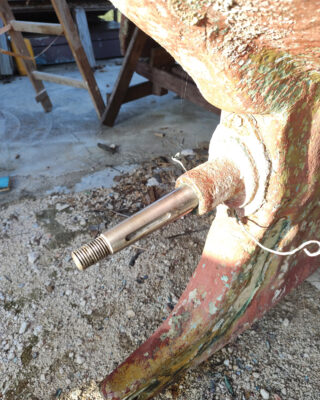
Shaft key removed and shaft cleaned ready for removal. Photo: Zoran Glozinic.
I’m not sure yet if the stern bearing will need to be replaced or not, but I certainly did not want to risk damaging a potentially good bearing by forcing the overgrown/calcified shaft through it.
I hope some of this article will help others when they decide to take their propeller out, whatever the reason for it!
Email your projects and tips to pbo@futurenet.com, including high-resolution photos where possible. We pay at least £30 for each one published.
Zoran Glozinic is a retired business professional who has been messing around in boats all his life. He divides his time between Canada and Europe. If not sailing, he can most likely be found on his farm in Croatia, tinkering with one of his old cars.
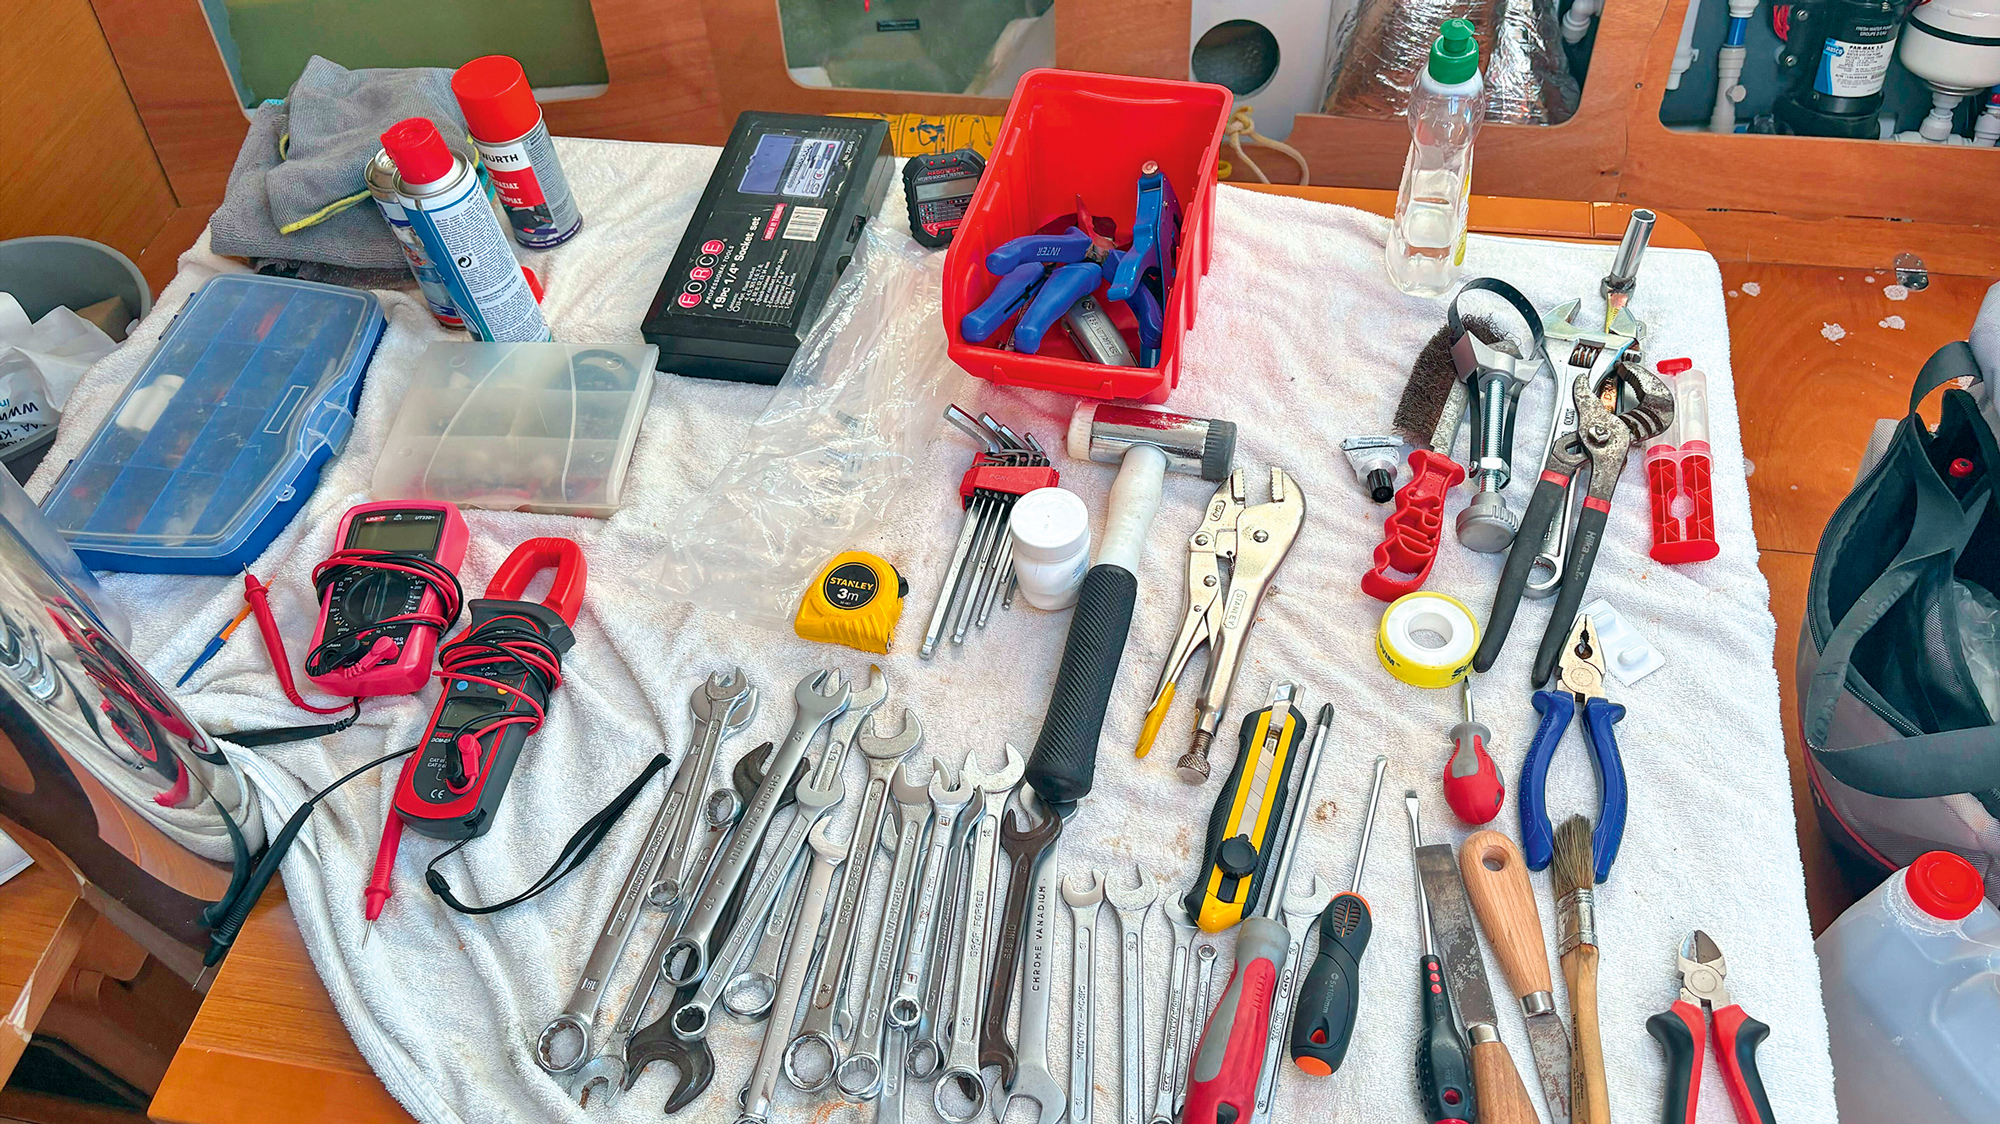
The essential tools to keep on your boat
What tools do you really need for a boat? Say you now own a new or new-to-you boat, and you’re…

Propeller care: everything you need to know
Stu Davies has valuable tips on how to maintain your prop – and explains how this vital bit of kit…
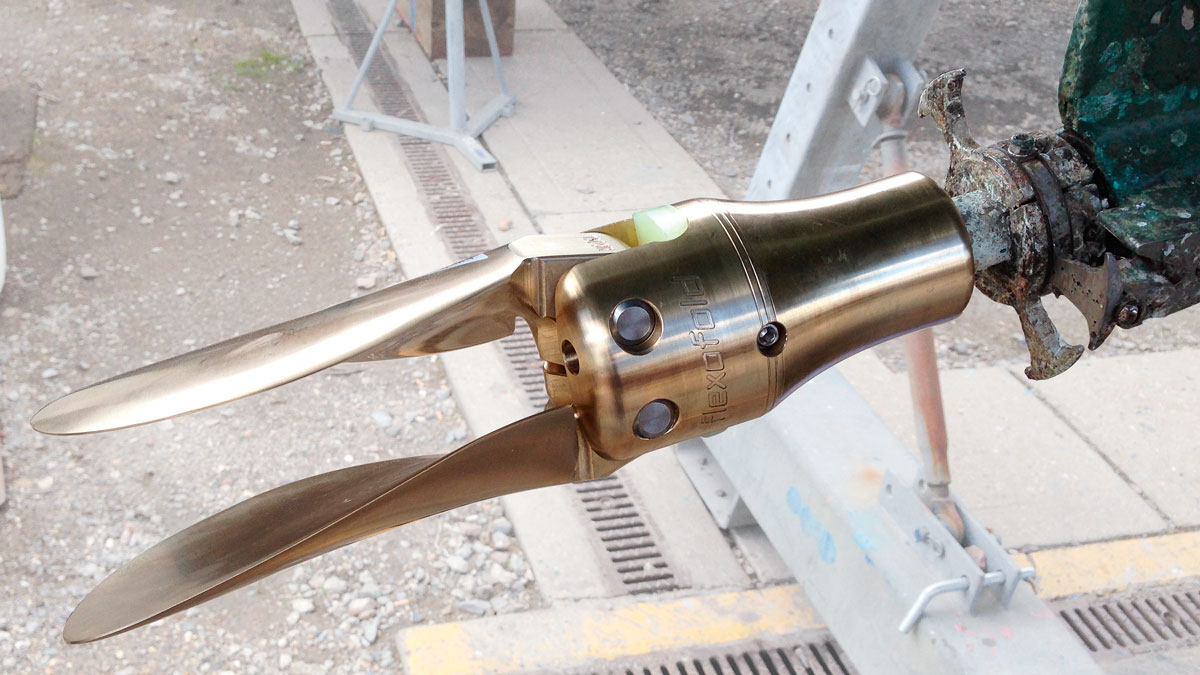
How to fit a folding propeller
Mark Ryan shares how he removed the old propeller on his Albin Ballad and replaced it with a two-bladed Flexofold…

Prop walk: how to use it to your best advantage
Daria and Alex Blackwell share the close-quarters manoeuvring techniques they’ve picked up at the helm of a 57ft, heavy-displacement classic…
Want to read more articles on building propeller pullers?
A subscription to Practical Boat Owner magazine costs around 40% less than the cover price.
Print and digital editions are available through Magazines Direct – where you can also find the latest deals.
PBO is packed with information to help you get the most from boat ownership – whether sail or power.
-
-
-
- Take your DIY skills to the next level with trusted advice on boat maintenance and repairs
- Impartial, in-depth gear reviews
- Practical cruising tips for making the most of your time afloat
-
-
Follow us on Facebook, Instagram, TikTok and Twitter