
After a few knocks a yacht’s keelbolts can work a little loose – but that might be just the beginning, as the owners of Quartet discovered. If they want to race her again, a serious operation is in order

Losing the keel is every boatowner’s nightmare. One minute you’re a yacht, the next you’re a dinghy, and if you haven’t got the weight on the rail you’re going to capsize. It’s true that losing a keel is very rare (though highly publicised as in the case of the Vendée Globe or the recent death of a charter yachtsman) but for the sake of the hour it takes to check your keelbolts, is it really a gamble that’s worth taking?
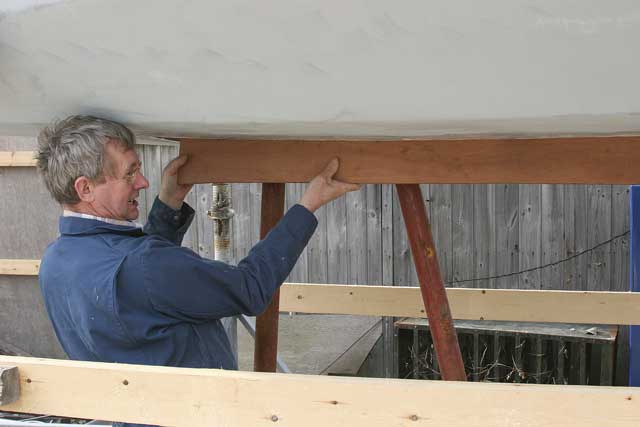
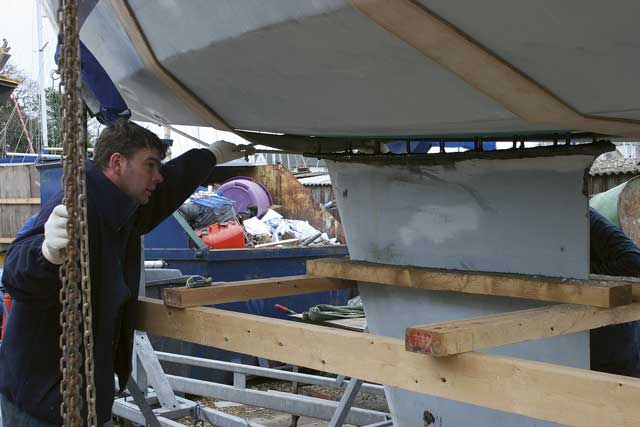
One winter afternoon James and Heather Blackburn decided to inspect the keelbolts of their Quarter-tonner Quartet. She’d had the usual regatta run-ins with sandbanks and buoys so they wanted to check there was no long-term damage.
When James went to tighten the bolts he found some spun on the thread, and there were also a few cracks along the underside of the hull. Alarm bells ringing, he asked Latham’s boatyard in Poole to take a look.
Barry Southam and Andy Welch were assigned the task of fixing Quartet. They examined the hull cracks but, as with any casualty, they could only speculate on the ailment from the symptoms. There was only one thing for it – the keel had to come off. As Andy and Barry prepared for the surgery, James and Heather stood by with bated breath, awaiting the diagnosis.
THE SYMPTOMS
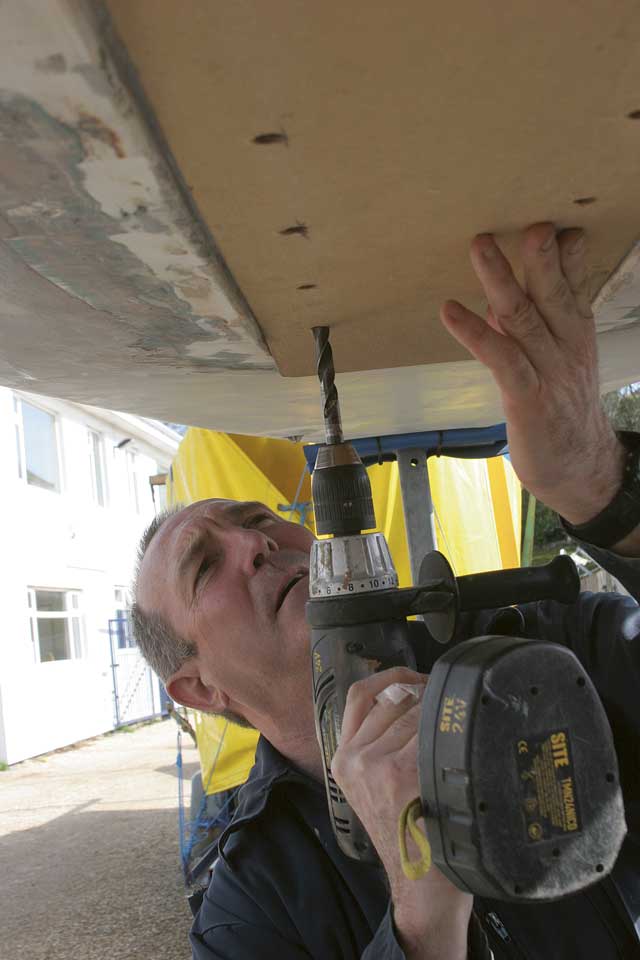
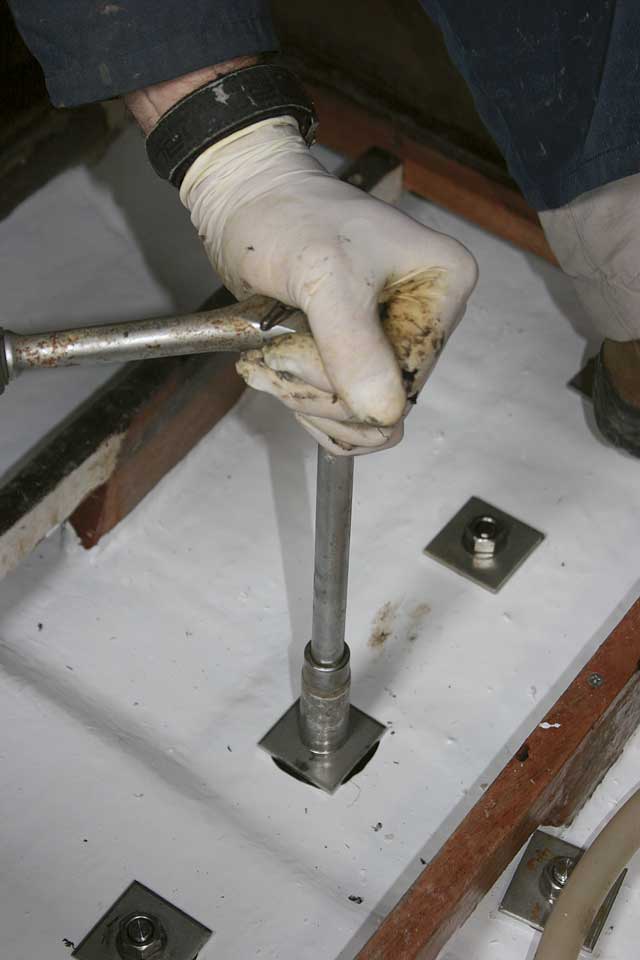
Quartet has a GRP hull with a cast iron fin keel which is attached to the hull by bolts fitted through a flange. The first step was to remove the keelbolts.
1. Keelbolts
Barry found the bolts far too easy to remove. ‘They’re far too short,’ he said. ‘It’s likely that someone replaced them in the past and only screwed them down to the old Sikaflex before grinding them off.’ The bolt holes through the hull were also far too big. They’d been stuffed with packing cotton, which was too thin, wet and rotten, and the washer had been dragged down into the hole and distorted.
2. Cabin sole
Inside the boat, Barry was concerned by the delamination and bumps on the hull near the forward and aft end of the keel flange and the rust streaks around the bolt holes. The rust indicated water ingress and the delamination suggested the keel had taken a knock, with the forward end being pulled down and the aft end being pushed up into the hull.
3. Keel
Having removed the Sikaflex sealant with a rake, Andy could inspect the join of the flange to the hull. As he expected, the forward end of the flange had dropped away from the hull, suggesting that the keel had hit an underwater obstacle, or even that it never fitted propely in the first place. According to Barry, who used to work on Quarter-tonners in the late 1970s and 1980s, ill-fitting keels were common. Sometimes the hull design had changed slightly but the keels were still made to the prototype.
‘Boatbuilding was at its peak; they had so many orders we just had to push them through,’ he said. ‘If the keel didn’t fit and the pressure was on, they’d just say “well make it fit” and you’d get through a lot of filler! Quarter-tonners were built for racing (so the bulk of the investment was in the rig and hull shape). No one anticipated they’d still be racing more than 25 years later.’
A corner of the keel flange was missing, along with half a bolt hole, meaning there were only 15 of the 16 bolts in place.
4. Hull
When racing James had never managed to achieve a tight forestay no matter how much backstay he put on and had wondered if the hull was flexing.
By pushing the underside of the hull Barry confirmed this, and judged from the length of the keelbolts that the hull thickness was only about 7mm – ideally it should be at least twice that. He suggested stiffening the hull with extra layers of glassfibre as the area where it meets the keel needs to be very strong.
EXPLORATORY SURGERY
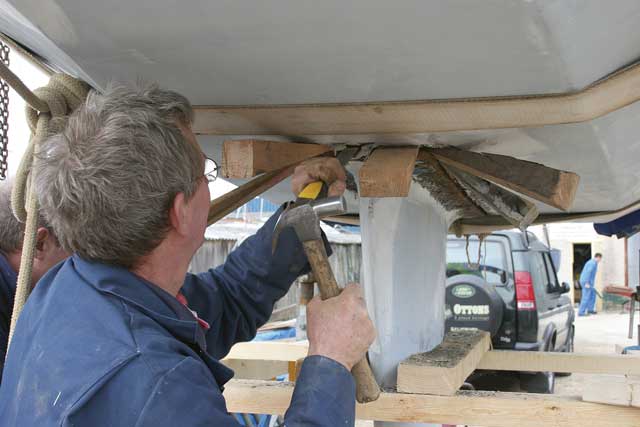
It took 20 minutes to prise the keel off
Barry suspects there is water ingress through the bolt holes. To confirm this he needs to remove the keel.
Keel bolts removed, Quartet is hoisted slightly so the keel is hanging from the hull by the Sikaflex. Barry and Andy attack this with a hacksaw and chisel, driving wedges in between the keel and hull. Sikaflex is very tough and it’s a 20-minute slog to finally detach the keel.
The hull is hoisted and the keel left on the trailer. Interestingly, the boat tips backwards showing where the weight of the unballasted hull is distributed.
DIAGNOSIS
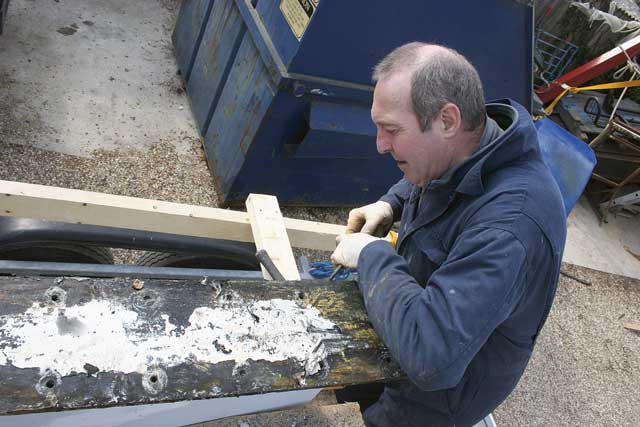
1: Andy removes the Sikaflex from the top of the keel. The white Sikaflex should be all over the flange and not just in the middle. It’s rotted away from the edges due to water ingress. The flange has been rusting for some time. The front six bolt holes are full of water
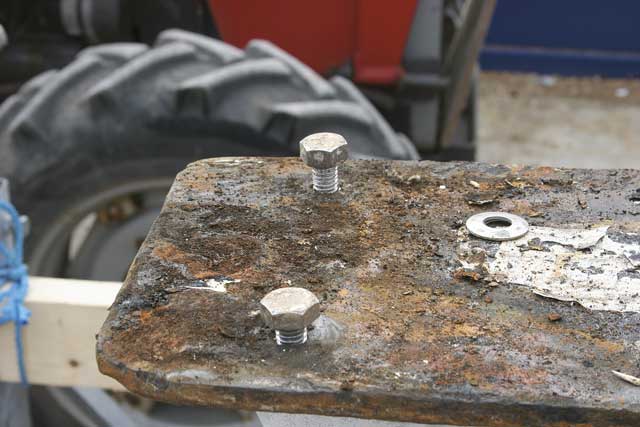
2: See the difference in the thickness of the hull from the two bolts (both flush with the bottom of the flange). The hull will certainly need thickening

3: The real damage can be seen in the underside of the hull where cracks are obvious around the bolt holes. Rust is again caused by water ingress
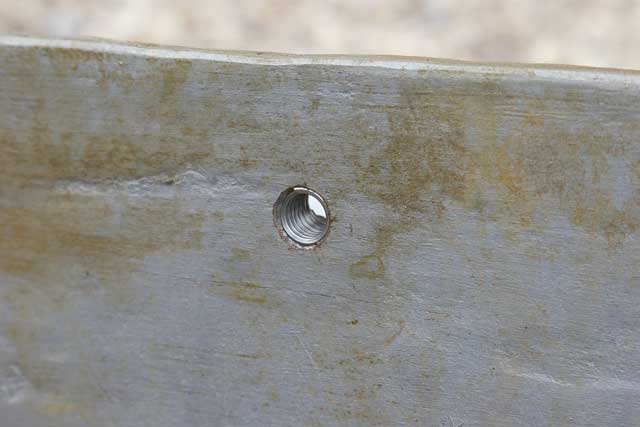
4: It’s not all bad news! All the bolt-hole threads are intact except for one. The keel is sent to a specialist for the thread to be replaced (helicoiled) and for a new hole to be drilled close to the broken corner
The repair: Step 1
Preparing the hull and keel
The hull is propped on posts to return it to the correct shape. It had sagged under the keel as the bilge area wasn’t stiff enough.
1: Barry makes a wooden template of the curve of the keel so he knows the hull is the correct shape to receive the keel
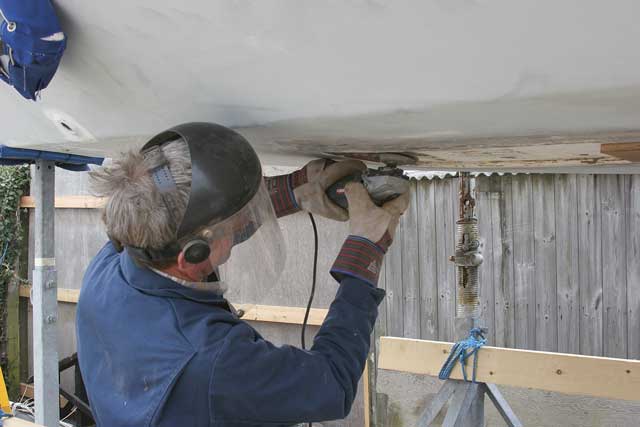
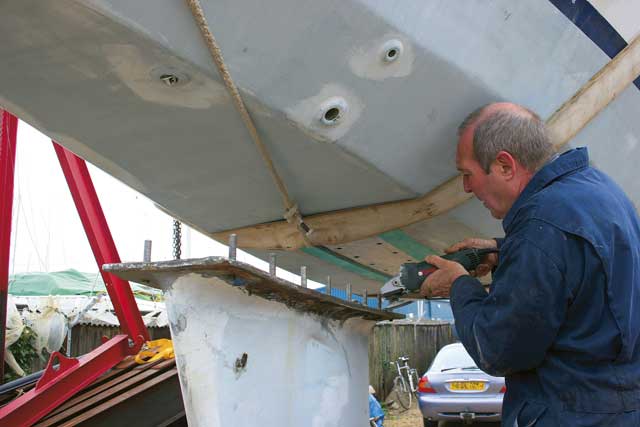
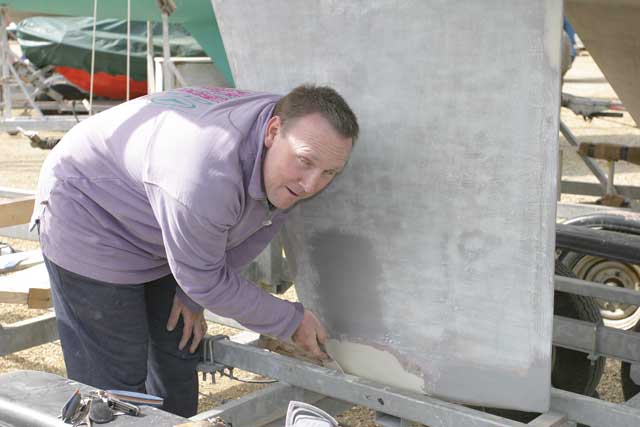
2: He then cleans and smooths the underside of the hull with an angle grinder
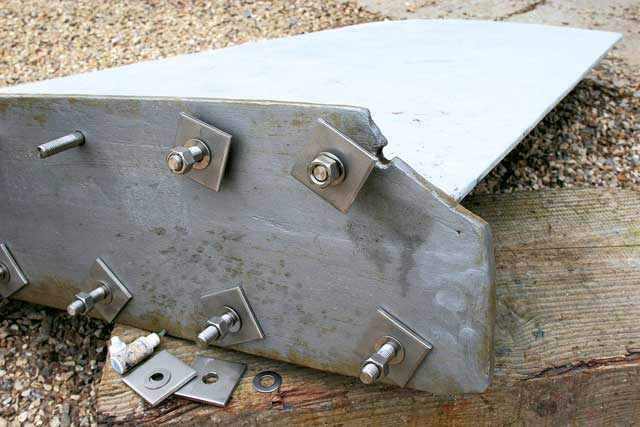
3: Meanwhile the keel has been cleaned, helicoiled and painted. Barry has decided to replace the bolts with 20mm studs. ‘These are better because you tighten the nuts onto them instead of twisting the bolt down through the keel,’ he says. Each stud has a solid plate washer to help spread the load
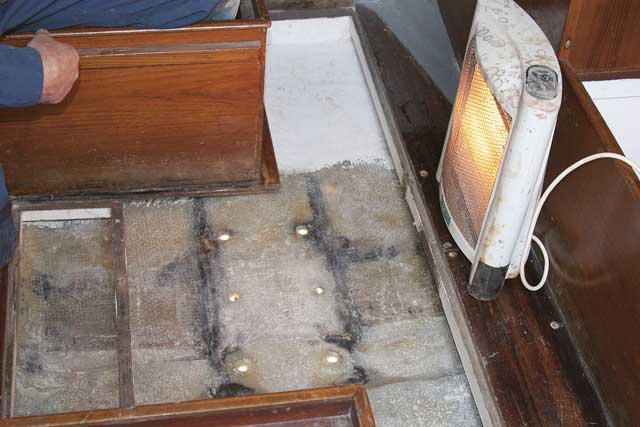
4: Andy removes the plywood stiffeners from the sole and cleans away the rust. The black marks are where water has got in. He glasses in the bolt holes with chopped strand mat (CSM) and resin (see STEP 2) then leaves the repair to dry for a few days
Repair: Step 2
Stiffening the hull
To stiffen the hull with glassfibre, Barry chooses a combination of coarse woven roving and CSM. The coarse-woven roving is thicker than CSM and woven in 90° layers so the forces are exerted fore and aft, which is where the hull needs the strength. The CSM has fibres randomly placed, giving strength in all directions, and is layered in between the coarse mat to cut out any air voids.
Barry checks that the hull is the right shape with the keel template then cuts the mat into strips ready to begin laying the glassfibre.
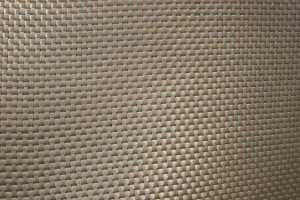
Coarse woven roving
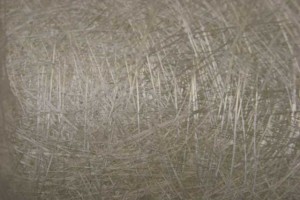
Chopped Strand Mat (CSM)
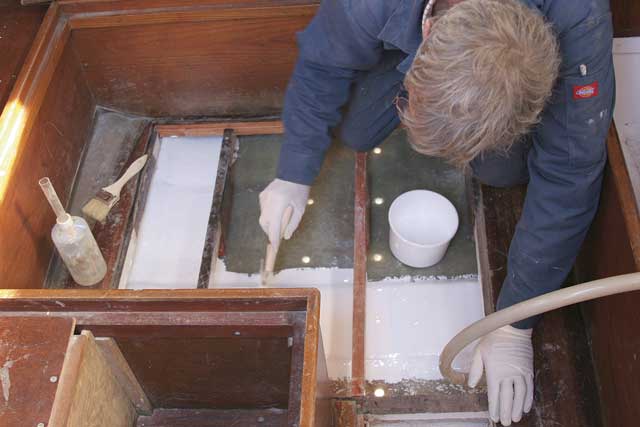
He uses a foam roller to apply a generous swathe of polyester resin to the sole, then lays the mat on top, applies more resin, and uses a consolidating roller to push the resin down into the mat and force out the air. ‘It’s a tedious job,’ says Barry. ‘but you need to do it well or you get air bubbles and the mat won’t bond. If it’s done well it should dry transparent.’
When Barry reaches the forward end of the hull he finds glassfibre has been laid on top of bilge paint. ‘You should never do that because the glassfibre doesn’t bond properly. Each layer should be bonded to the one below otherwise it breaks off too easily,’ he says. After grinding away the old paint Barry continues laying the mat. In total, he applies 15 layers of glassfibre.
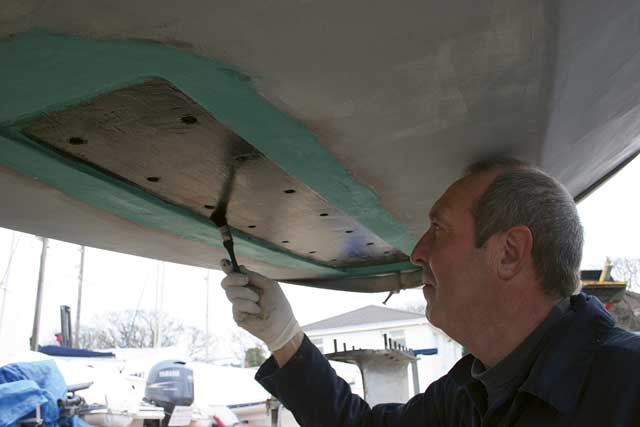
1: Barry finishes the GRP with flow coat, which is gel coat with a wax solution to ensure it cures. He coats the GRP slowly, covering a wide strip at a time
2: While Barry finishes the interior, Andy coats the underside of the hull with five layers of Gel Shield epoxy primer for extra waterproofing
3: Using a template he made from the flange Andy re-drills the keel holes
The repair: Step 3:
Stitching her together
1: The top of the keel had been painted to prevent it from rusting during the few days that it was detached. Now Andy needs to grind off the paint before re-attaching it – this also creates a key for the Sikaflex to bond
2: Andy coats the keel recess in Sikaflex primer and leaves it to dry for an hour
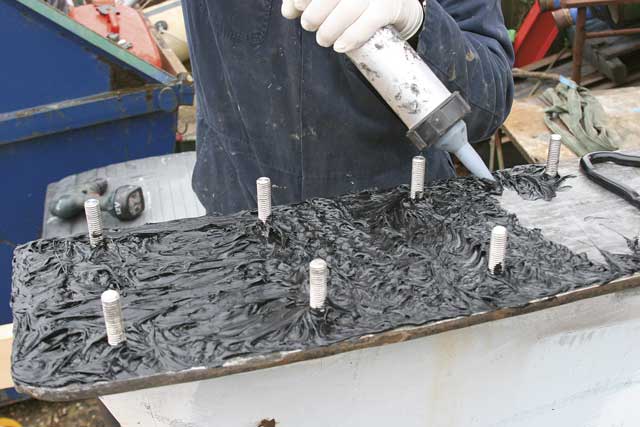
3: After ensuring the keel and hull are dry and free of dust, Andy applies a generous amount of Sikaflex with a gun. ‘It should ooze out everywhere. If it doesn’t it may indicate a hole,’ he says. The excess Sikaflex can be trimmed away the following day once it’s dry, then cleaned with Sika cleaner or white spirit
4: Using chains attached to strops Andy and his colleague Paul line the boat back up over the keel then carefully lower it down into place
5: With the studs protuding up through the inside of the hull Andy applies Sikaflex around the stud holes to stop bilge water penetrating the lay-up. He then inserts the plates, washers and nuts, tightening each nut a little at a time
Post-op care
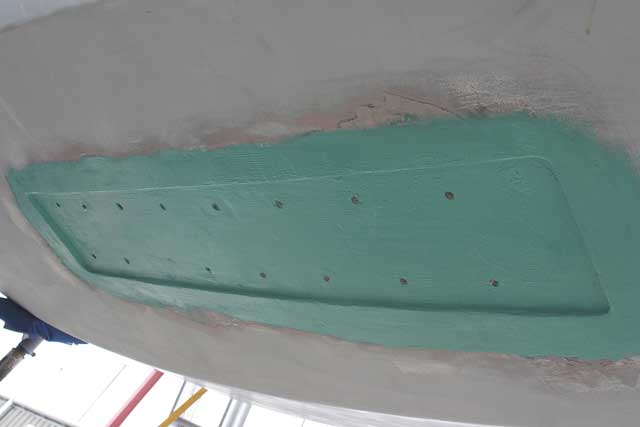
James repairs the keel
The work is finished just two weeks before the start of the racing season. There are chips in the keel paint where tension from the strops caused the corners to spall, but to save on labour costs James decides to finish this off himself. He fills, fairs and paints over the chips to prevent corrosion.
What to look out for
Cracking
With the dense keel being attached to lighter glassfibre, some surface cracking is normal. Large cracks, however, need further investigation, and a real danger sign is cracks on the inside of the hull.
Rust
Rust on the keel can be caused by chipped paintwork. You can simply fill and fair this then coat in a waterproof paint. However, rust at the keel join and inside the hull needs further inspection.
Delamination
If the gel coat is bubbling or bumpy in the matrix or bilge this suggests water ingress.
Loose keelbolts
Check the tightness of keelbolts with a spanner. If they come undone too easily they may need replacing. It’s a good idea to draw a different bolt each year and inspect it as part of your winter maintenance.
What caused the keel damage?
■ Keel hit an obstacle
■ Water ingress through large bolt holes
■ Bolts too short, so not providing a strong enough bind to the hull
■ Not enough Sikaflex / Sikaflex sealant rotted away
Quartet‘s History
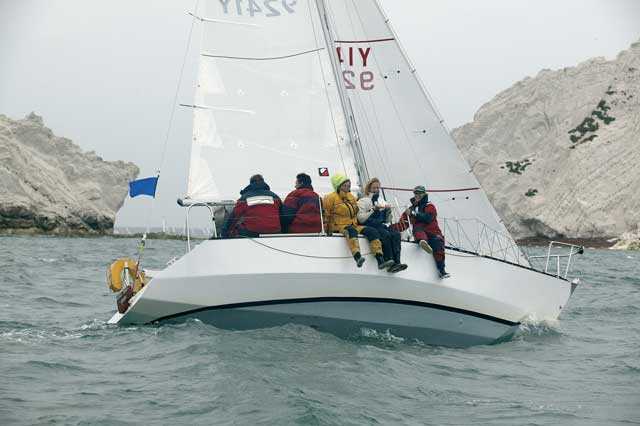
Quartet is still raced hard today
We first featured Quartet in PBO 459 and appealed for previous owners to get in touch. To our surprise the first owner was Alex Bell, who has featured in the magazine many times on the PBO test team. Alex’s friend Paul Marshall – a boatbuilder – bought Quartet’s mould in Lymington and took it to Chessman’s Boats in Locks Heath where he built her.
Although a few Quartets had been built before then, Alex believes this one is the first to have been professionally finished. Many were sold as home-build projects, some to Norway, Switzerland and Greece.
Quartet was a demo boat in the 1978 Southampton Boat Show, then featured in the Amsterdam Boat Show the following year. ‘She was beautiful,’ said Alex, ‘The smartest boat in the show.’
Paul Marshall later sold his share of Quartet to Paul Bush – another member of PBO’s test team. For many years Alex and Paul raced her in the Solent and across the Channel. Alex even remembers the time they knocked the corner of the keel flange off.
‘That was Black Rock, near the Isle of Wight’ he said. ‘It was night-time and I gave the helm to my brother while I went forward to rig the nav lights – the impact knocked the whole lot overboard!’
He recalls other heart-stopping moments such as the time the porcelain through-hull heads broke free and they had to plug the hole with a fender. ‘When we told David Thomas, the designer, he was horrified,’ said Alex.
‘We got good use out of her – we raced her in heavy weather and clocked 11 knots. For a boat of her size she performed really well. Those were fun times!’
Alex remembers Quartet’s keelbolts being replaced after she broke her mooring at Netley and ran aground, though he thinks they may also have been replaced again since then.
Alex and Paul eventually sold Quartet to buy a bigger boat that would be more comfortable to cruise in with their families.