Sail expert Daryl Morgan visits the PBO Project Boat and explains how to measure a yacht's rig for new sails and what pitfalls to avoid
Measuring your boat for new sails is a job for the sailmaker, so when our PBO Project Boat Maximus needed new sails, we called in sailmaker Daryl Morgan, technical manager at Bainbridge International.

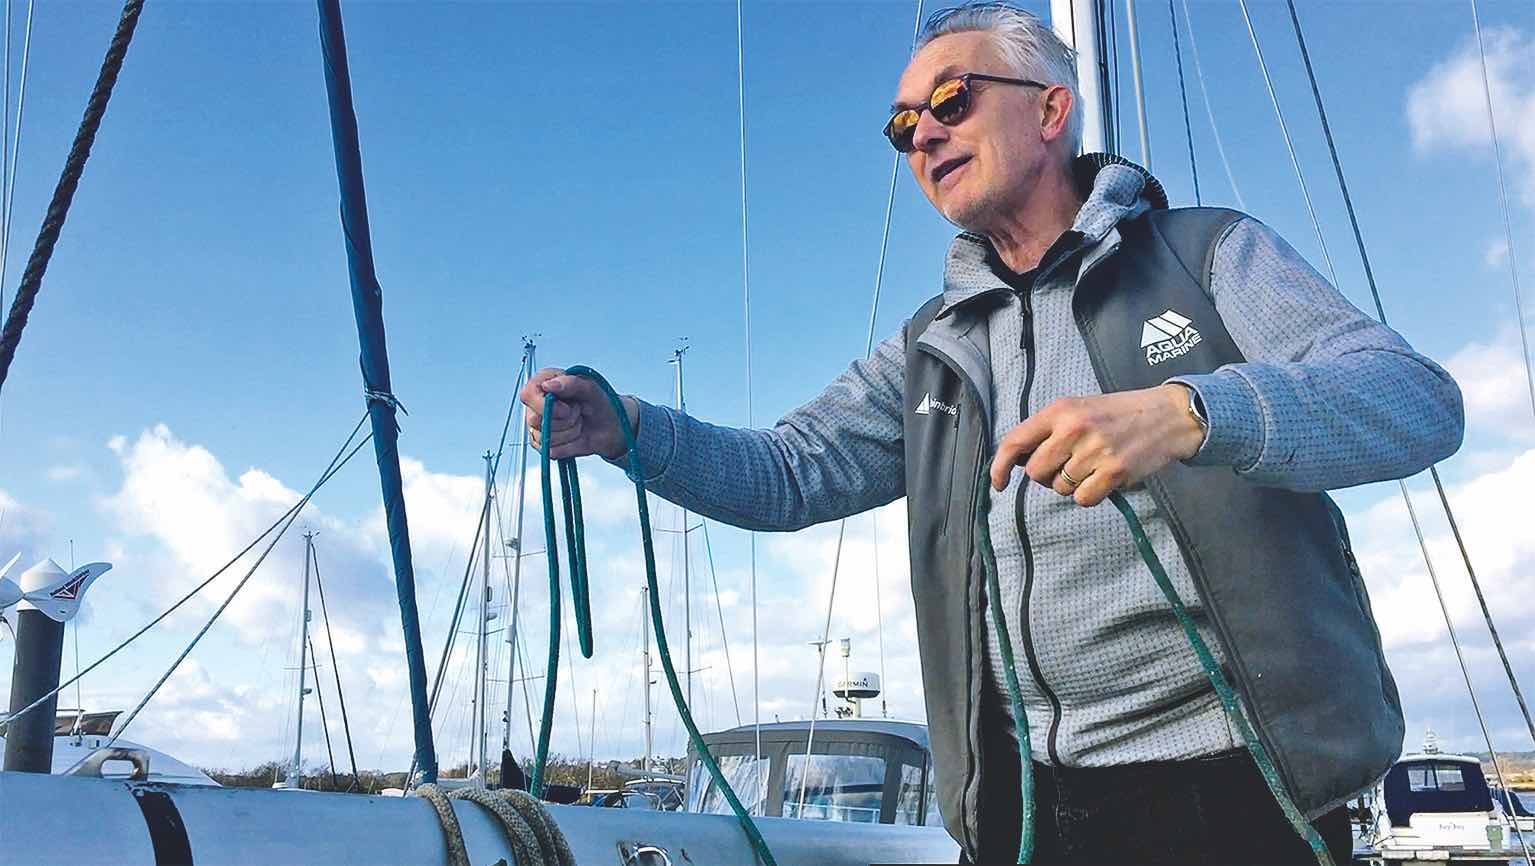
Daryl Morgan of Bainbridge International measures Maximus’s rig for new sails
Daryl arrived at the 28ft Maxi 84 with his measuring tape and talked us through the process.
“For anyone measuring their rig, try not to make any assumptions or deductions that the sailmaker is capable of doing,” advised Daryl. “Let them use their experience and knowledge of boats to make adjustments for stretching the material, webbing loops, shrinkage and the correct furling angle at the head.”
Maximus was built in 1978. Would the original plans still be of use, I wondered?

Maximus was built in 1978. With secondhand boats you’re never sure what modifications owners may have made to the original plans
“When you’ve got older builds with maybe two, three, four or five owners, you’re never quite sure what modifications have been made to the sail plans, so usually it’s wise to go out and measure the boat, like we’re doing here. You can reference the measurements against the original plans,” said Daryl.
Maximus’s headsail is a furling headsail, but we found an old storm jib with shackles, which was left by the former owner. Would that mean the boat originally had hanked-on sails?

We found this rust-stained headsail in the locker but the headsail now had a furler reefing system
“On this boat, the original setup could have been hanks. Or possibly it was a furling system but the storm jib was bought secondhand and the owner never did anything with it,” said Daryl. “Bear in mind that if you retrofit a Harken or Selden furling kit, for example, the location of the tack drum would be in a different position and that would have a massive effect on the length of the sail. The sail may no longer fit or could be cut too short because the clew location would be at the wrong height.”
Daryl’s mantra is ‘measure twice, cut once’, and whilst sail design technology has changed dramatically in the past decade, measuring the rig is still the same process. Daryl used a fibreglass reinforced tape measure to find out the dimensions of the three dimensional space available for new sails.
“The tape measure needs to be strong and low-stretch because we’re sending it up the mast,” he said.

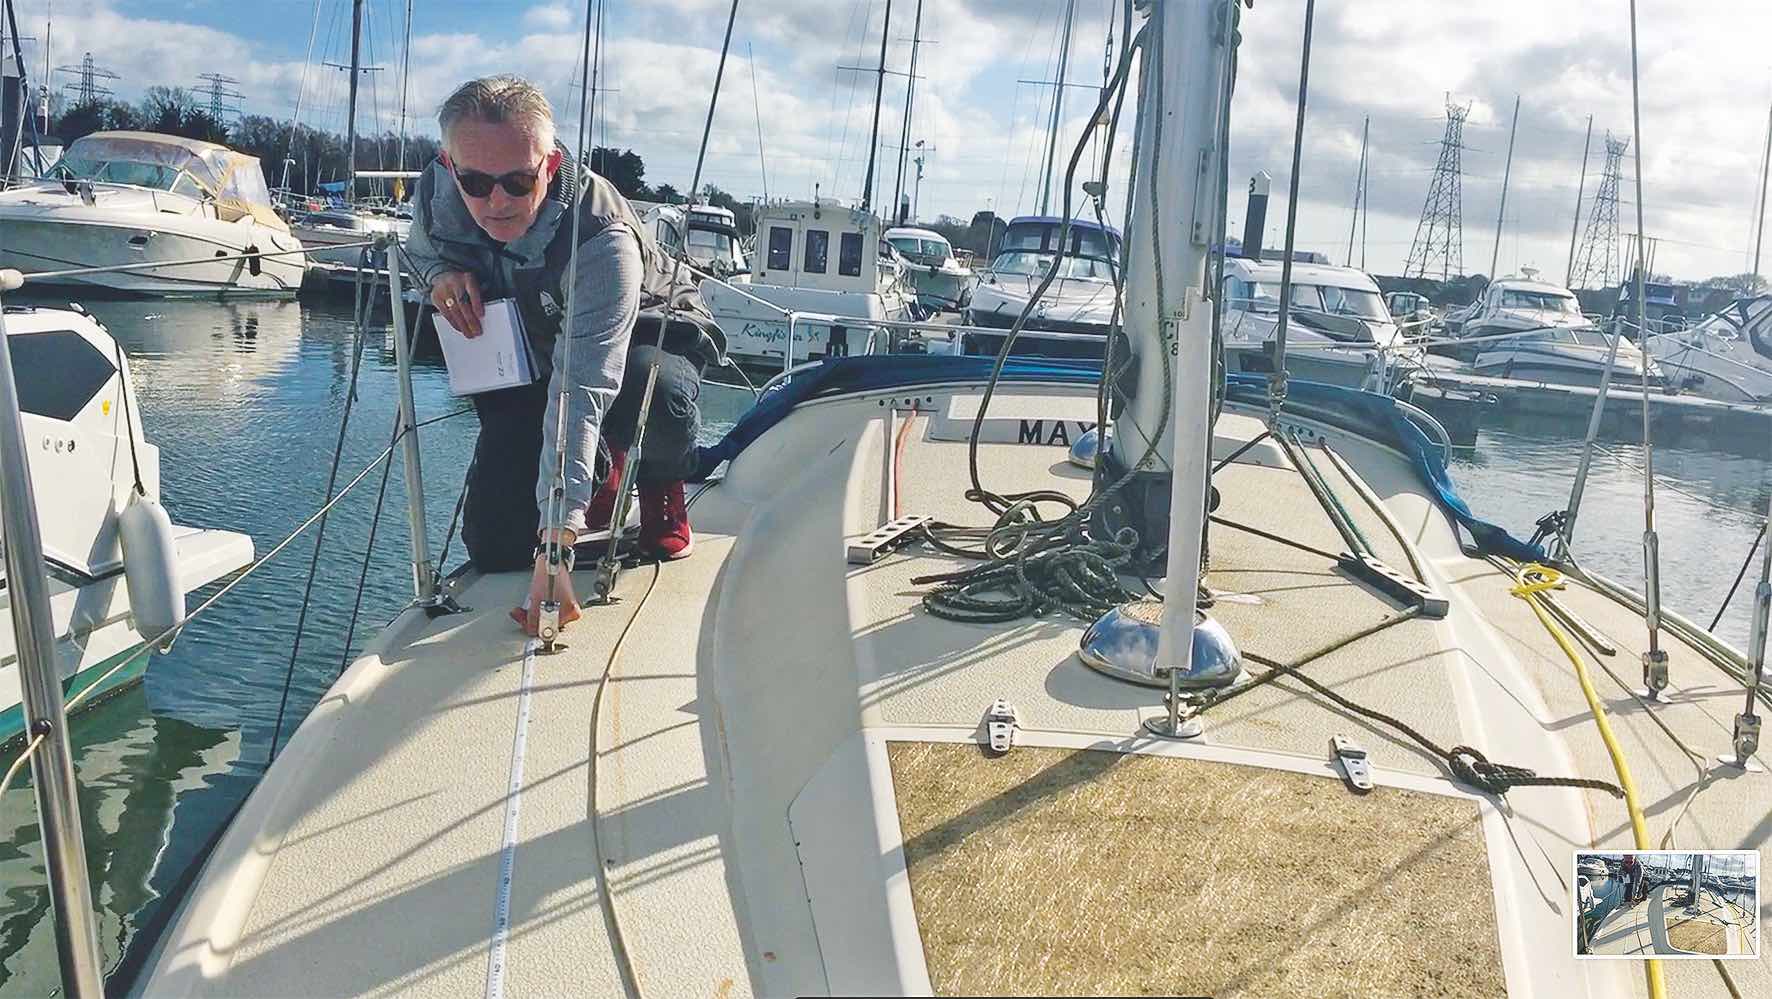
Daryl measuring the foot of the mast of the Maxi 84
Although it was windy on the day Daryl arrived at Cobb’s Quay Marina, Poole, he managed to get all the measurements he needed, including the P (mast) and E (boom) dimensions, as well as the important J measurement, which is the length of the foredeck from the stemhead fitting at the tack to the front face of the mast (the clew location for a 130% overlapping headsail, for example, is J x 1.3, or 130% of the J measurement).
“So what we need to do is basically build a triangle,” he said, showing me a rough diagram. “We have two fixed edges and a floating edge. We put a sail inside. We measure where the track starts and finishes … factor in what the overlap needs to be … work out the trim height … the hoist height … the roach profile … where the reefs will be … and we know that we cannot, in any circumstance, exceed X.
The position of the track is particularly important. If you get this wrong when reefing you could end up with a very small, very full sail in high winds, which is the exact opposite of what you want.
“When you pull the reef down it’s going to drag the whole sail forward and you’ll have loads and loads of belly, or ‘camber’ in the bottom of the sail and it will just make you heel. It’ll be unmanageable, or downright dangerous. You just don’t do it,” said Daryl.
After taking measurements, Daryl returned to his office to design the sails on the computer, before passing these on to the sailmaker Tim Scarisbrick at T Sails.
Measuring for sails step-by-step
01 Daryl attaches the tape measure to the stemhead with some string.
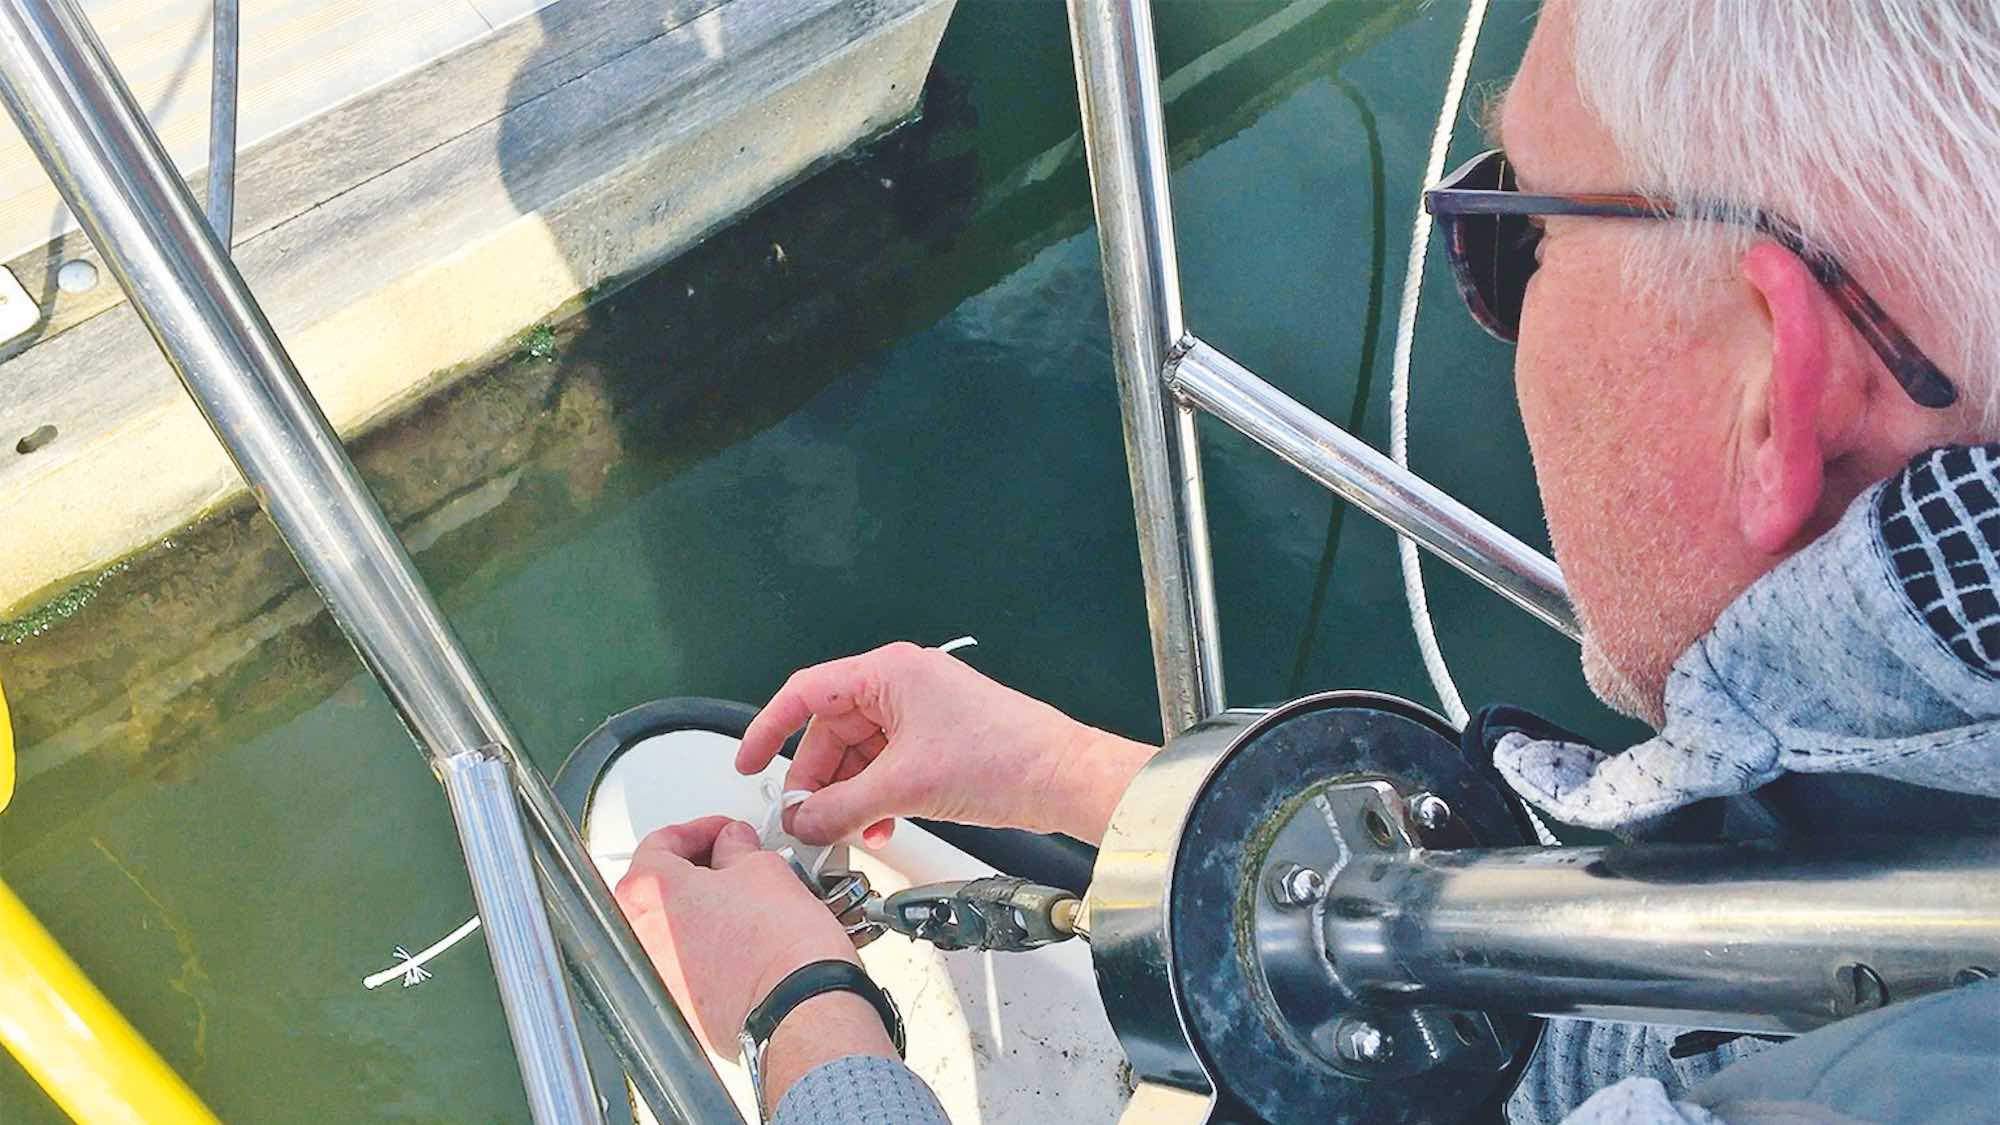
02 The measurement from stemhead to mast is the J measurement.

03 The next measurement is from the stemhead to the cap shrouds.
04 The track measurement determines the largest overlap for the genoa.

05 Next Daryl attaches the tape measure to the forestay halyard shackle and sends it up the furler.

06 Windy conditions make it trickier for accurately measuring the rig.

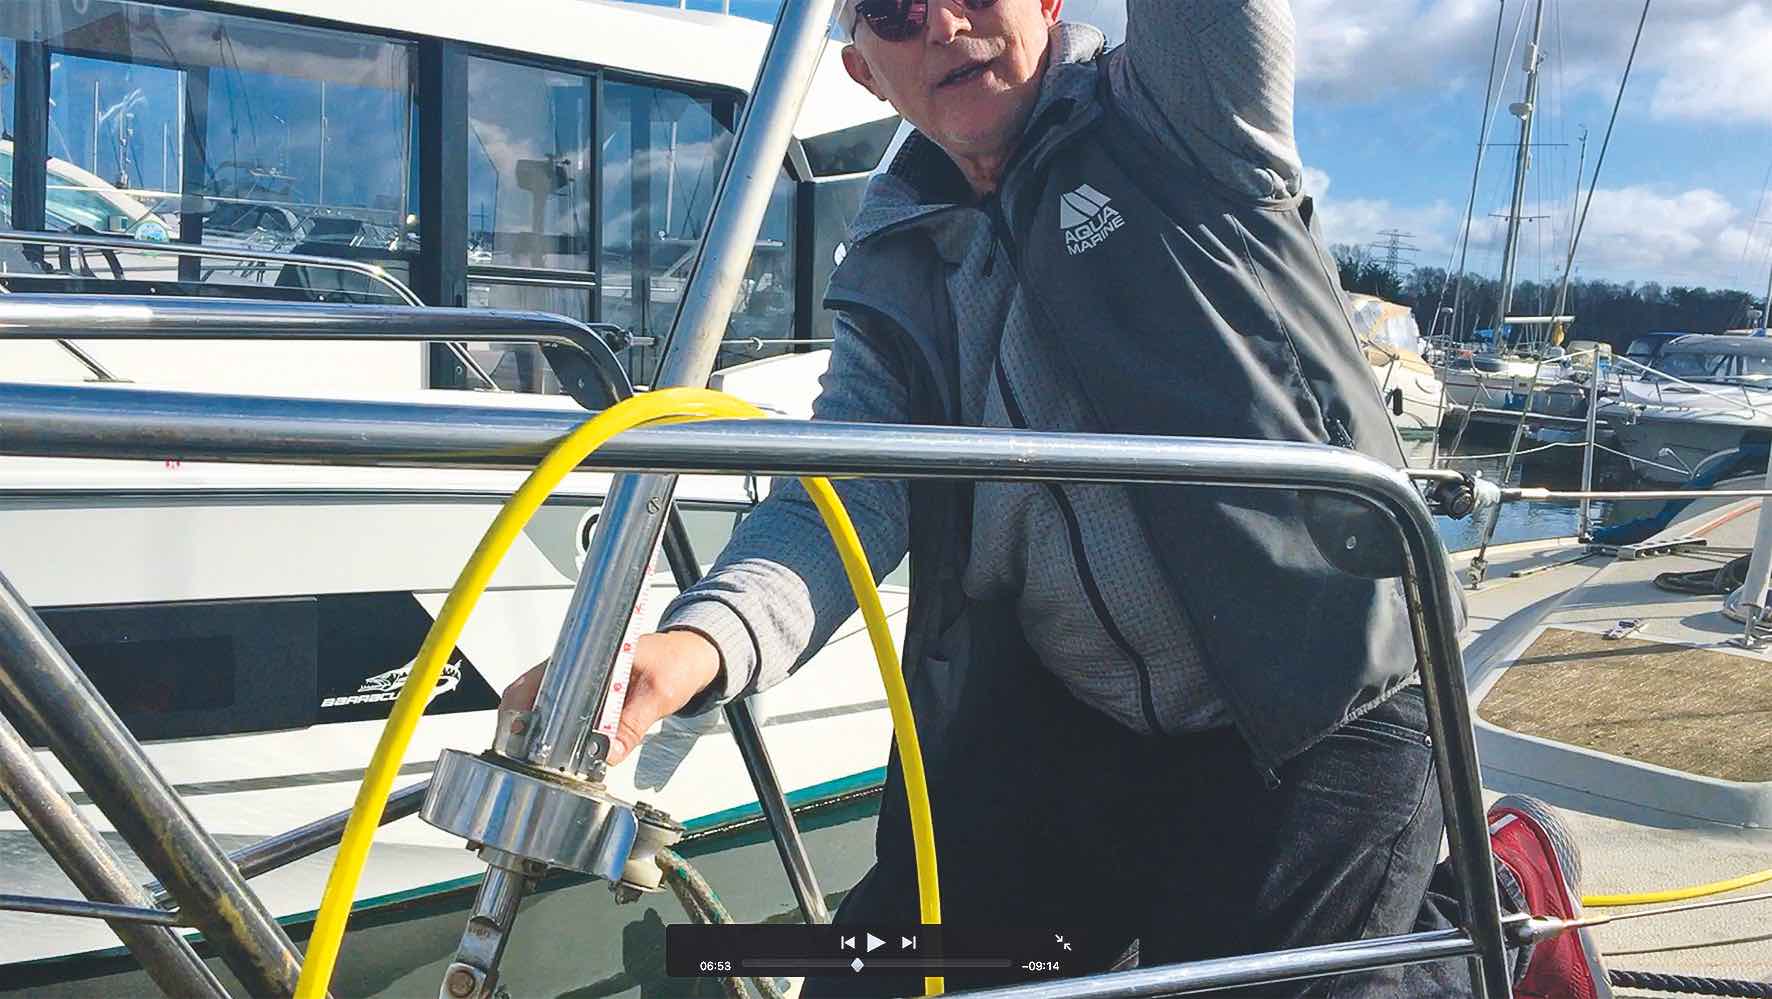
07 Maximum hoist available is measured to the furler drum.
08 Back to the cap shrouds then track – essentially the same measurements but vertically. This creates a 3D triangle.

09 Maximum foot length (the E dimension) is taken from the aft face of the mast to the black band on the boom.

10 Sail height (P dimension) is taken between the black bands at the top and bottom of the mast. Daryl measures from the top of the mast and will compare it to the stated P dimension in the yacht’s original specification for accuracy.

11 This mast gate will need to be replaced with a flush version to accommodate the battens.

12 Knowing the position of the reef points is really important to allow the correct sail shape.