
Mooring with a V-bridle has many benefits, says James Green of Jimmy Green Marine

A V-bridle is a very secure way of spreading the load on the bow or stern of a boat for towing or mooring or slowing down in heavy seas. V-bridles can be used for permanent swing and trot moorings, for anchor chain snubbing, yacht drogues and towing applications.
Every make and model of boat is a different size and shape, so V-bridles need to be made to measure. It’s one of many rigging and splicing services on offer at Jimmy Green Marine, but if you want to do it yourself – here’s a step-by-step guide.
![]()
Elements of a V-Bridle
 The Jimmy Green V-bridle consists of a continuous line made into a V-shape with a central brummel locking tuck splice. This could be a soft eye around a fitting or hard eye formed around a stainless thimble. The two ‘legs’ are usually attached to cleats either side of the bow or to the aft quarters. The eye splice then forms a central attachment point forward or abaft the boat
What rope to choose
■ It is not possible to splice a centre eye satisfactorily in 3-strand or braided lines.
■ 8-plait lines such as Anchorplait (exclusively from Jimmy Green) easily accommodate a central eye splice due to their balanced construction, two pairs left hand, two pairs right hand laid.
■ 100% Nylon (polyamide) lines are preferred due to their excellent shock absorbing elongation, dependable strength, excellent durability, UV and abrasion resistance.
Benefits of V-bridles
■ A V-bridle on a bow mooring keeps the lines clear of anchoring equipment and rigging. At the stern, a V-bridle stays clear of the rudder and cockpit.
■ The strength of the bridle is not reliant on a Y-joining splice ie splicing two separate ropes together.
■ Once deployed, the V-bridle helps prevent a boat yawing around its tether. As soon as the boat deviates from being inline, the load increasingly transfers to the corrective side to counter the movement.
■ When pulling straight, each leg of the bridle should be taking half of the overall load, which reduces the load on your deck gear.
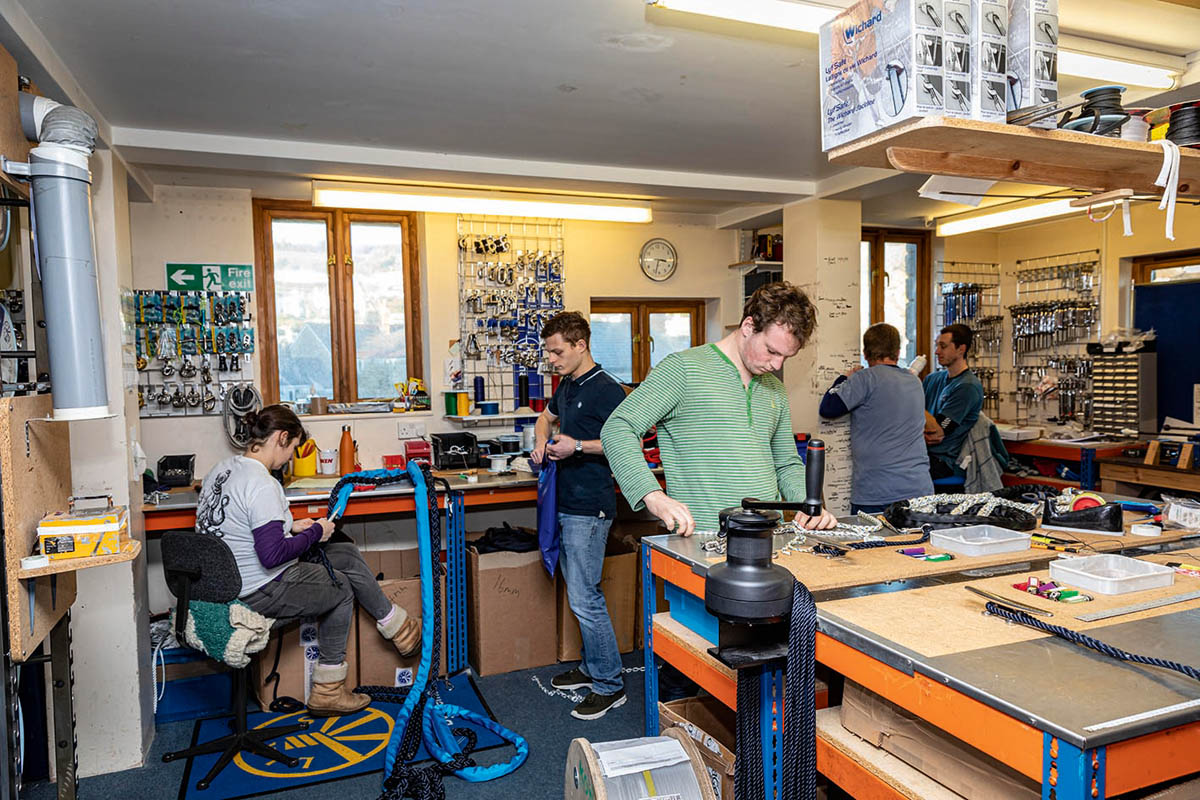
Jimmy Green Splicing Service
Jimmy Green Marine has been providing a reliable service under family ownership since 1981. We have an experienced splicing, rigging and sewing team using premium quality anchoring and mooring equipment with market leading rope manufacturers LIROS and Marlow. Our online custom product builder can provide instant quotes with expert telephone back-up and worldwide express delivery. JimmyGreen.com
At JimmyGreen.com We sell our own exclusive splice-ready octoplait, called Anchorplait, with colour coded strands of nylon to help make splicing easier.

Step by step: How to make your own V-Bridle
Take your time to measure up. A longer bridle will experience less load than a short one owing to the reduced angle between the legs. The bridle should therefore be at least 2-3 times longer than the distance between deck cleats or other attachment points.

1. To make the centre eye splice 3m from your deck cleats, you’ll need 7.5m of line: 6m of which is for the two ‘legs’ plus 1.5m for two 30cm loops for the deck cleats.
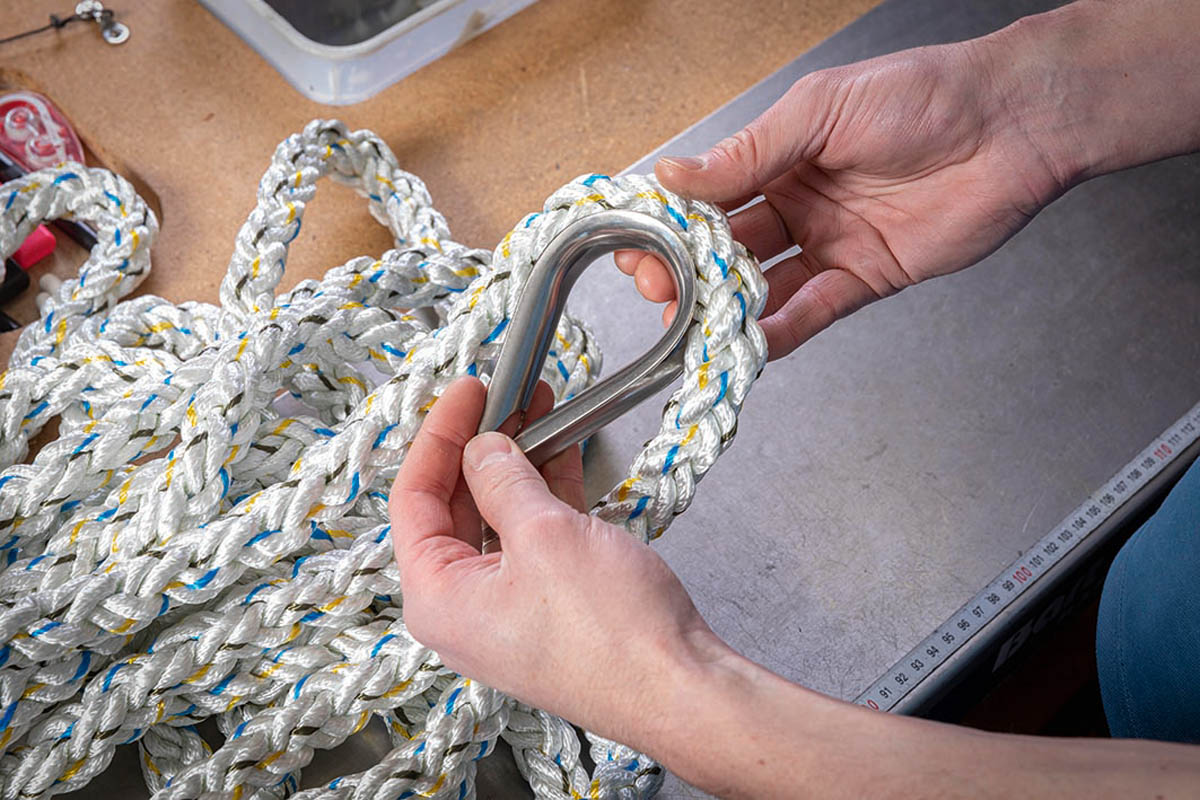
2. The thimble should be positioned half way along the 7.5m length and is held in place with a brummel lock splice.

3. To make the brummel lock splice push a hollow fid through the centre of the first side of the loop.

4. Check there are two strand pairs each side of the fid, then push the opposite rope end into the fid and pull the whole length through.

5. Pull the rope tight to secure the thimble within its loop.

6. Now push the fid through the second half, just below where it passes through the first.

7. Feed the rope end of the first side through the fid and pull the remainder of the length through as before.

8. Pull through until the thimble is held tightly. Finish with a good pull to secure the splice.
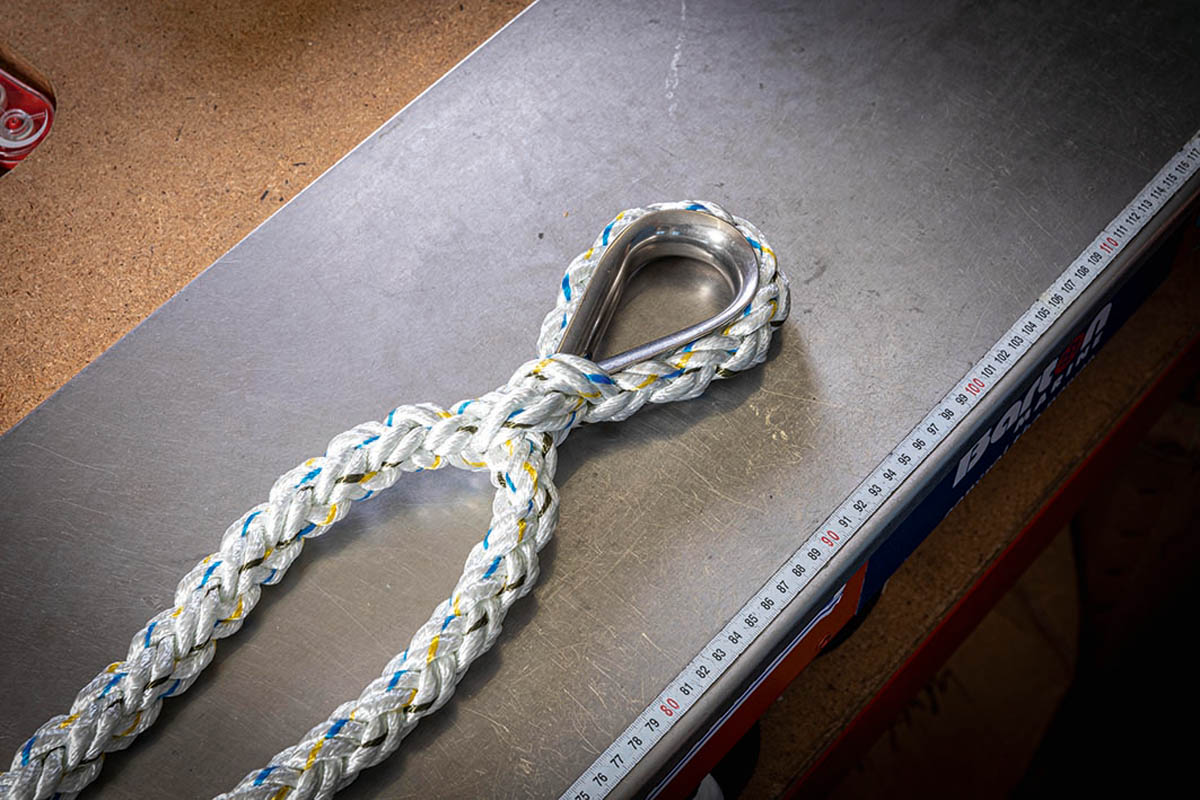
9. Review the lay of the strands: tighten and adjust them to lay flatter if possible

10. Secure the spliced centre eye to a nail and extend the tails out straight. Form a loop on one and mark the first tuck of the splice on both sides. Match the marks on the other tail, but count seven ‘lumps’ of rope further down to allow for the splice.

11. Add anti-chafe webbing or rubber compensator to the legs.
Fighting chafe
The major cause of failure of a mooring strop or bridle is chafe. V-bridles are usually made using 8-plait nylon which is great at absorbing shock loads produced by waves and wind. This dynamic load produces a constant cycle of stretch and recoil in the line, and this abrades the line wherever it touches the boat. Spliced loops should be covered with a sacrificial layer such as polyester tube webbing. Protection should also be added where the rope exits the boat as commonly the line will change angle through a fairlead. The risk of failure due to abrasion or sun damage can be mitigated by choosing a large diameter line that will not be compromised by minor damage.
Step by step: Splicing the loops
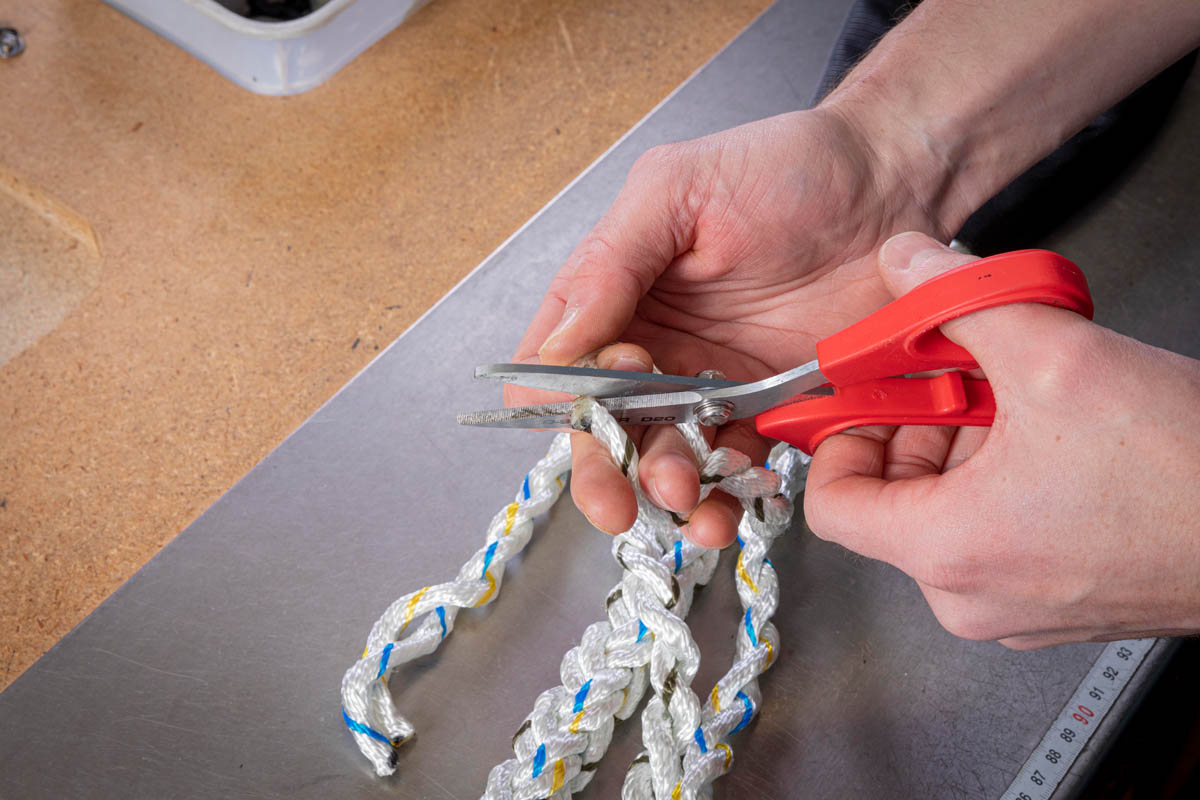
A loop splice using Jimmy Green Anchorplait (our own brand colour-coded nylon octoplait) needs seven ‘tucks’. In the photos above we measured the marks where the first tuck should go. Now select one of the legs and cut the octoplait (use a hot knife) seven ‘lumps’ below the black mark.

1. Break the end into four pairs. Use tape to keep the pairs together if necessary.

2. Line up the black marks an unravel the rope end to that mark.

3. Insert the fid beneath the dot making sure it’s through a matching pair.

4. Thread the same colour pair into the fid and tuck through.

Diagram 1b: Tuck yellow and blue strands (A & B) under yellow and blue, then Black and White (C & D) under black and white. In Diagram 1c, turn the splice over and repeat so all four sets of pairs have been tucked once.

5. All four sets of pairs have been tucked once.
6. Divide the pairs into eight single strands to prepare for second tuck.
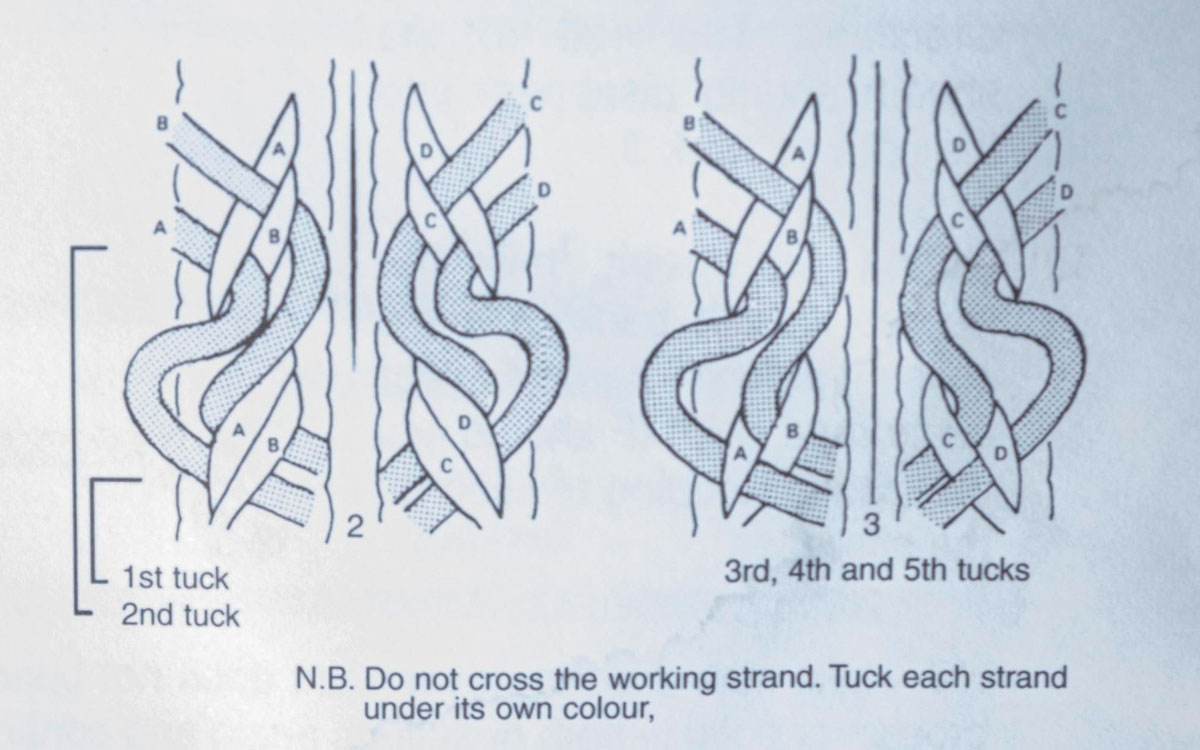
Tuck 2 is completed as single strands under similar colours as shown.

7. The 2nd tuck will need eight different actions with the fid: four on topside of splice and four on opposite side.

8. The finished splice: Usually tuck 5 will only be completed for six of the eight strands. Then in order to taper the splice, for tuck 6 disregard yellow and black strands. For Tuck 7: tuck blue under blue and yellow. Tuck white under black and white.

9. Give a good few tugs on the completed splice to remove any slack in the braids

10. Slice off the loose ends…

11. Then heat seal them

12. The finished item.

13. The two loops with webbing safely attached to twin bow cleats on this 41-footer.
This is an online edit of an article from May 2020 issue of Practical Boat Owner magazine.
