
The finishing touch to the interior of many boats is the vinyl-covered headlining panel, which can be detached to access under-deck fittings. Jake Kavanagh watches upholsterer Alan Dring make one from scratch

Bonding

1: Lay the cardboard on a flat surface, and spread out the vinyl face-down (foam up). Make sure the pre-cut plywood panel has no protrusions. Mark which is the downward facing side, then place this face-on to the foam.

2: Score around the panel with the blunt end of a pair of scissors. Don’t use a marker pen or biro, as the ink can eventually bleed through.

3: Applying the glue. Position the panel so any spillage falls onto an area of the foam you are going to stick anyway. This avoids contaminating ‘virgin’ vinyl you may wish to use later.
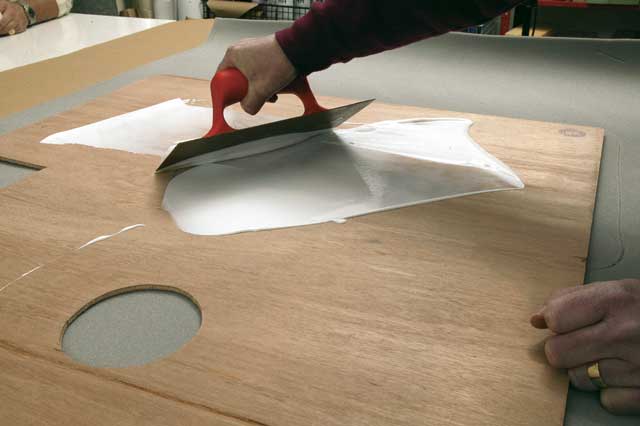
4: Use a plasterer’s trowel (or flat piece of ply) to spread the glue. Work fast, as you don’t want it to dry (it goes clear when dry). Roughly, an 8ft x 4ft (2.4m x 1.2m) sheet of ply needs 1 litre. Keep the glue in its white state, and don’t spread too thinly.

5: Immediately flip the panel over and push it down onto your score marks. You don’t have to be too exact, but it will help if you are as close as possible.

6: Push the panel down firmly, and apply even pressure for good all-over contact.