
Premium bonding: some techniques for getting the most out of sealant without ending up covered in the sticky stuff!
You can’t call yourself a practical boat owner until you’ve had at least one traumatic experience with super-sticky sealant. After our less than joyful time cleaning sealant from the windows of
the PBO Project Boat Hantu Biru (PBO July 2013), we paid a visit to Sika’s headquarters in Welwyn Garden City, where Sika’s Gareth Ross showed us his tricks and tips for getting the best from sealants. He was dressed in a shirt and trousers, but stayed amazingly sealant-free: proof that you don’t have to end up wearing more of the stuff than the boat. Here are Gareth’s tips for using sealant.
1. Use a primer wherever possible

Primers can make a big difference to a sealant’s ability to stick to a surface
Primers help sealants adhere to the chosen surface. They have a short shelf life, but improve adhesion by around 20%. Some solvent-based primers can be applied by cloth, but most should be brushed on.
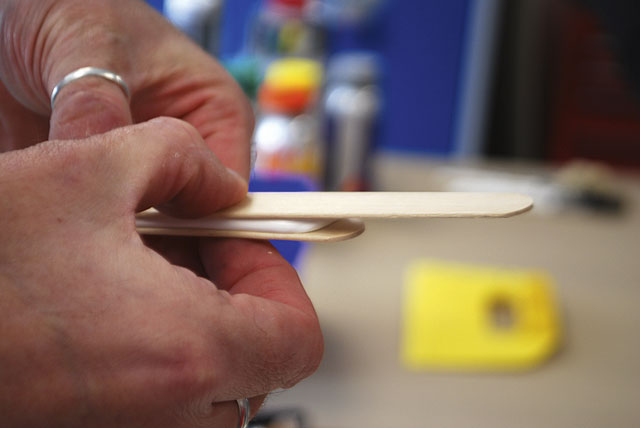
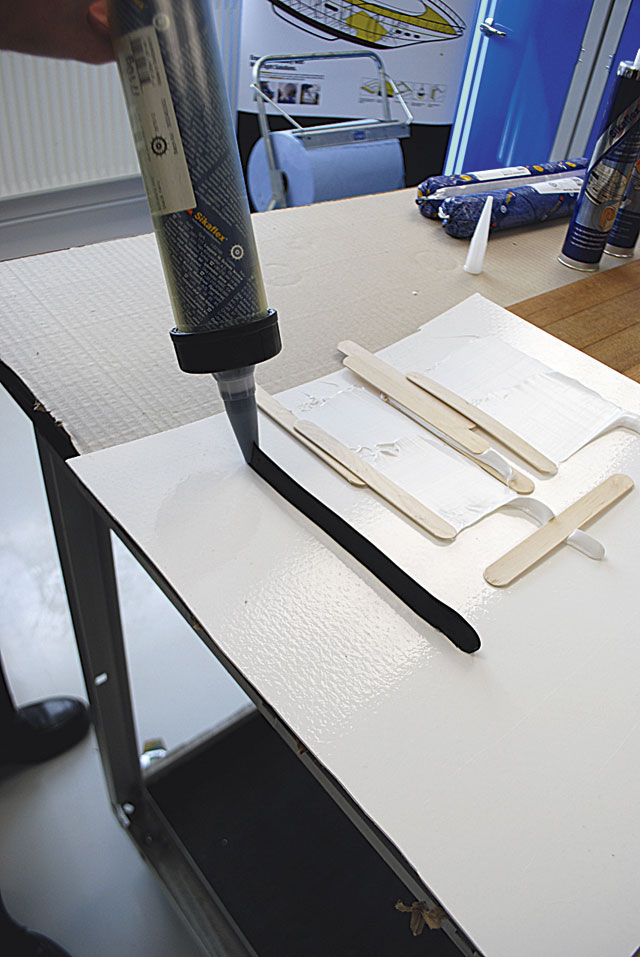
2. Aim for a triangular bonding bead

Try to keep a consistent pressure on the gun trigger, and aim to keep the nozzle moving at an even pace
By and large, if you are looking to bond something on, it’s best to use a triangular bead of sealant. This ensures the minimum amount of wastage, and an even bead when it’s all tightened up. To get a triangular bead, cut a notch in one side of a nozzle and apply it with the gun perpendicular to the surface. You can also cut in a guide to keep the nozzle a set distance from the edge of the material being bonded.

A notched and cut-away nozzle make it easier to achieve an even bead of sealant
A triangular bead flattens evenly under pressure
3. Sealant shelf life once opened

Sealant will start going off as soon as you open it, so don’t leave a tube hanging around without a full nozzle
Most sealants cure at the rate of 2-3mm per 24 hours, which is why it won’t last forever in its tube. It is moisture-cured, which means that in hot and humid conditions it’ll go off even more quickly. Keeping it in the fridge will slow the rate of cure somewhat. Always keep the nozzle attached: the sealant in it will cure slowly but can often be pulled out to reveal fresh sealant at the start of the tube. For obvious reasons, don’t open a tube until you’re ready to use it.
4. How to remove sealant

There’s no miracle chemical to remove sealant – it usually has to be cut or scraped away
Sealant manufacturers are often asked if there is a miracle chemical that will remove their sealant: the short answer is usually ‘No!’ The only way to remove cured and well-adhered adhesive sealant is with mechanical methods – ie a sharp knife, vibra-saw, cheese wire – or abrading it off with a sander. Here Gareth is removing Sikaflex from a window frame by gripping it with needle-nosed pliers and cutting it away with a scalpel.
5. Sealing deck fittings

Don’t fully tighten down fixings until after the sealant has cured
When sealing deck fittings, screw or bolt them down almost tight then wait for the sealant to cure before giving the fixings a final tighten to compress the sealant and bed them down as securely as possible.
6. Spray to aid curing
 As already mentioned, polyurethane sealants are moisture-cured. You may find when bonding large swathes of a teak deck to glassfibre or steel that the sealant may struggle to find enough moisture to begin curing. To give it a helping hand use a spray bottle to spray a very fine mist over the laid deck to kick-start the curing process.
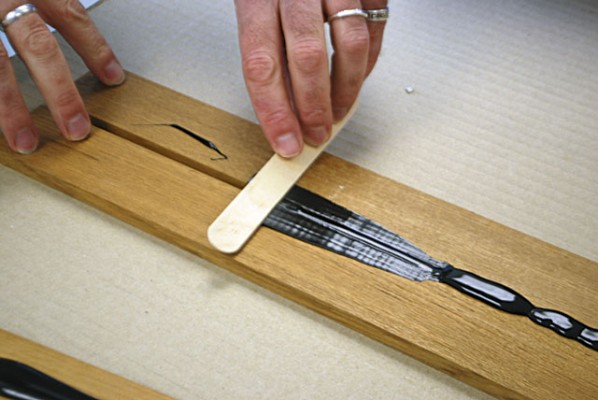
7. Caulking wood-planked decks

Raised caulking can be left to cure and cut away later
There are two main ways to caulk the seams of a teak or other wooden deck.
One is to overfill the seams between the planks, leaving the sealant to stand proud until it has cured. You can then cut away the excess with careful use of a sharp chisel, followed up by sanding.

Don’t smooth too much as to leave hollow caulking (we haven’t masked this test piece)
The second option is much more labour-intensive, but results in less wastage of sealant and less sanding overall. You’ll need to mask off each joint so that the surrounding teak is covered, before applying the sealant. Smooth the sealant off with a scraper before it cures, being careful not to smooth away so much that it leaves a hollow, then carefully peel off the masking tape, also before the sealant fully cures. Peeling the tape is messy, but there’s much less sanding to do afterwards and no risk of accidently chiselling gouges in your lovely new deck.
Some boatyards claim the first option is best. They won’t remove the raised sealant until near the end of the job – walking on the raised surface is a great way to protect the teak during work.
8. Applying bedding compound

Lay bedding compounds with a notched spreader
Bedding compounds such as Sika 298 are surprisingly quick and easy to apply. Simply snip off the end off the ‘sausage’ before squeezing the gloop onto the deck and spreading it out with a notched spreader to ensure an even layer of sealant.
9. Get a good gun!
Achieving an even bead is easier with a good- quality sealant gun
If you’ve got a lot of sealant to apply, it’s well worth getting a good-quality ratchet or electric-driven gun. Your hand muscles will start to hurt surprisingly quickly with a cheap gun – especially with window adhesives which can be stubborn to squeeze out of their tube.